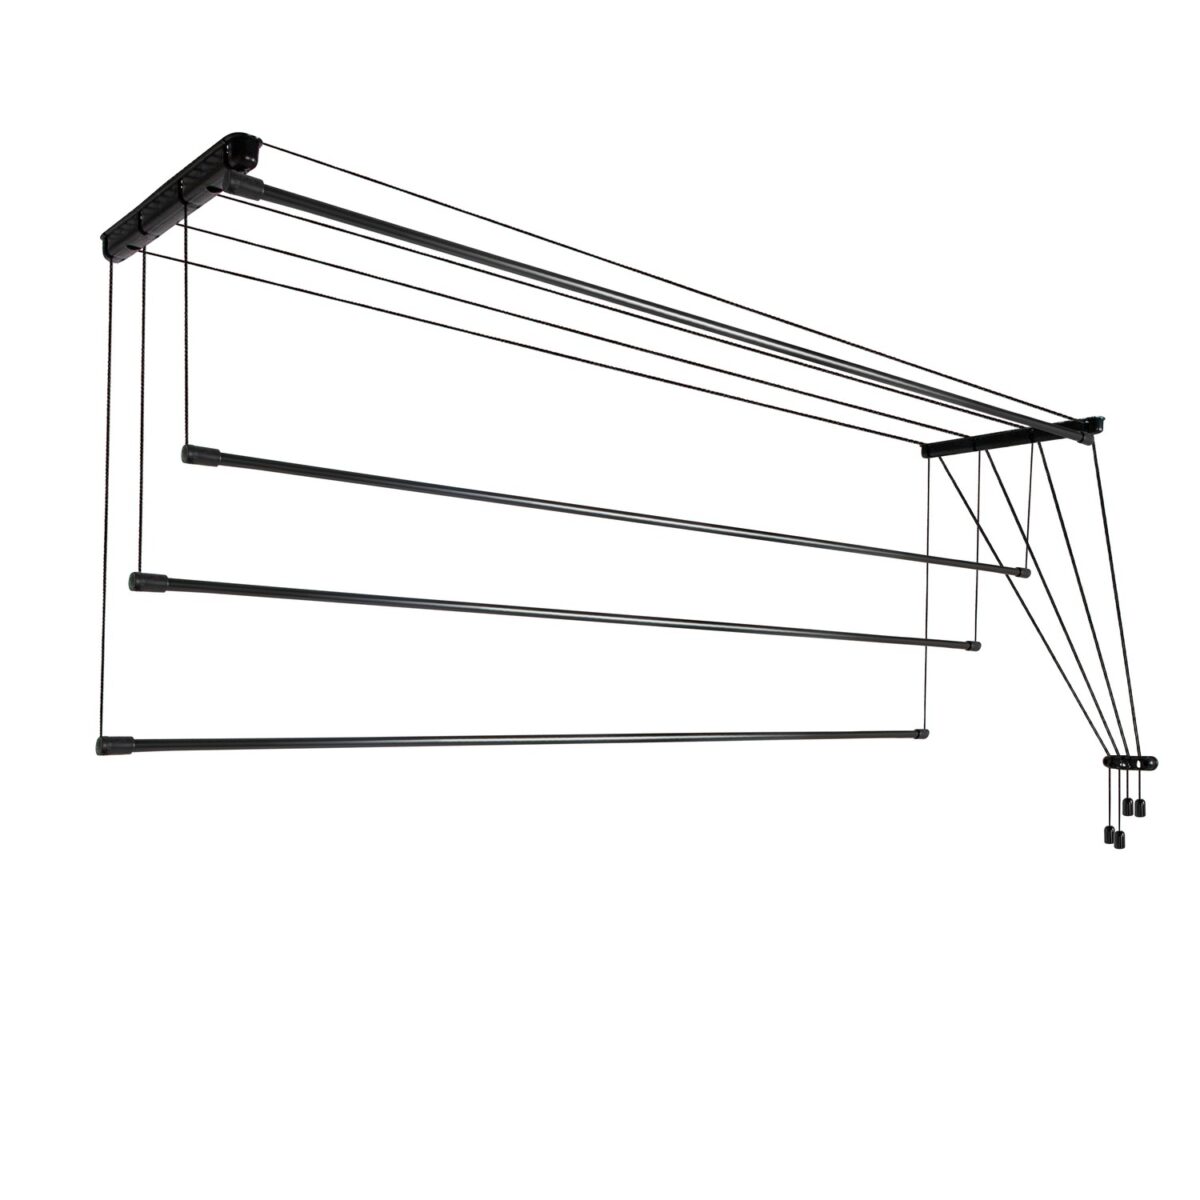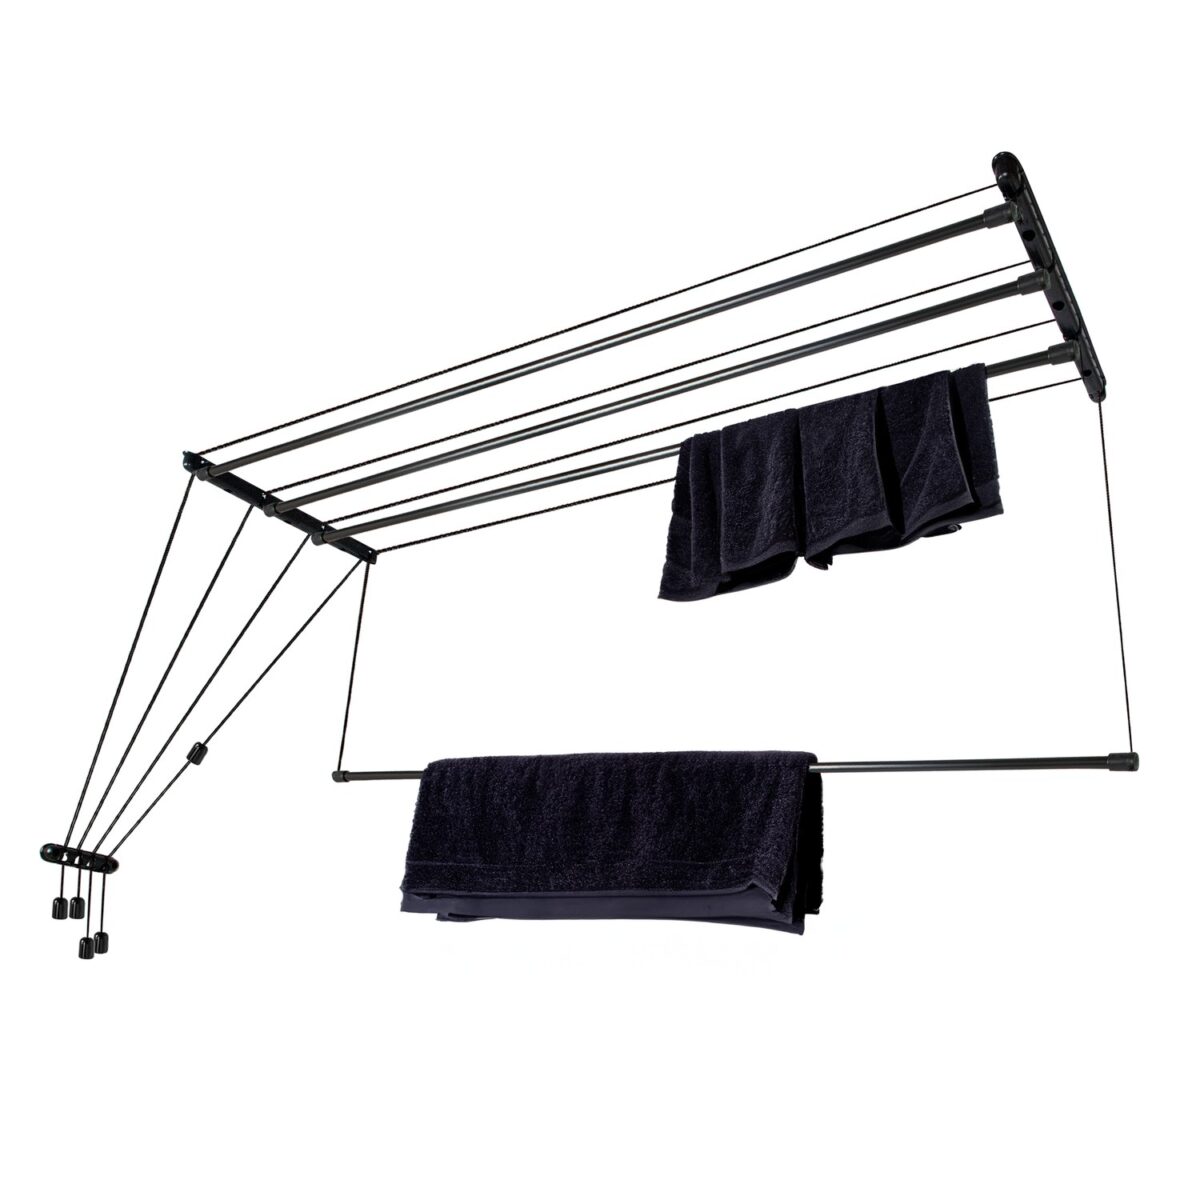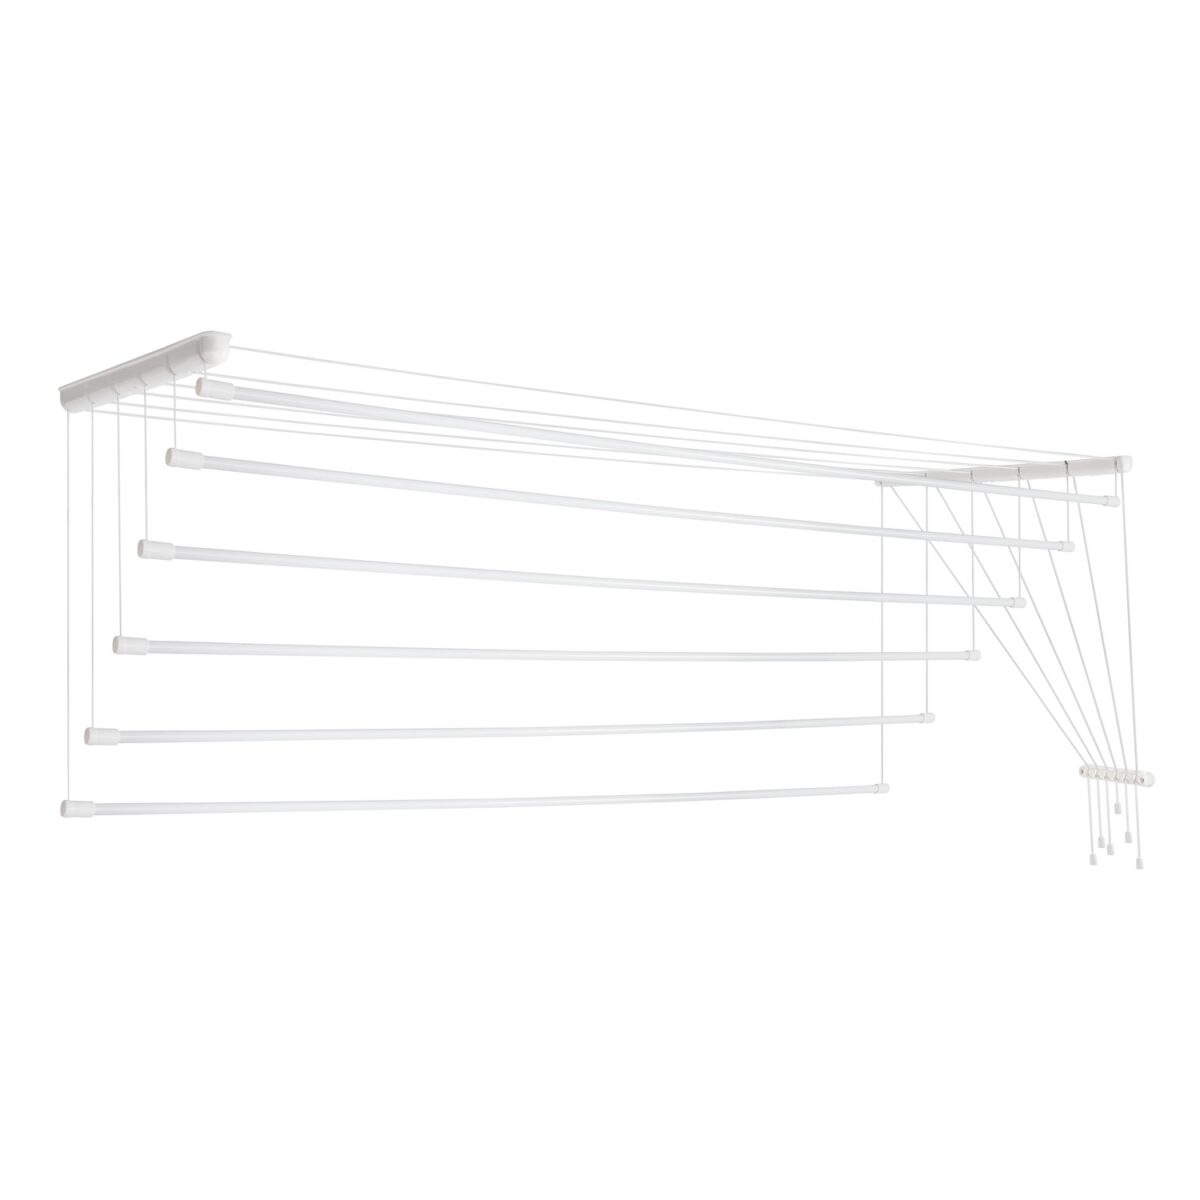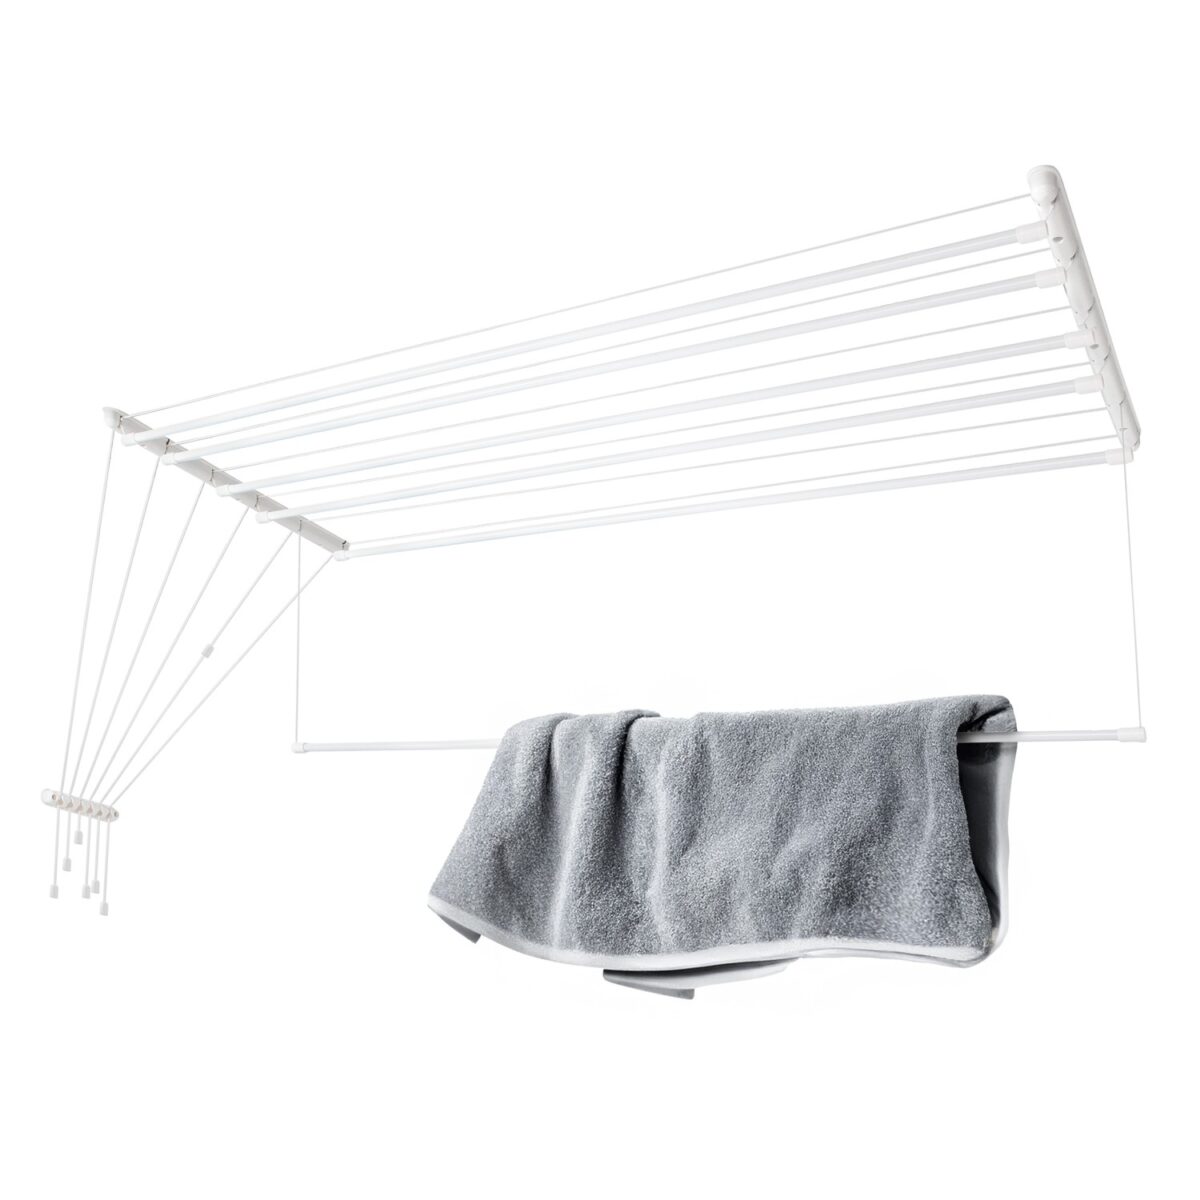
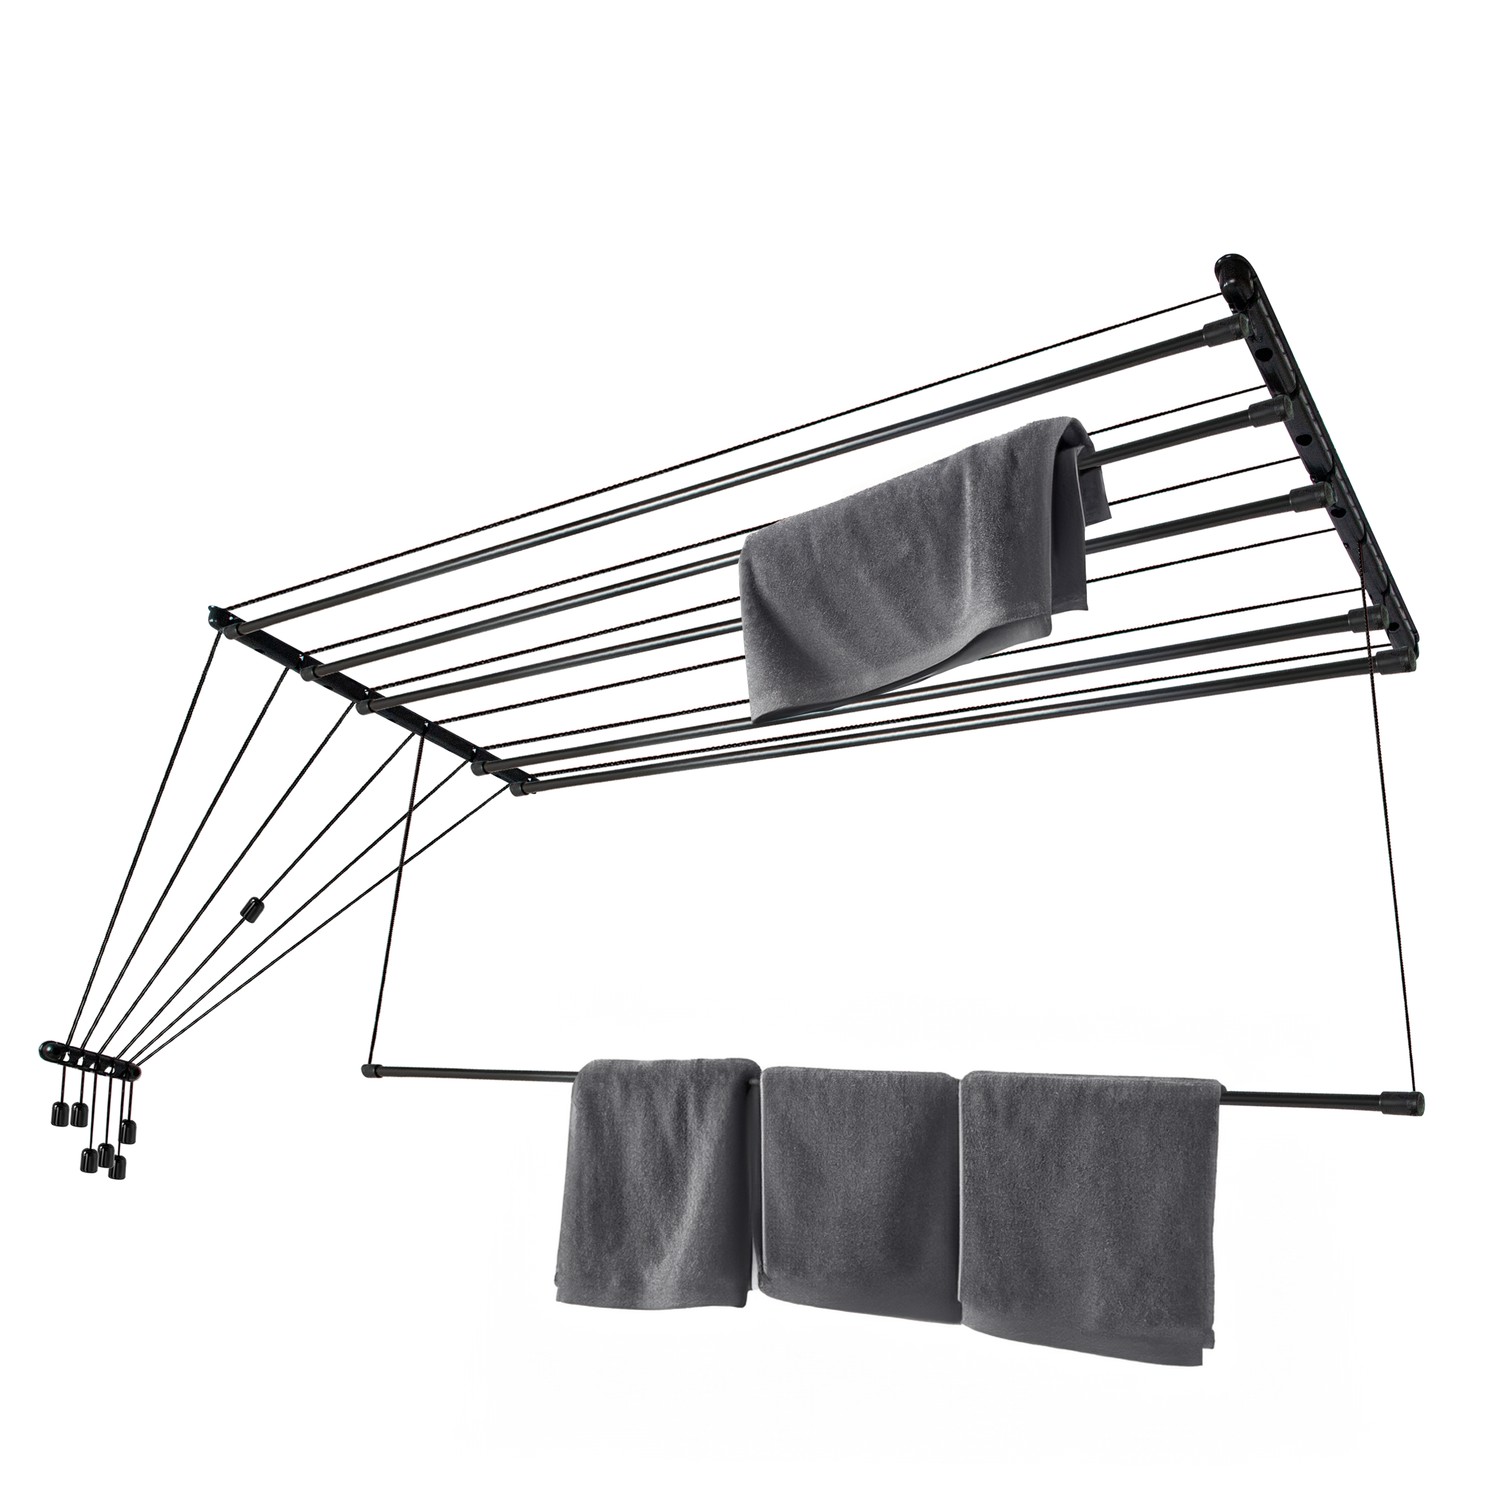
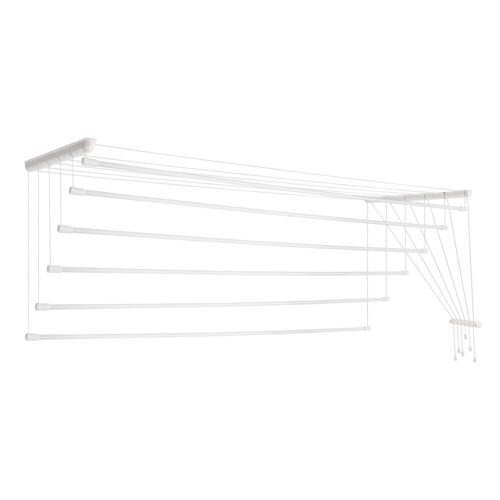
Laundry ceiling dryer 6×1.6 m, aluminum (AV160B-6AL)

Coming soon

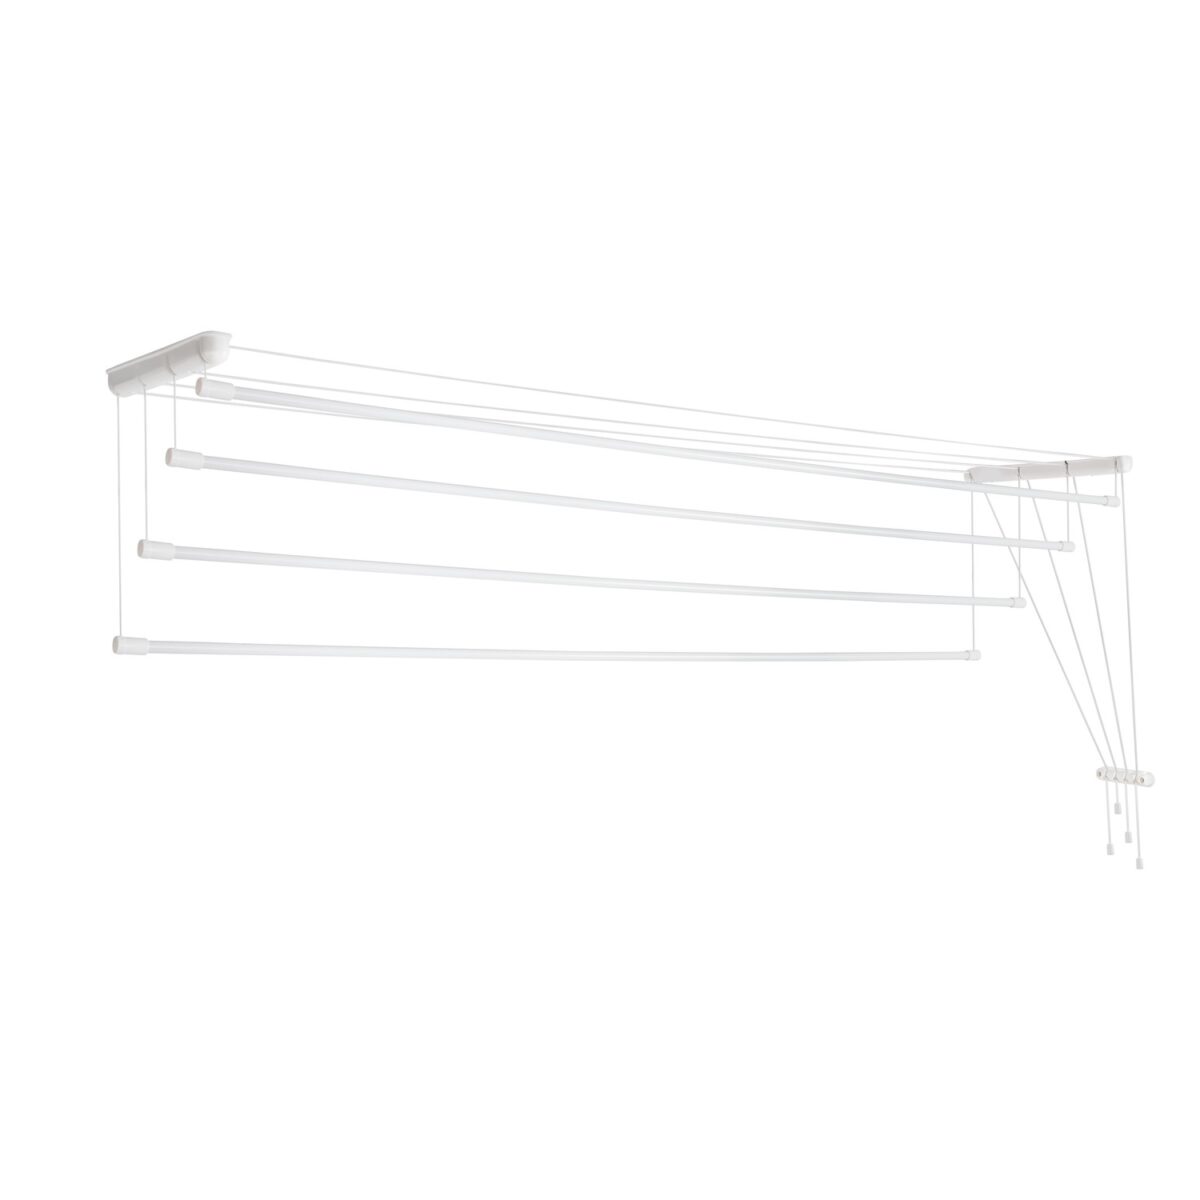
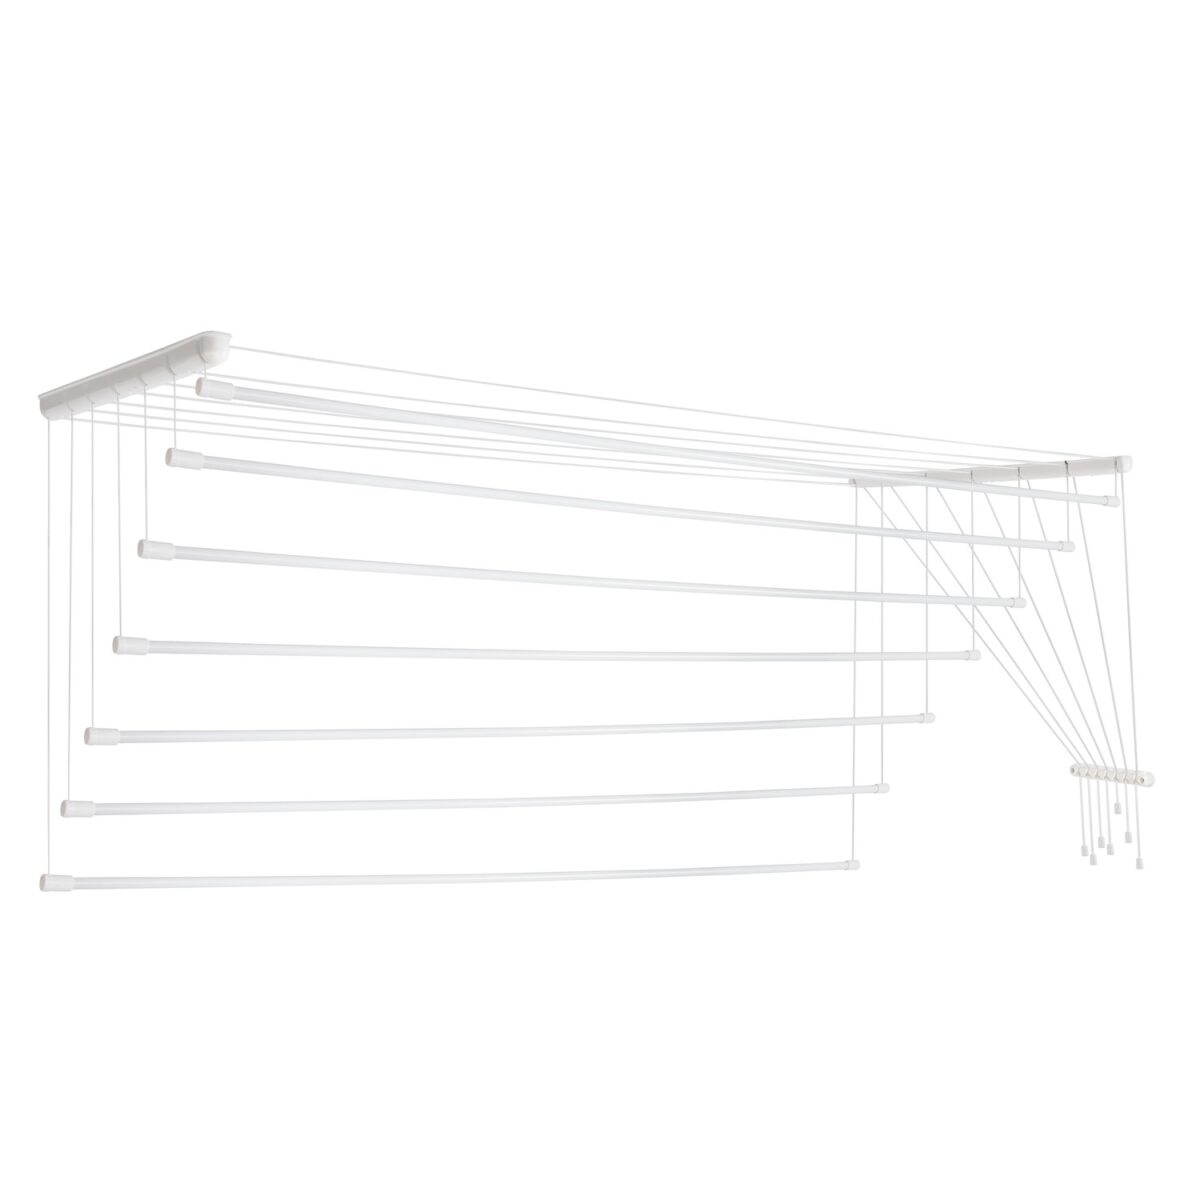
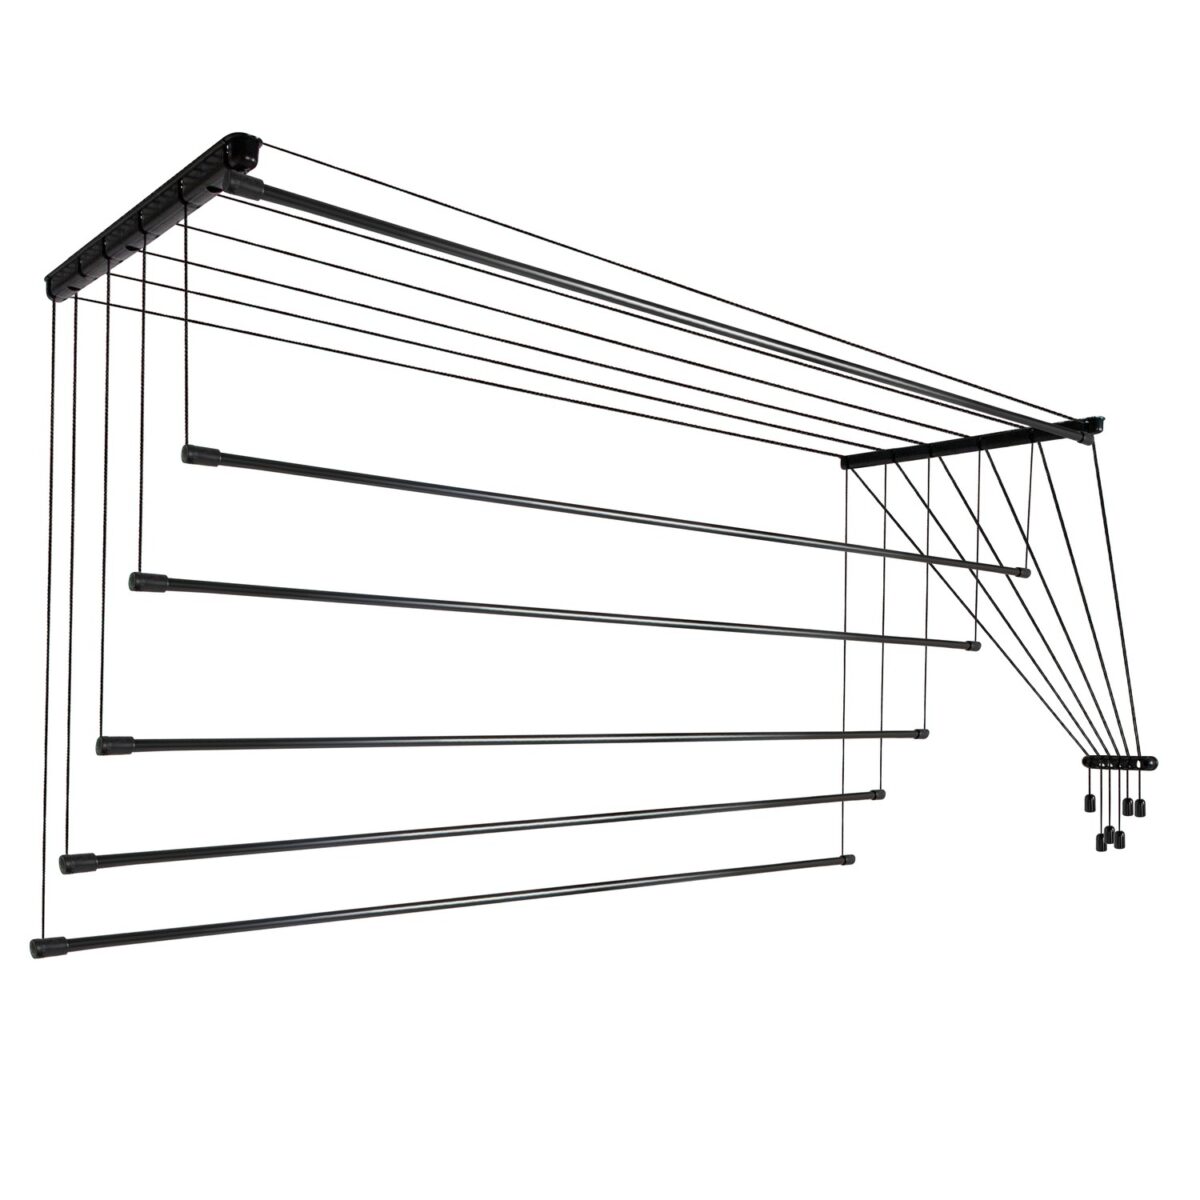
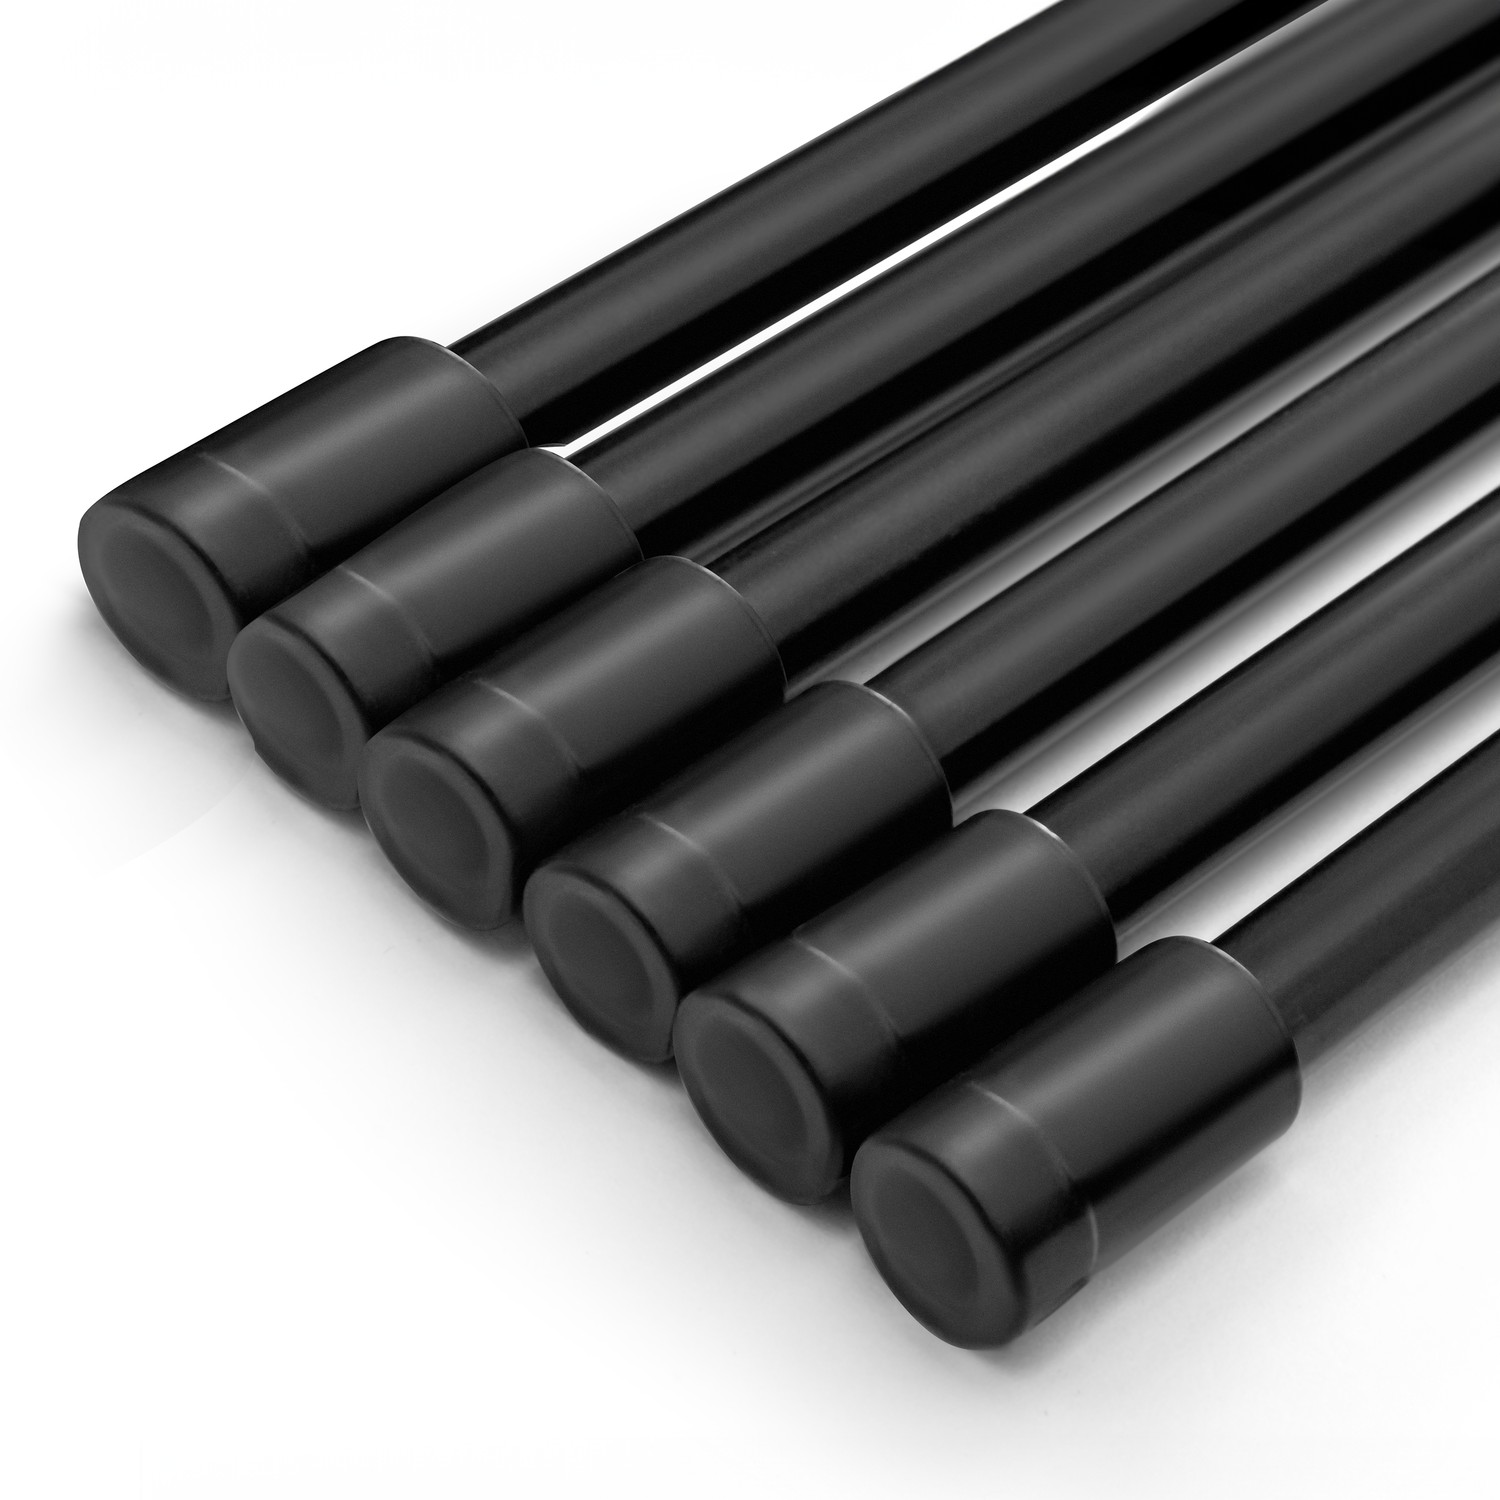
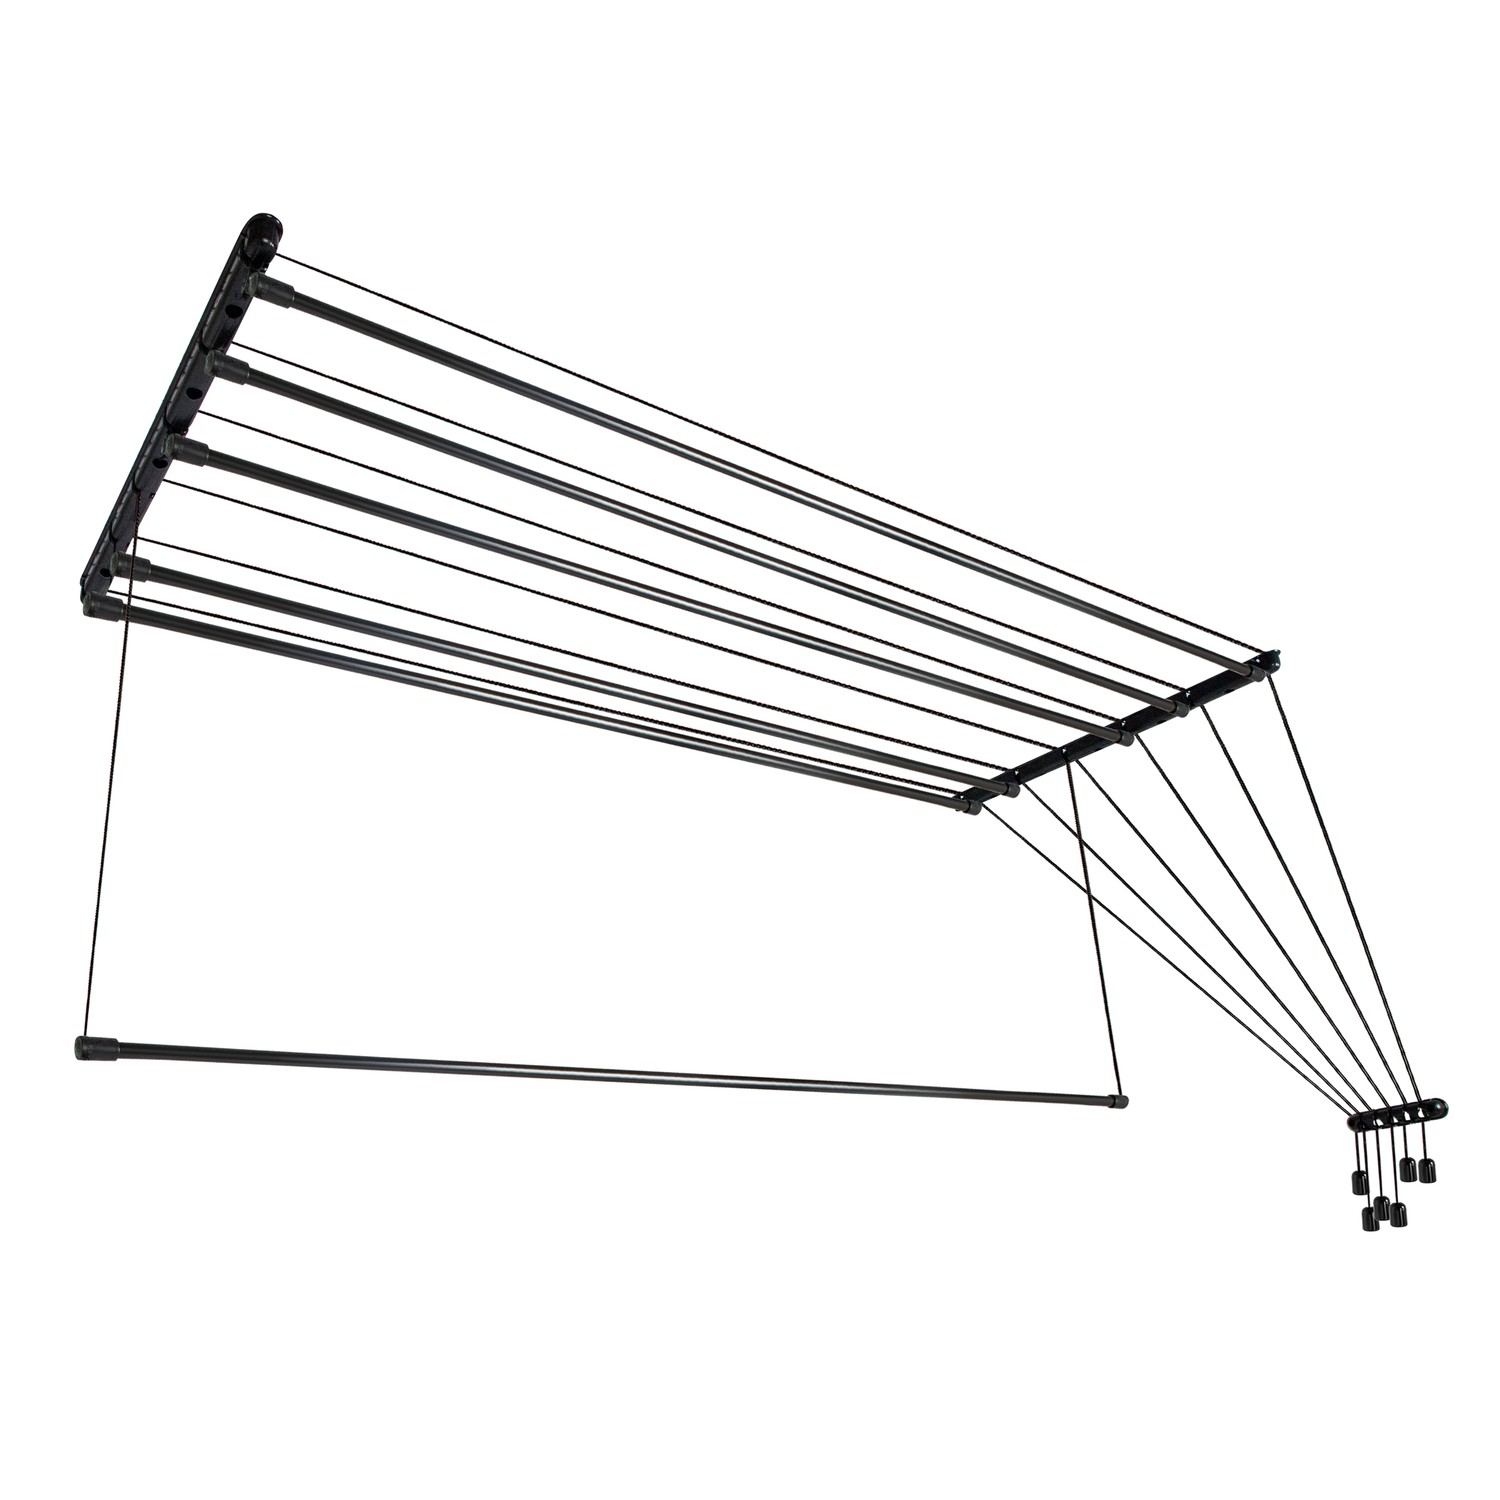
The ceiling laundry dryer with 6 rods is a space-saving and practical solution for drying your clothes. Made from durable aluminum, it is designed for everyday household use.
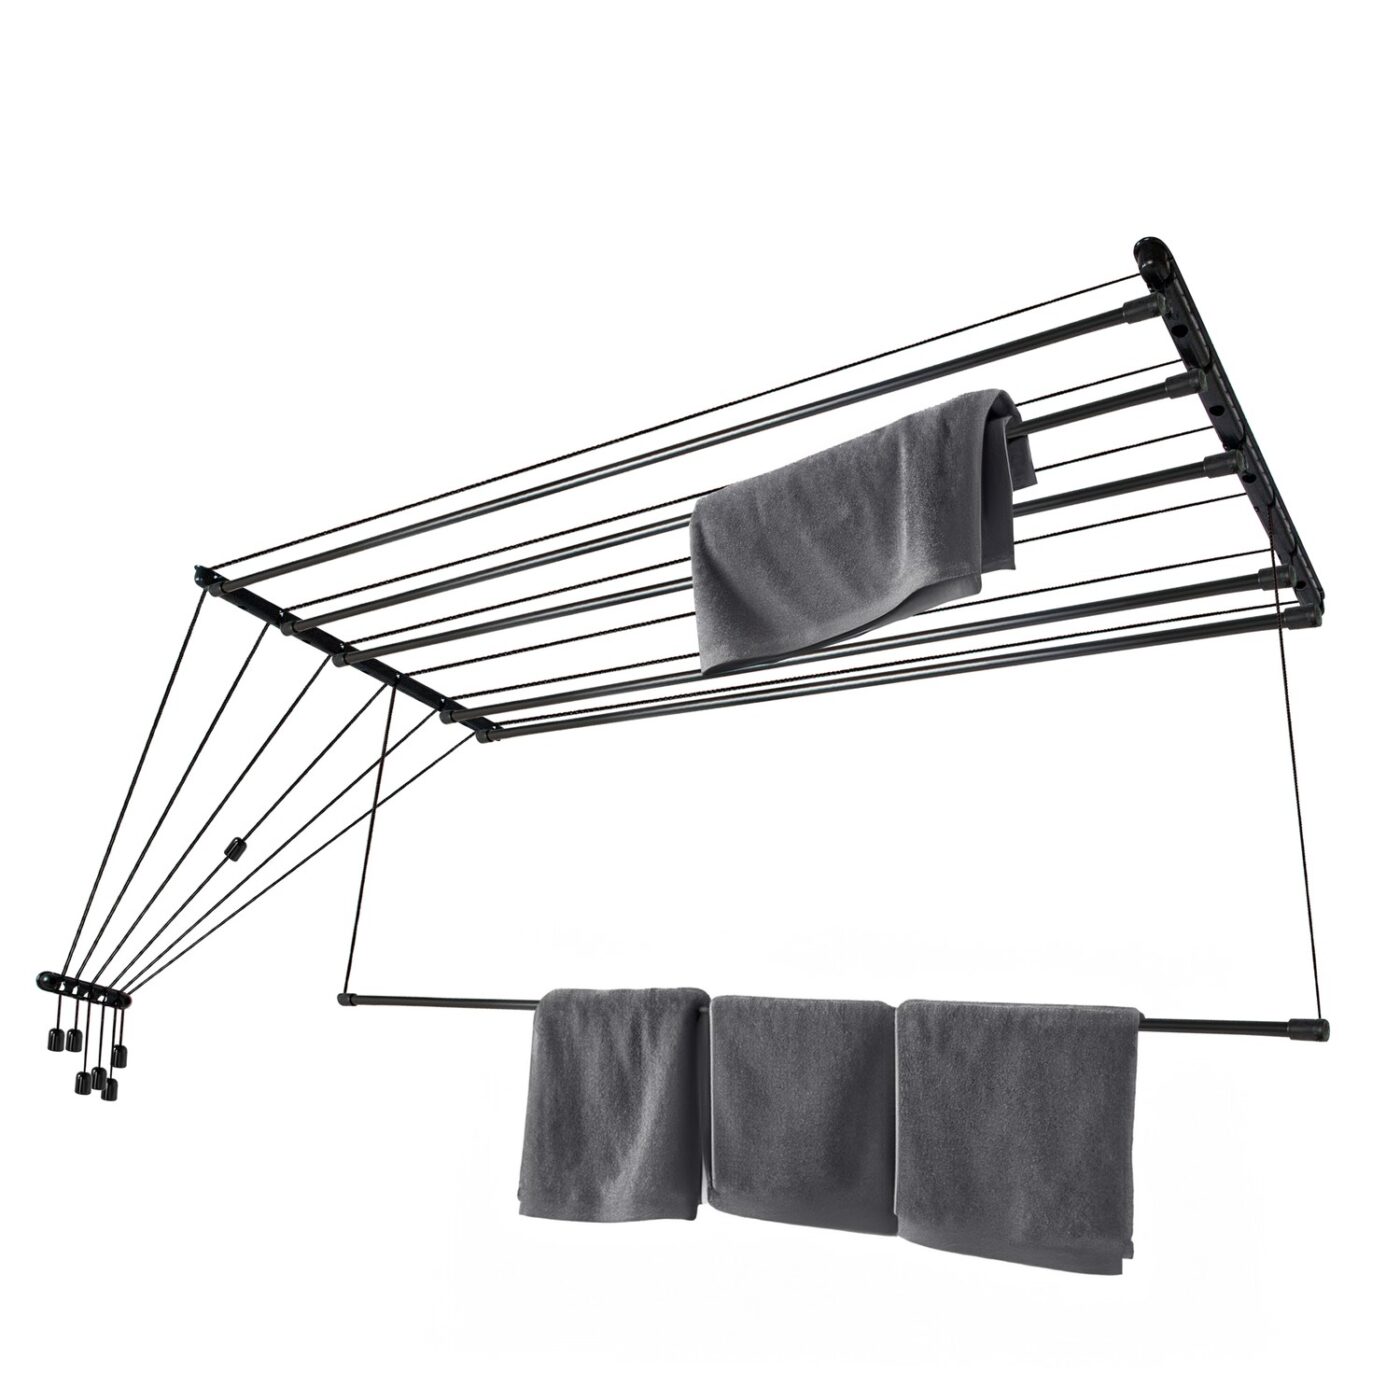
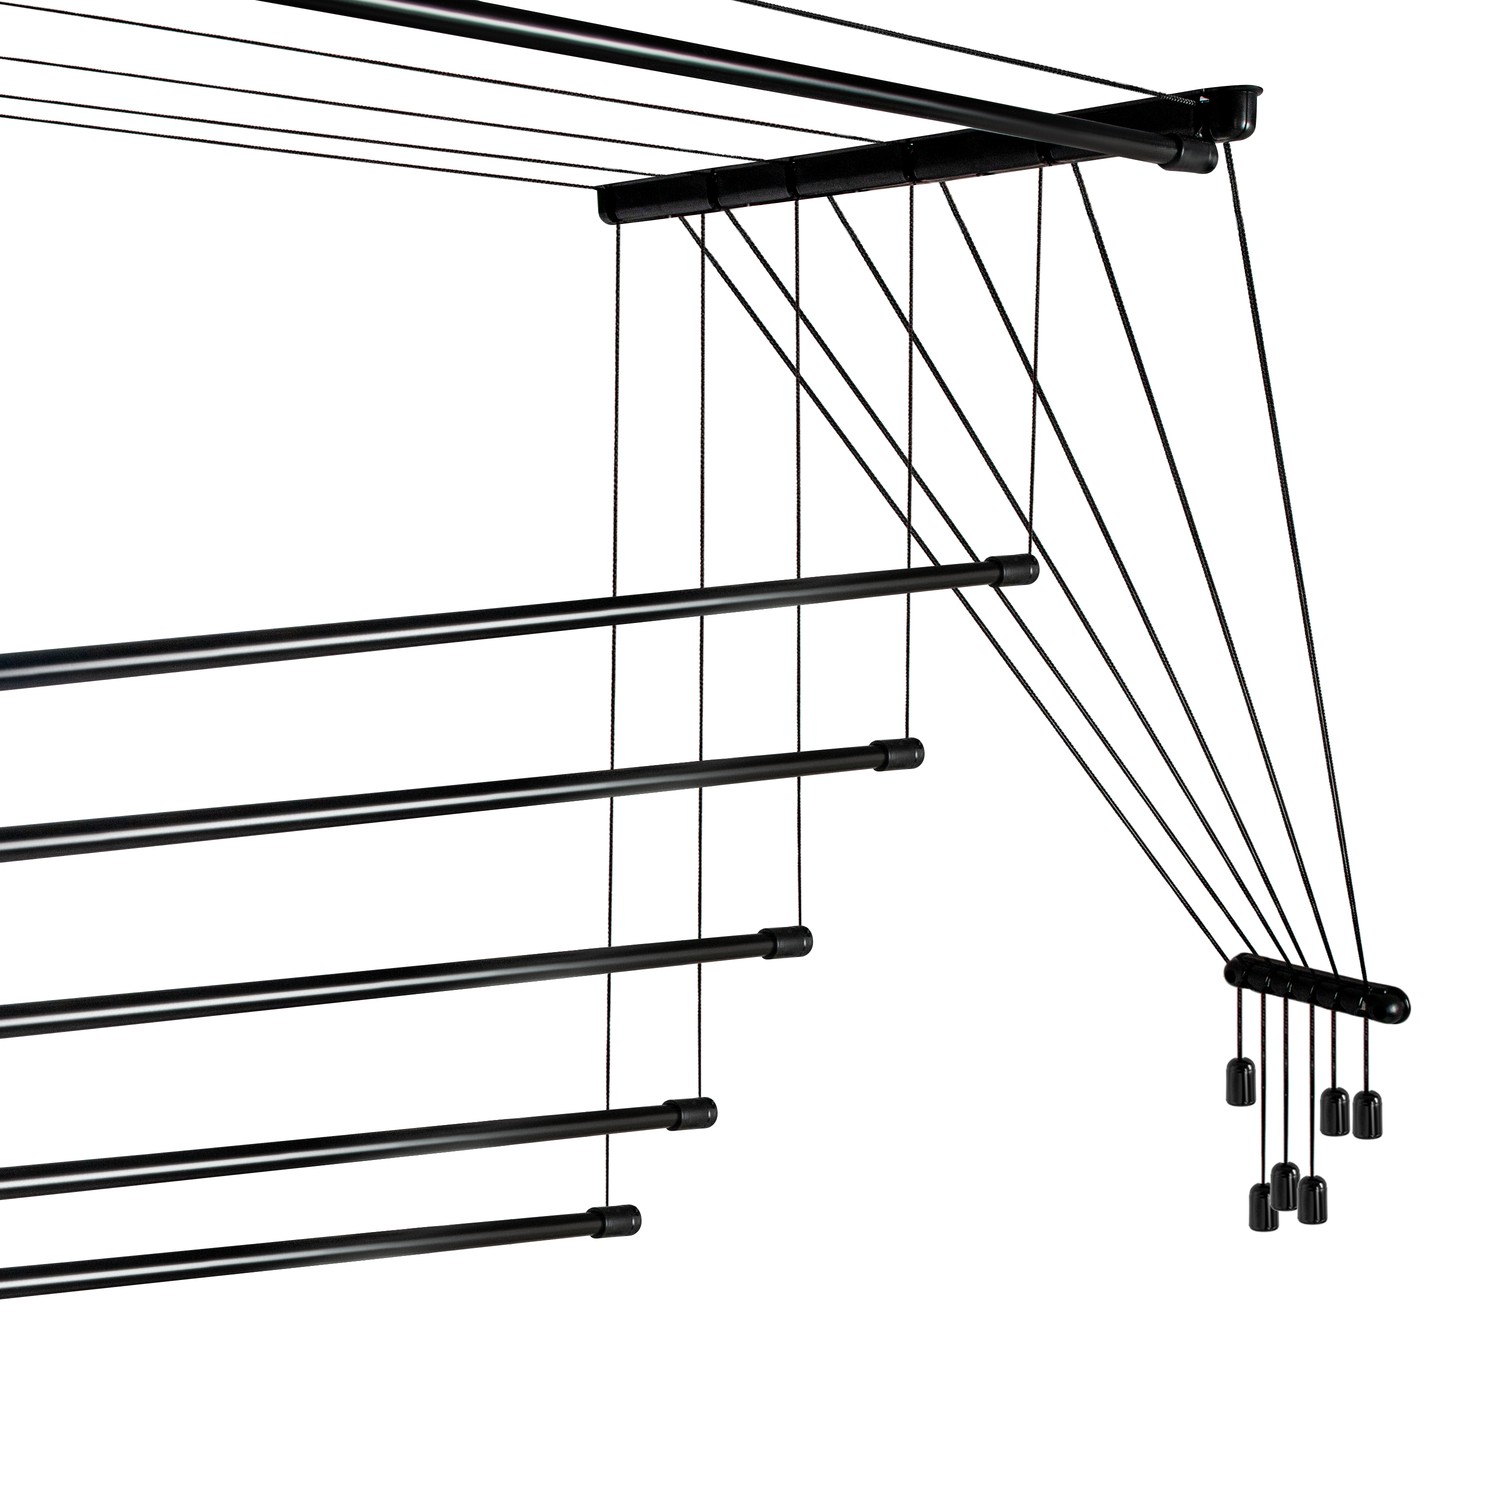
  • Compact ceiling-mounted design
  • 6 aluminum rods for durability
  • Suitable for bathrooms, balconies, or loggias
  • Powder-coated finish for longevity
  • Easy to maneuver and save space
Color:Black
  • Fast deliveryAcross Poland
  • Easy returns14 days to return
  • Secure paymentsPayU and BLIK
SKU: AV160B-6AL Categories: ,

Description

Product Description

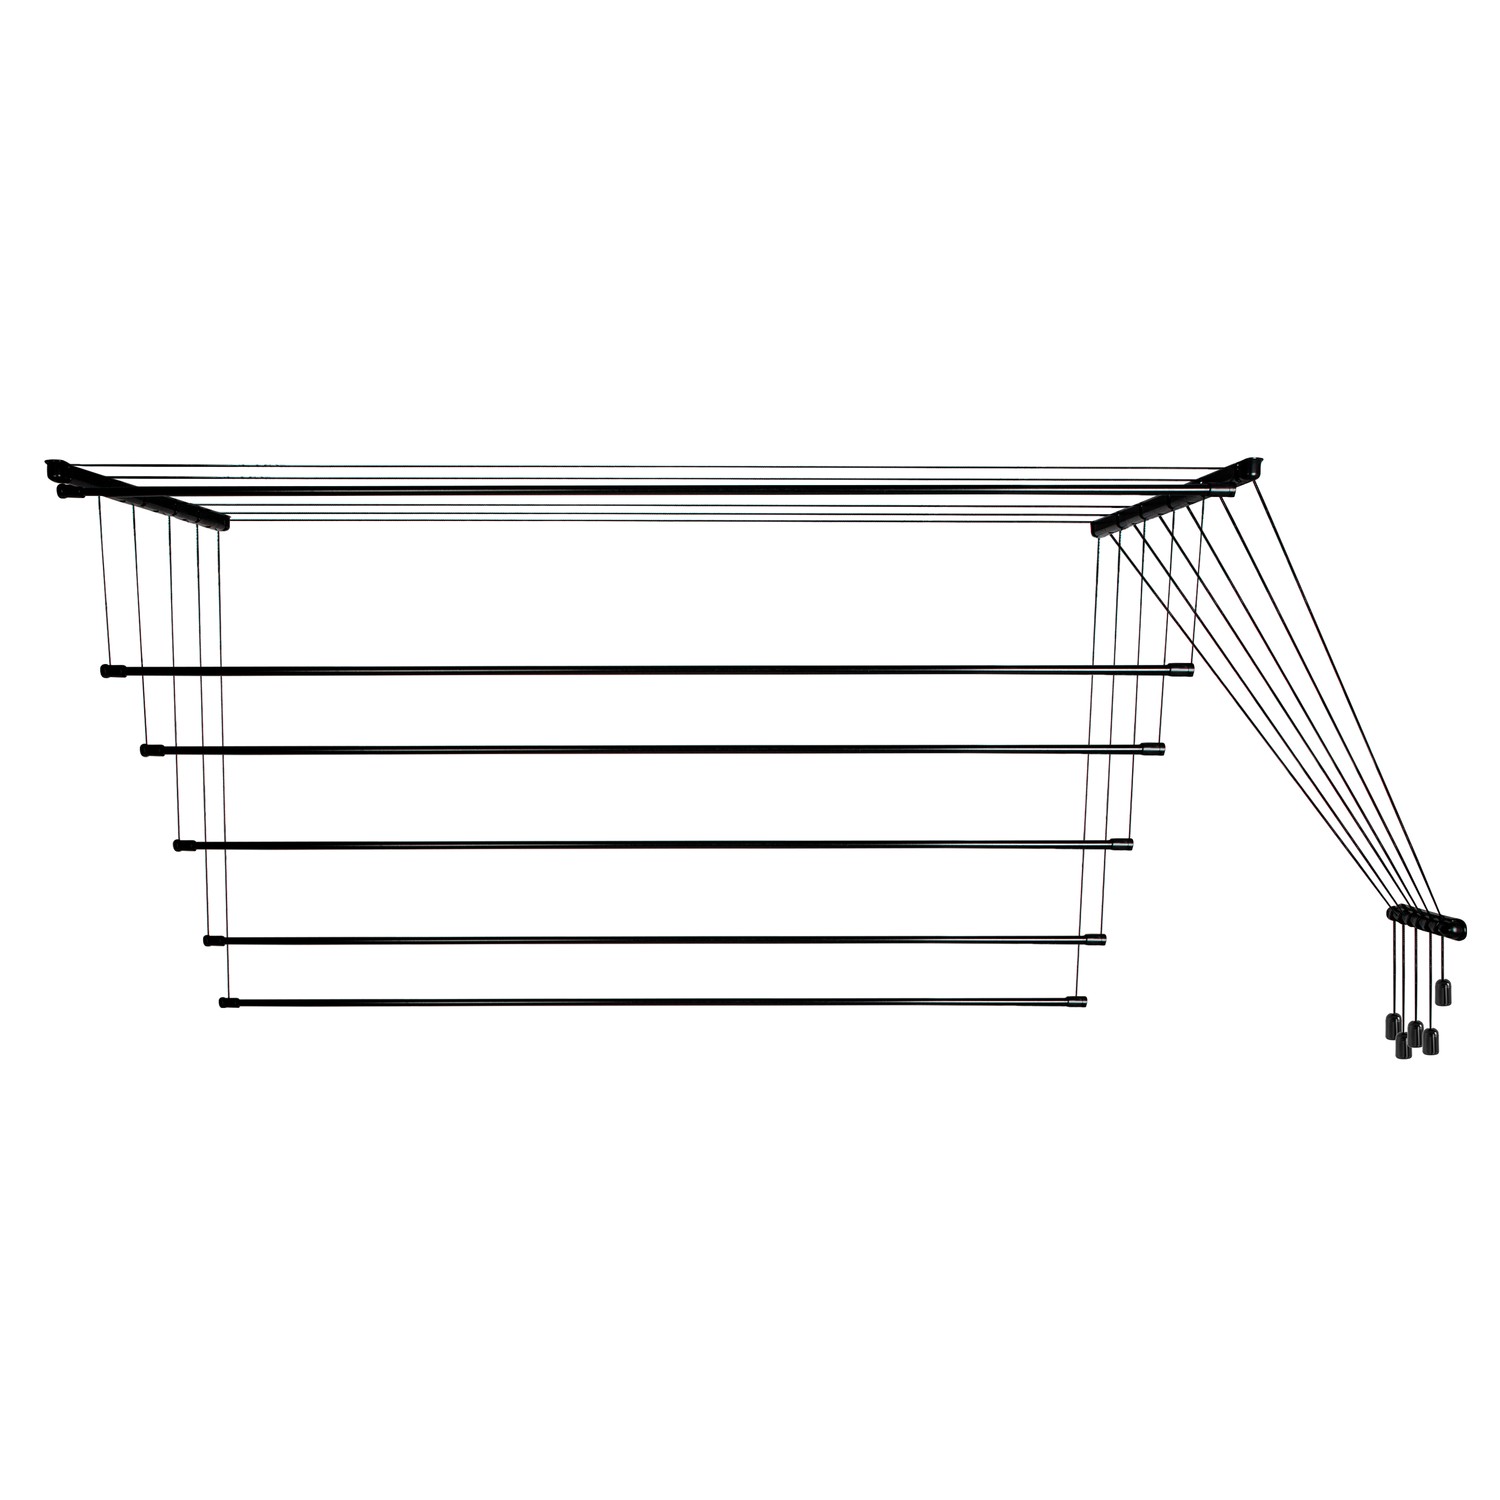
Laundry ceiling dryer 6×1.6 m, aluminum (AV160B-6AL) – photo

Laundry ceiling dryer 6x1.6 m, aluminum (AVDC160B-6AL)

Durability and practicality

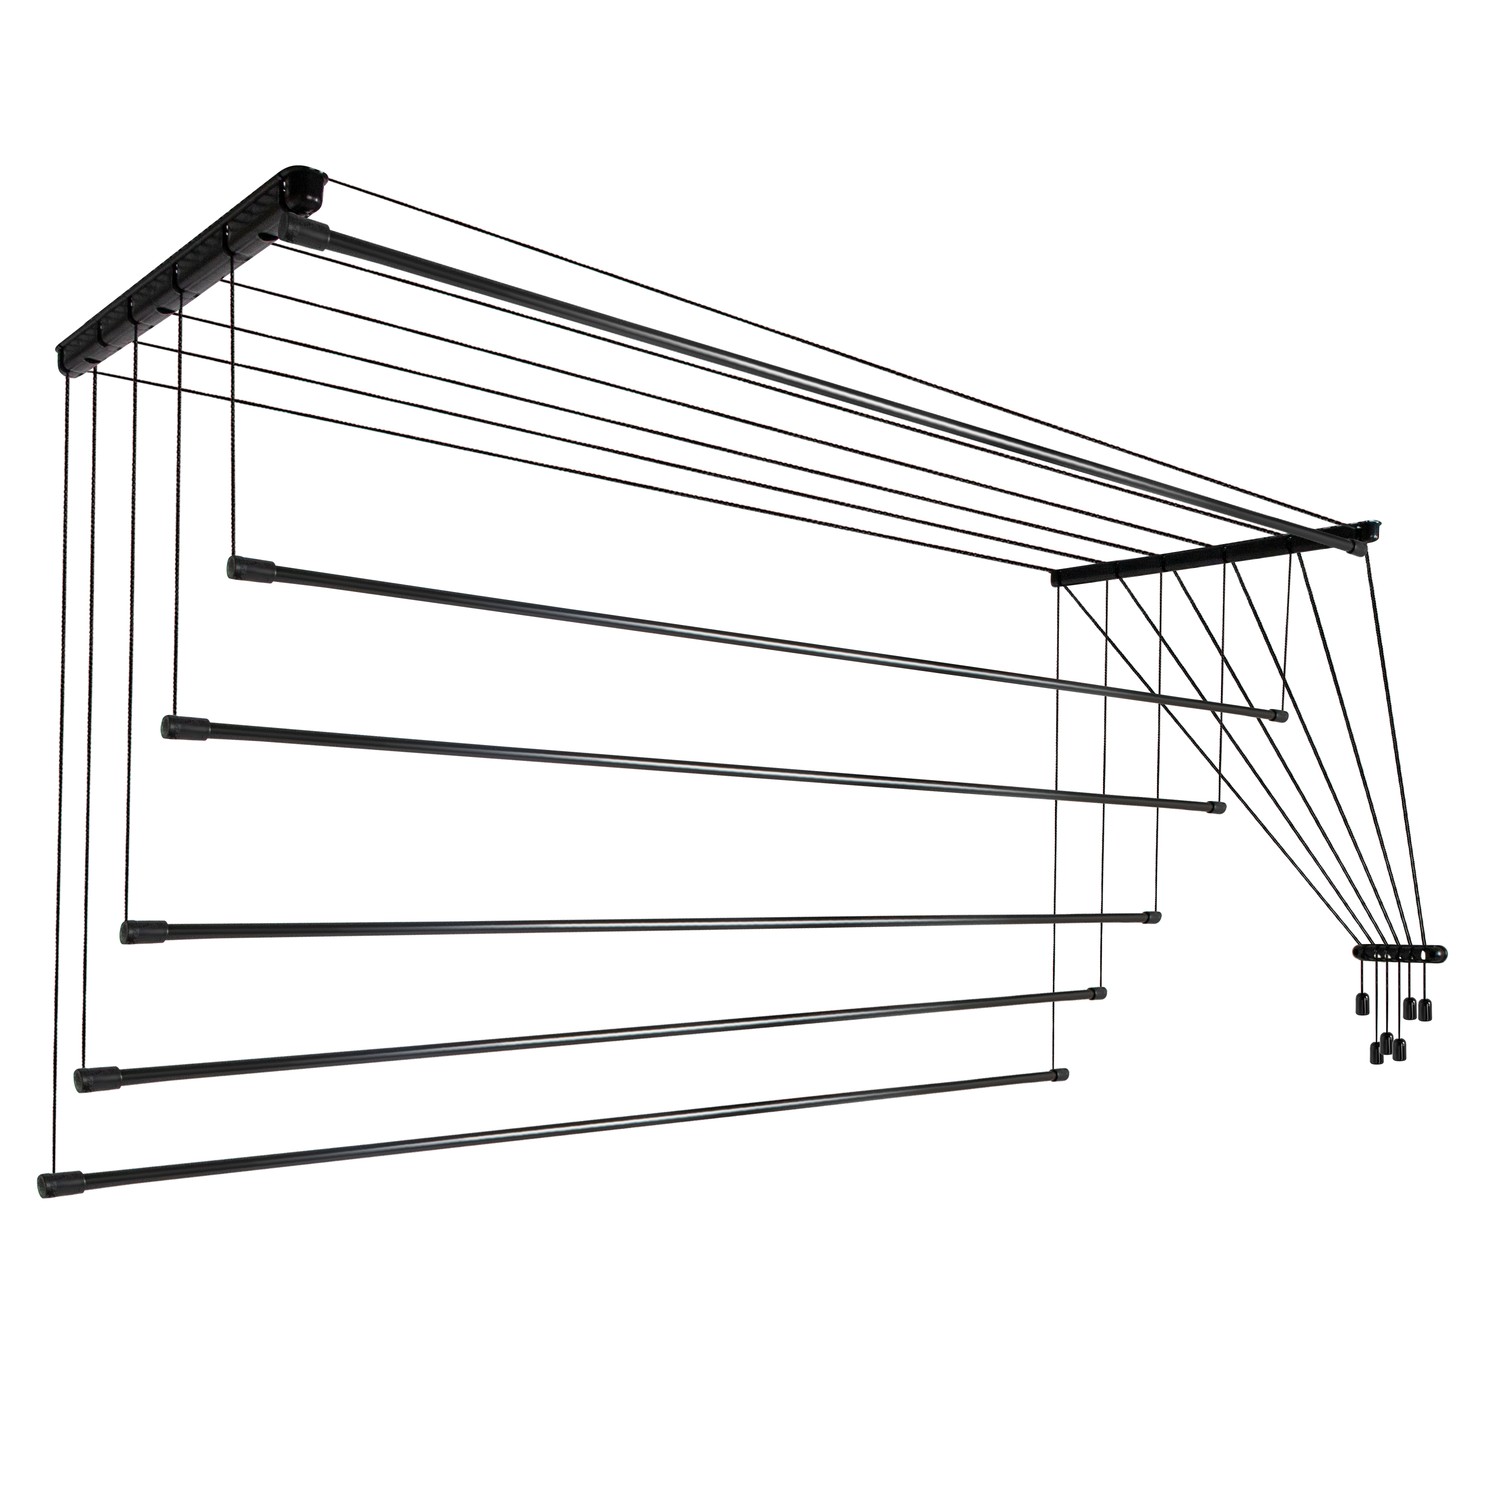
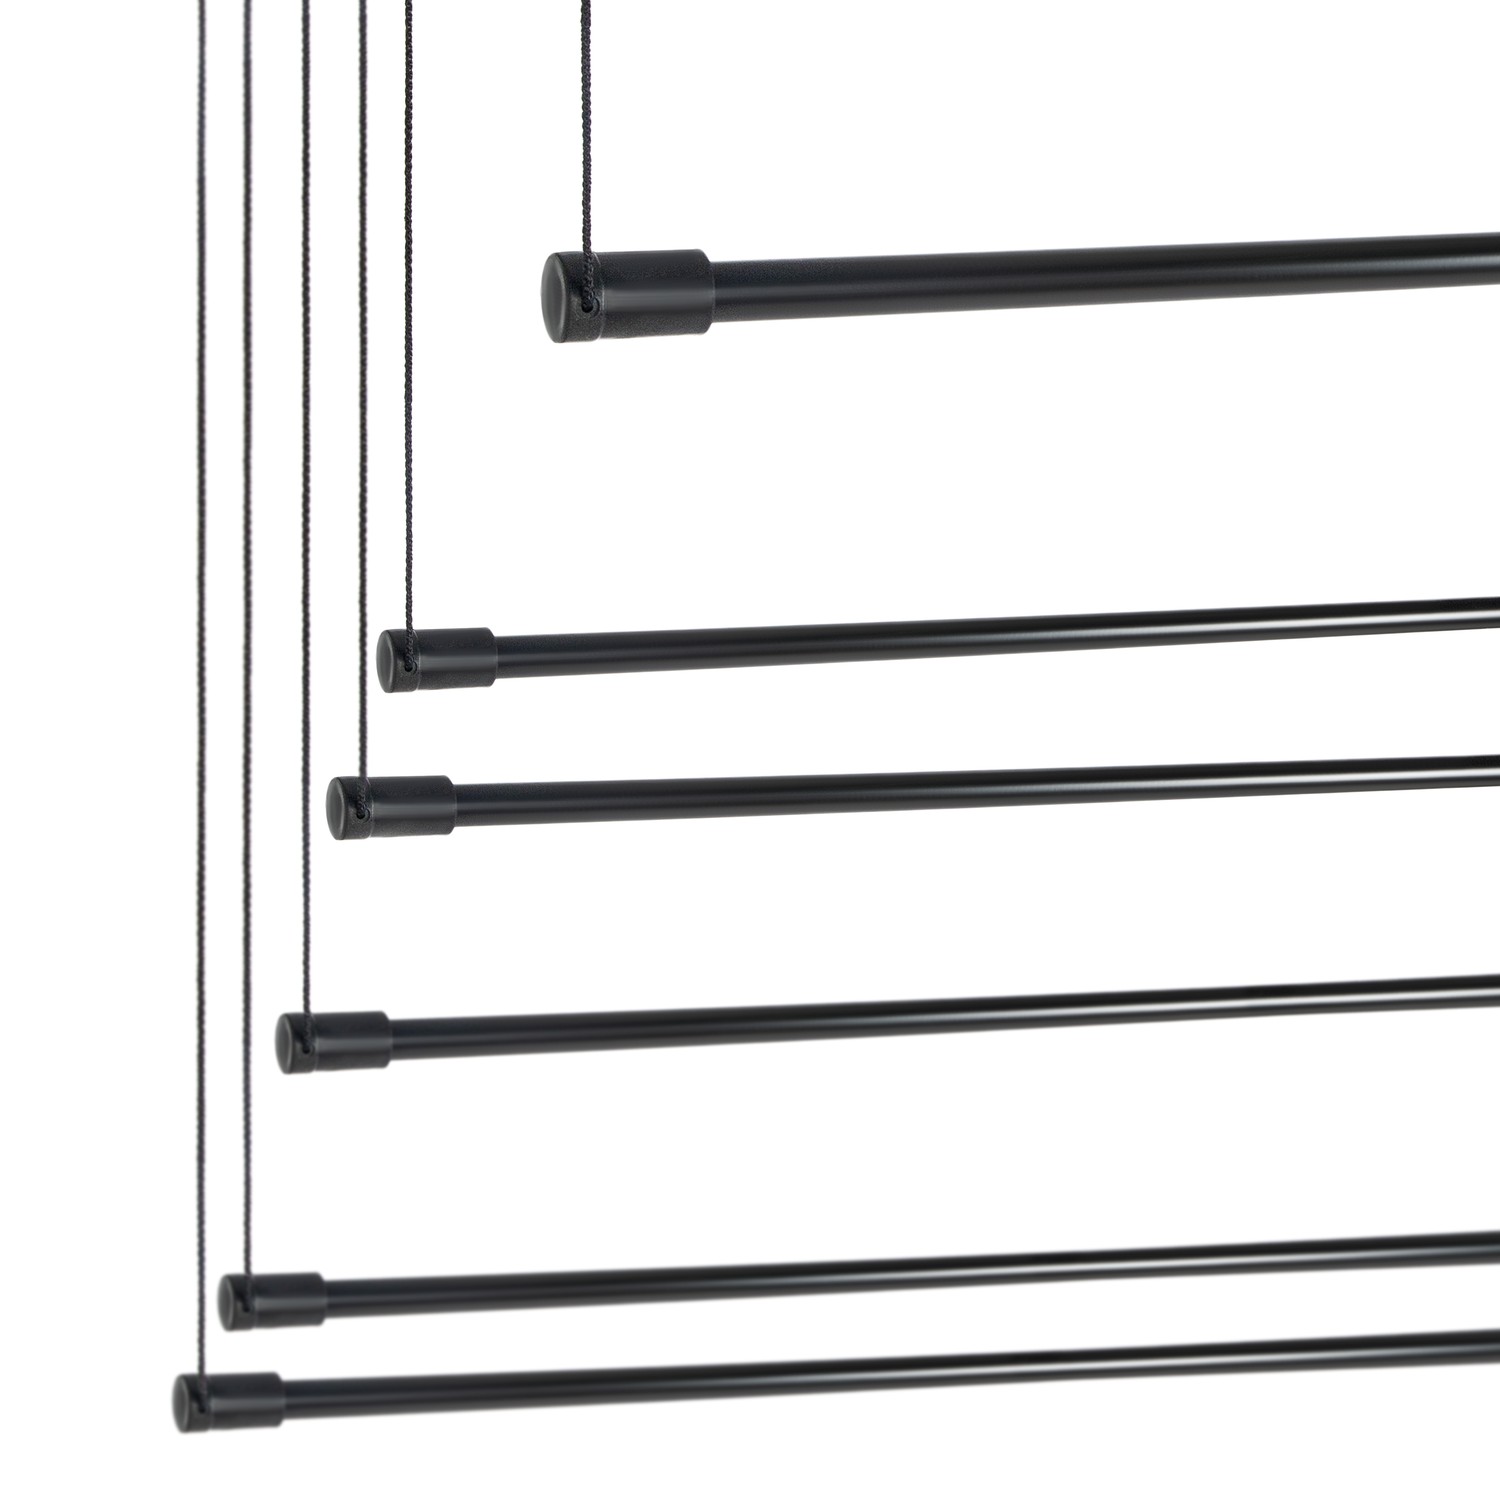
Ceiling dryer – a compact and convenient clothes drying rack. It allows you to quickly and efficiently dry your laundry. The black color of the product fits any interior. The design can be used in the bathroom, on the balcony, or on the loggia.

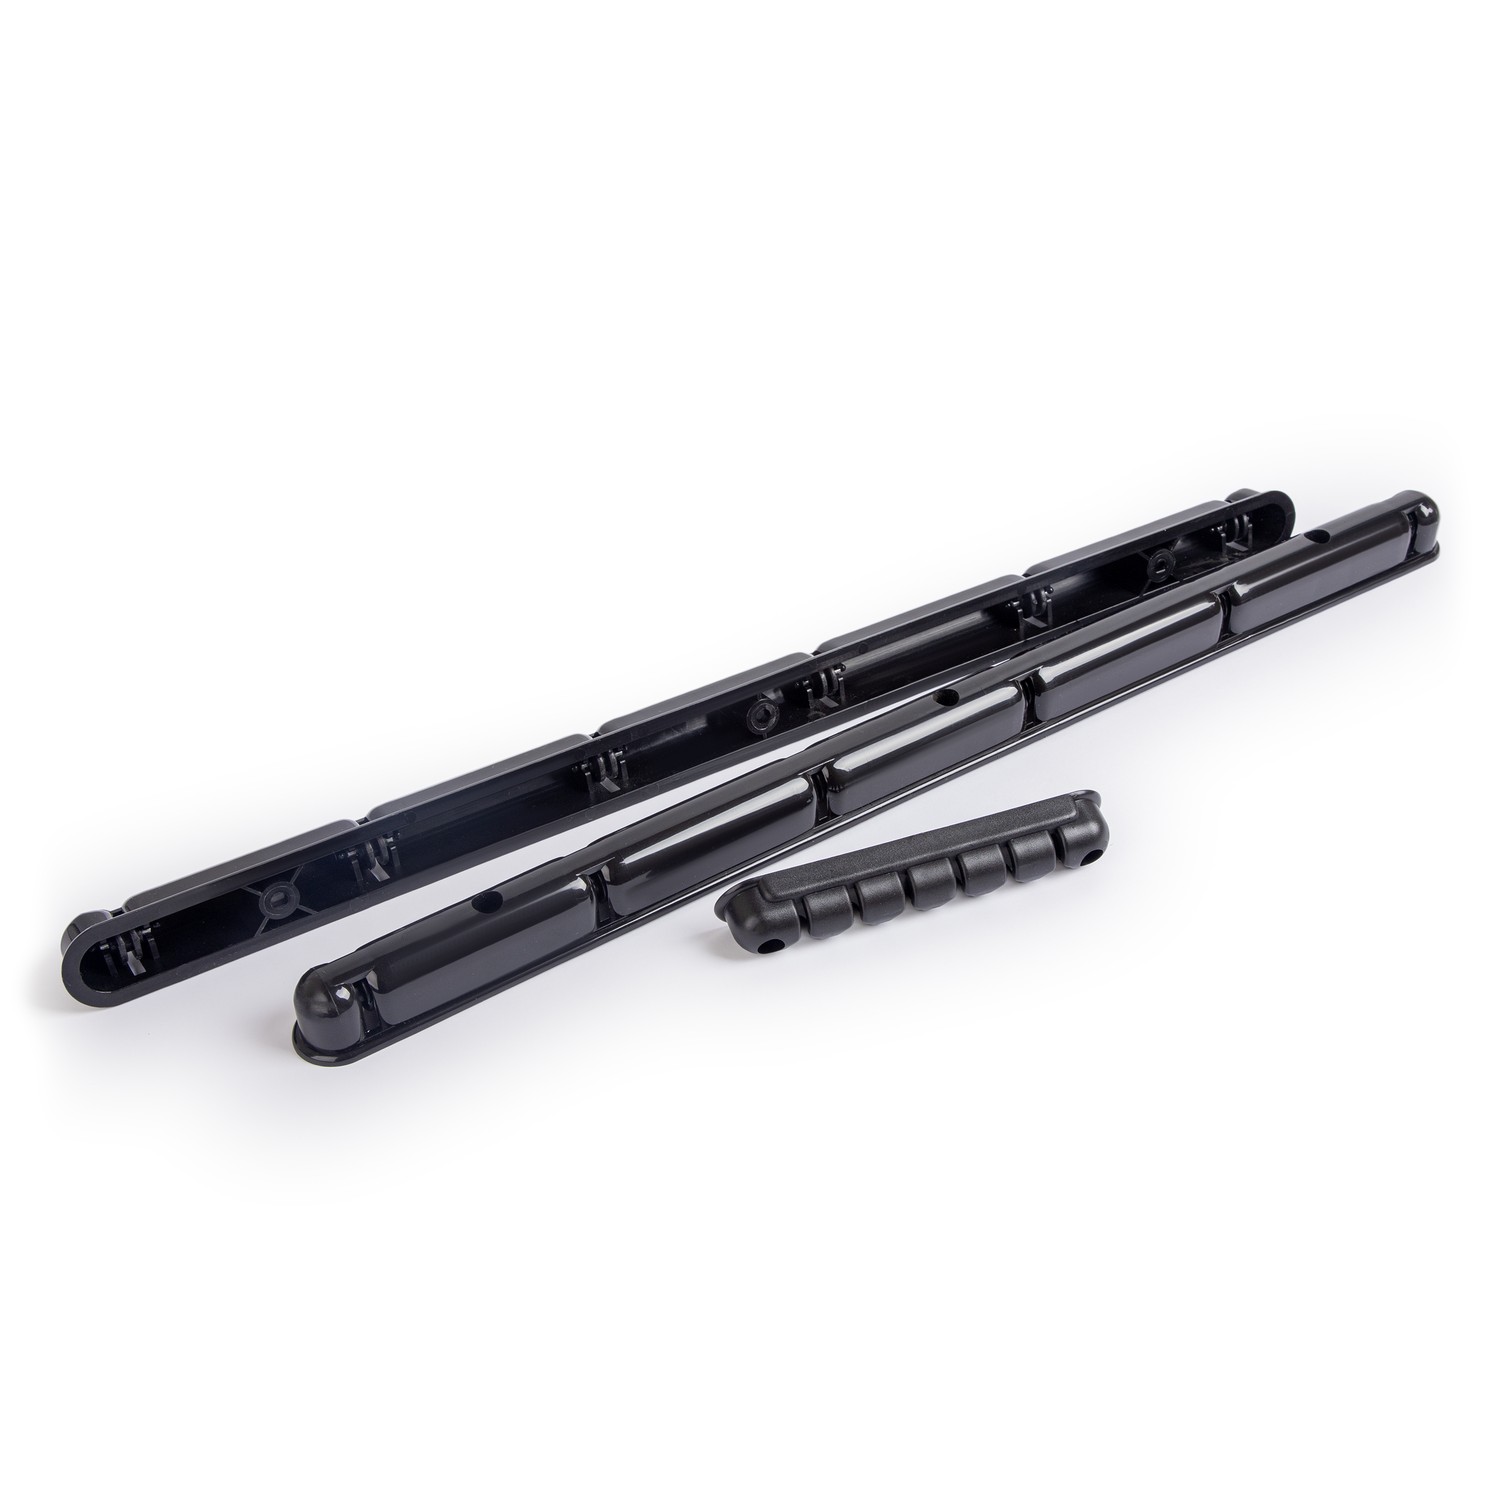
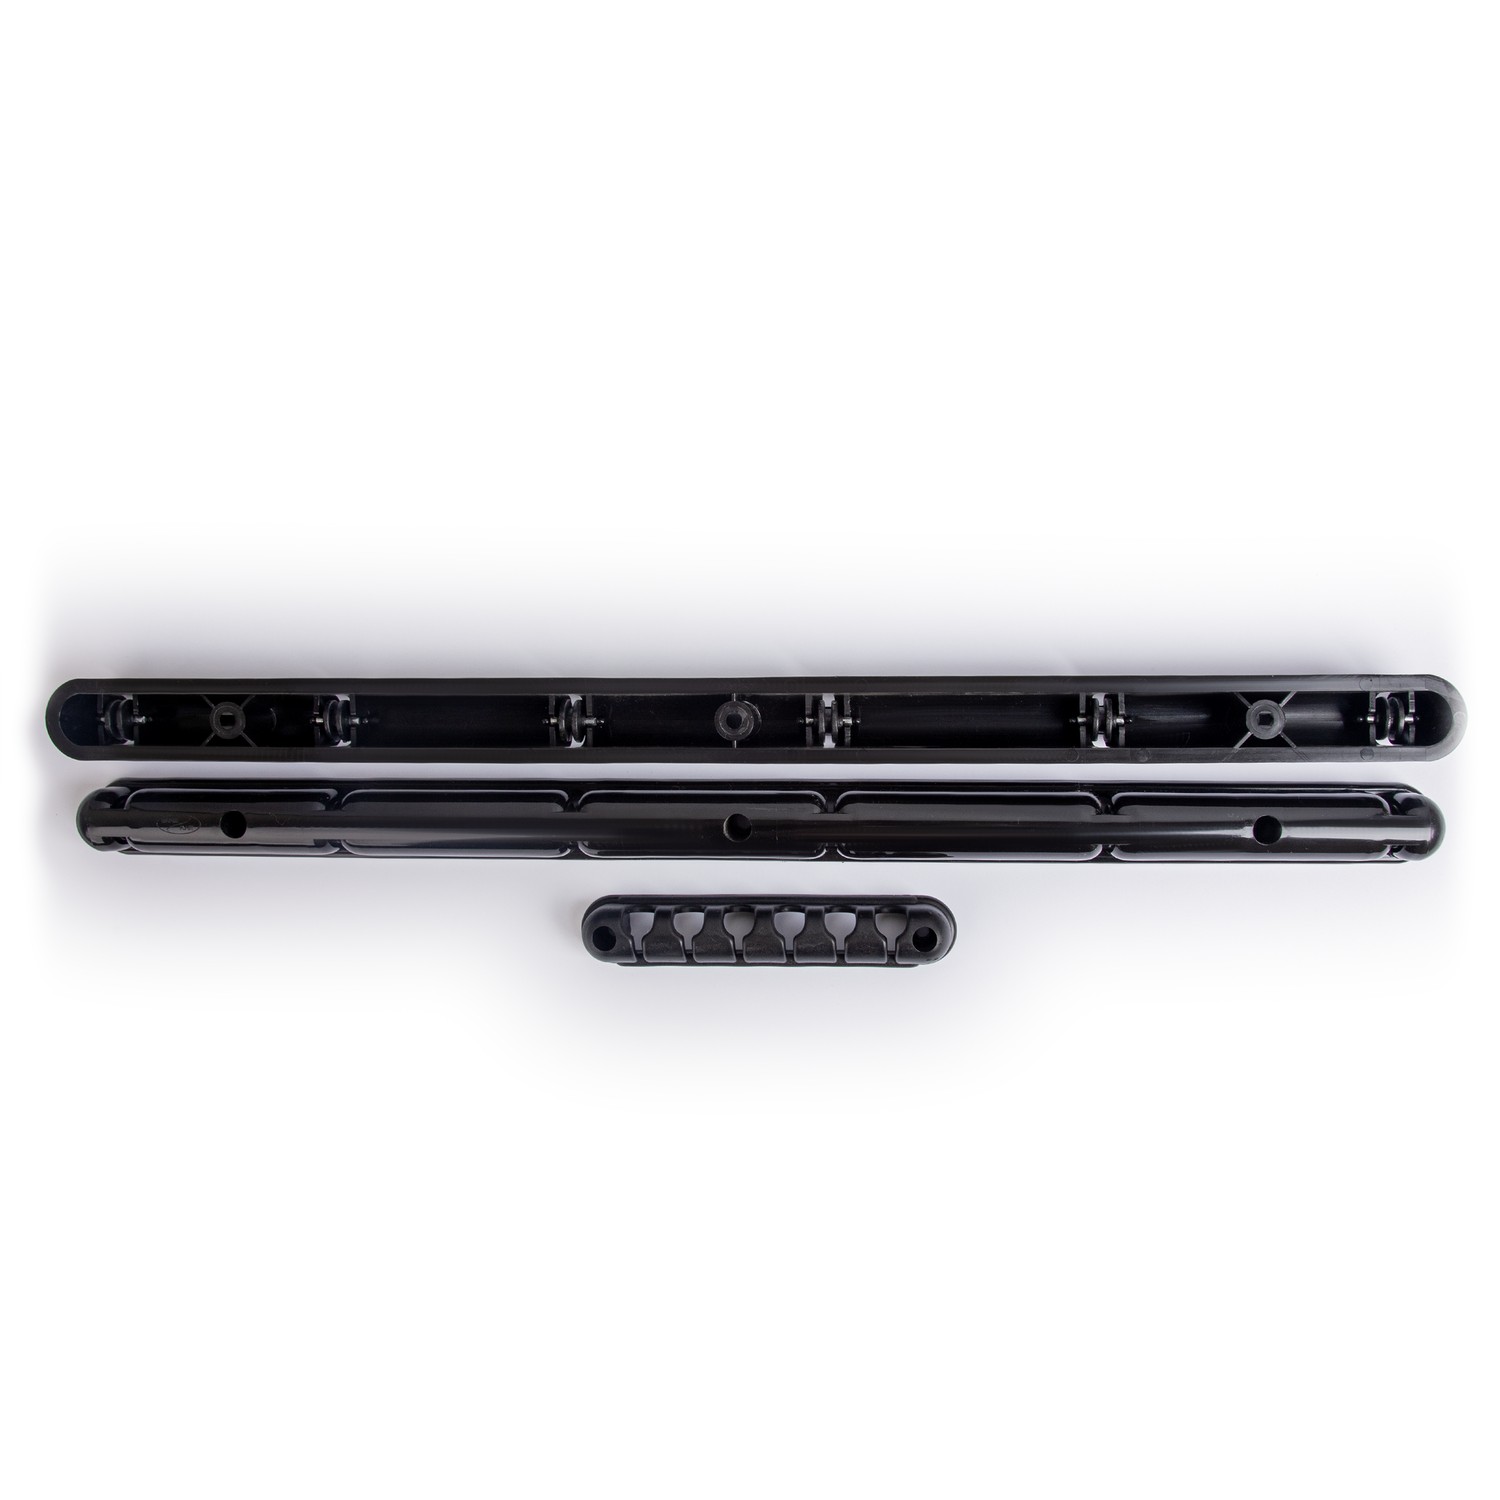
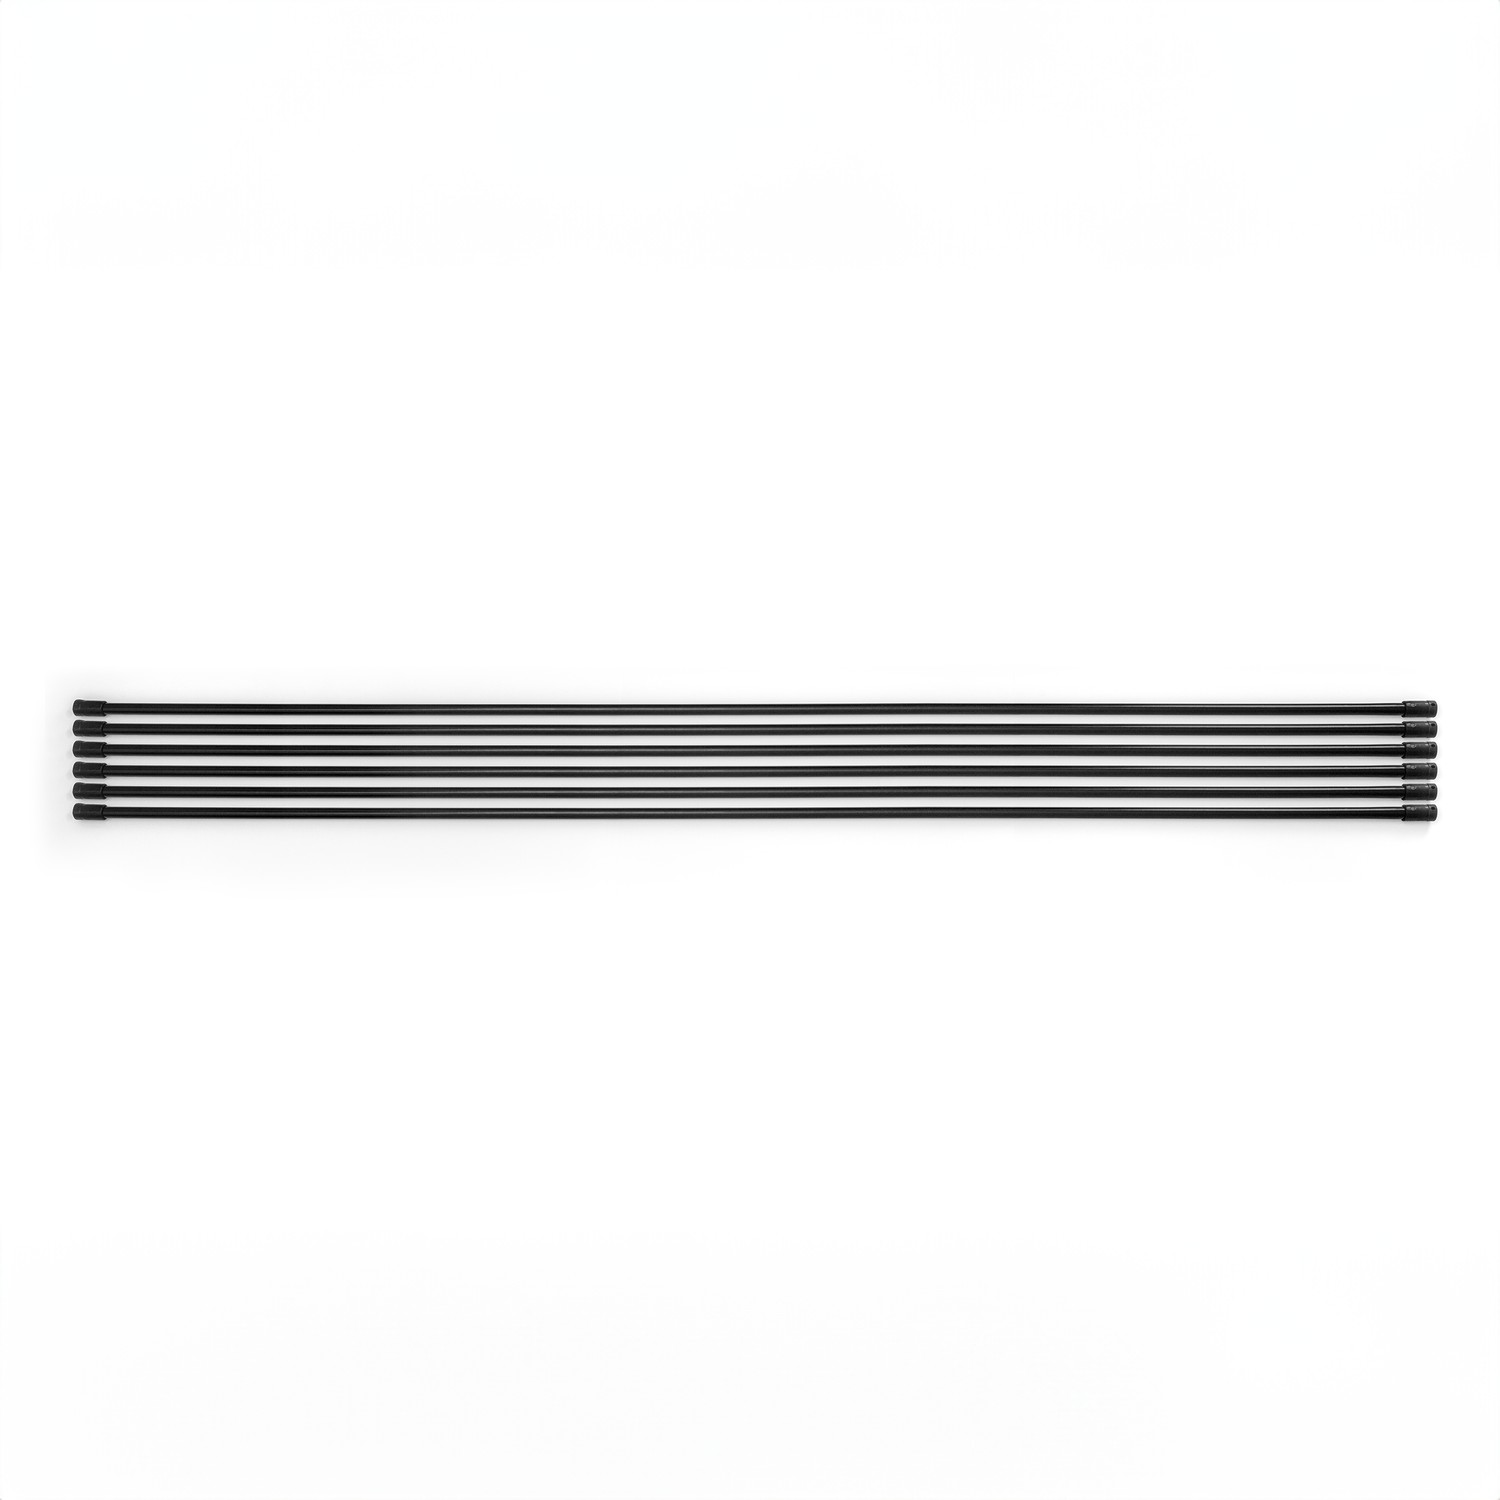
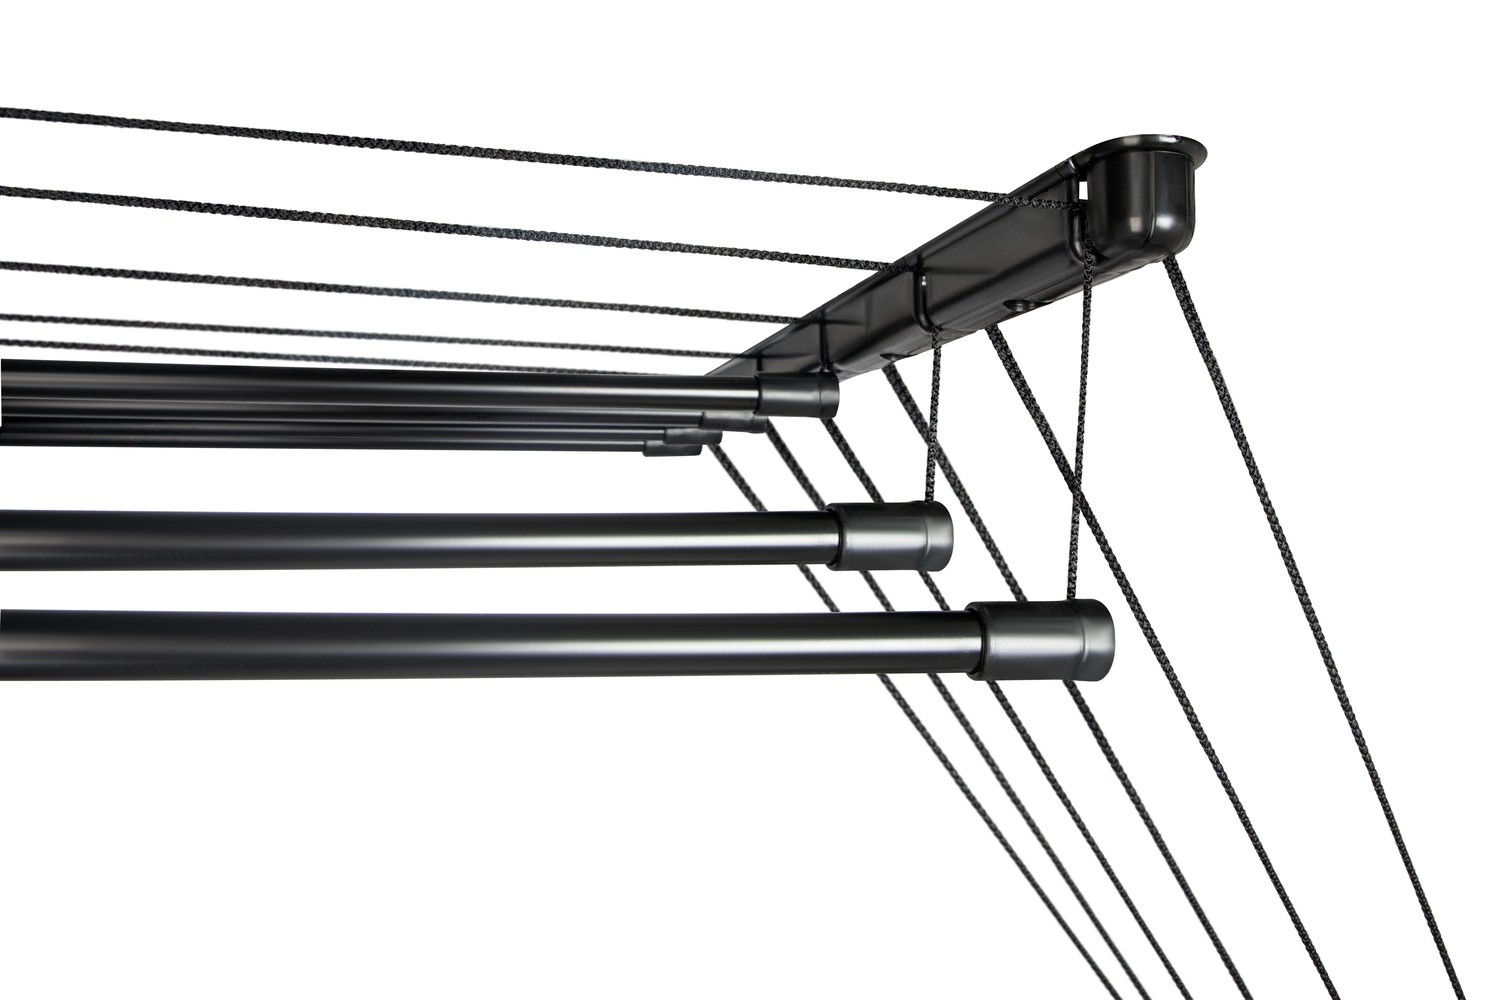
The rods of the structure are made of aluminum and coated with powder paint. The fastening elements are made of durable plastic that does not deform over time. The dryer is designed for long-term use and is suitable for everyday household use.

Reliability

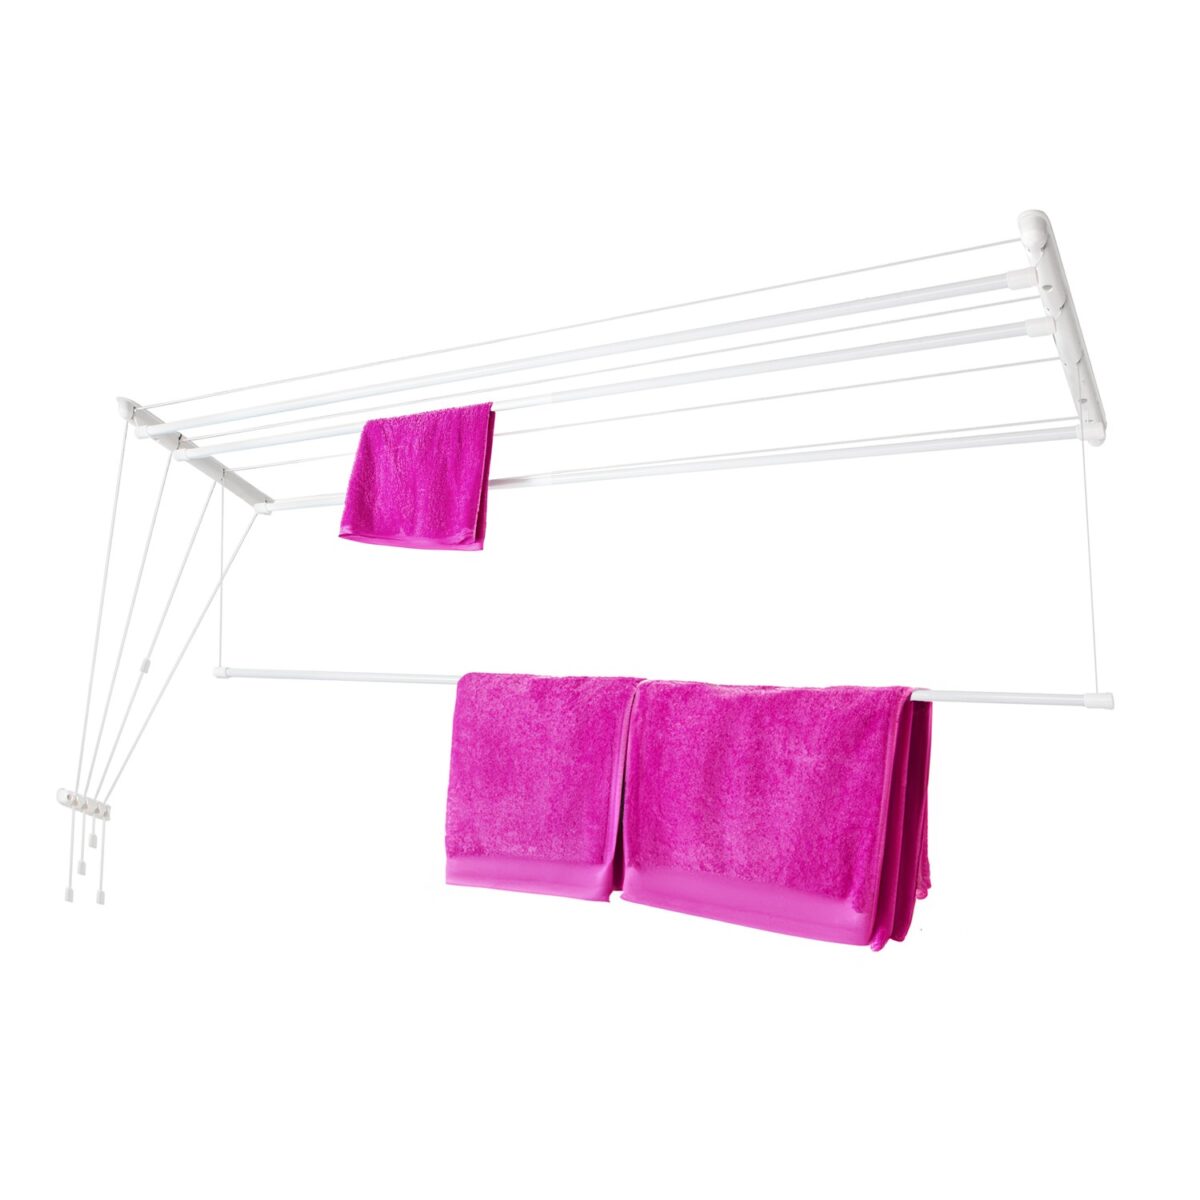
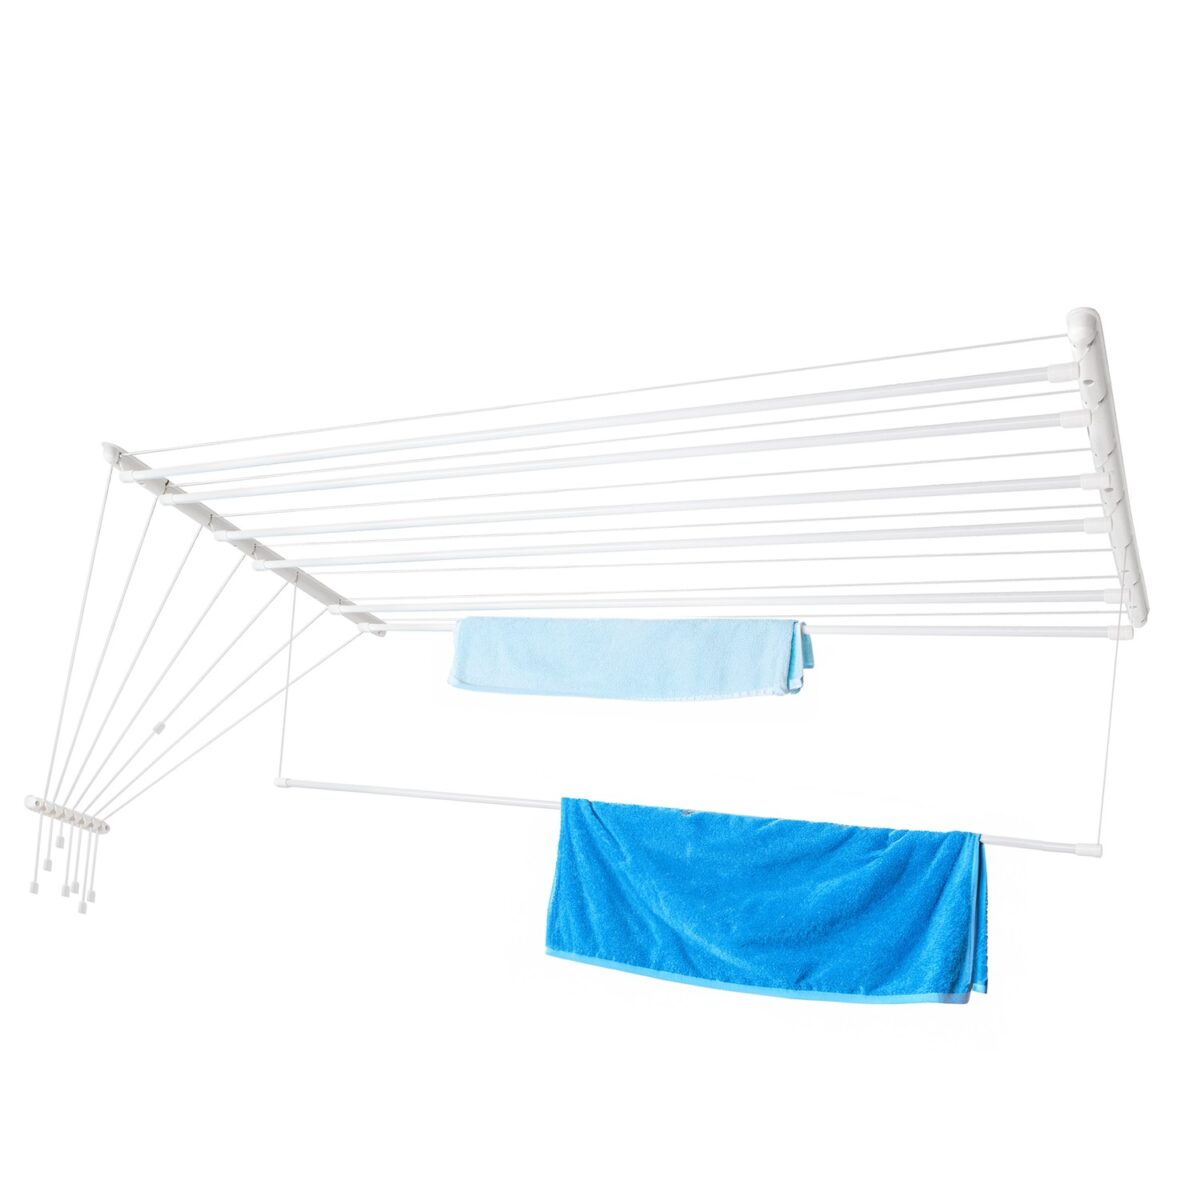
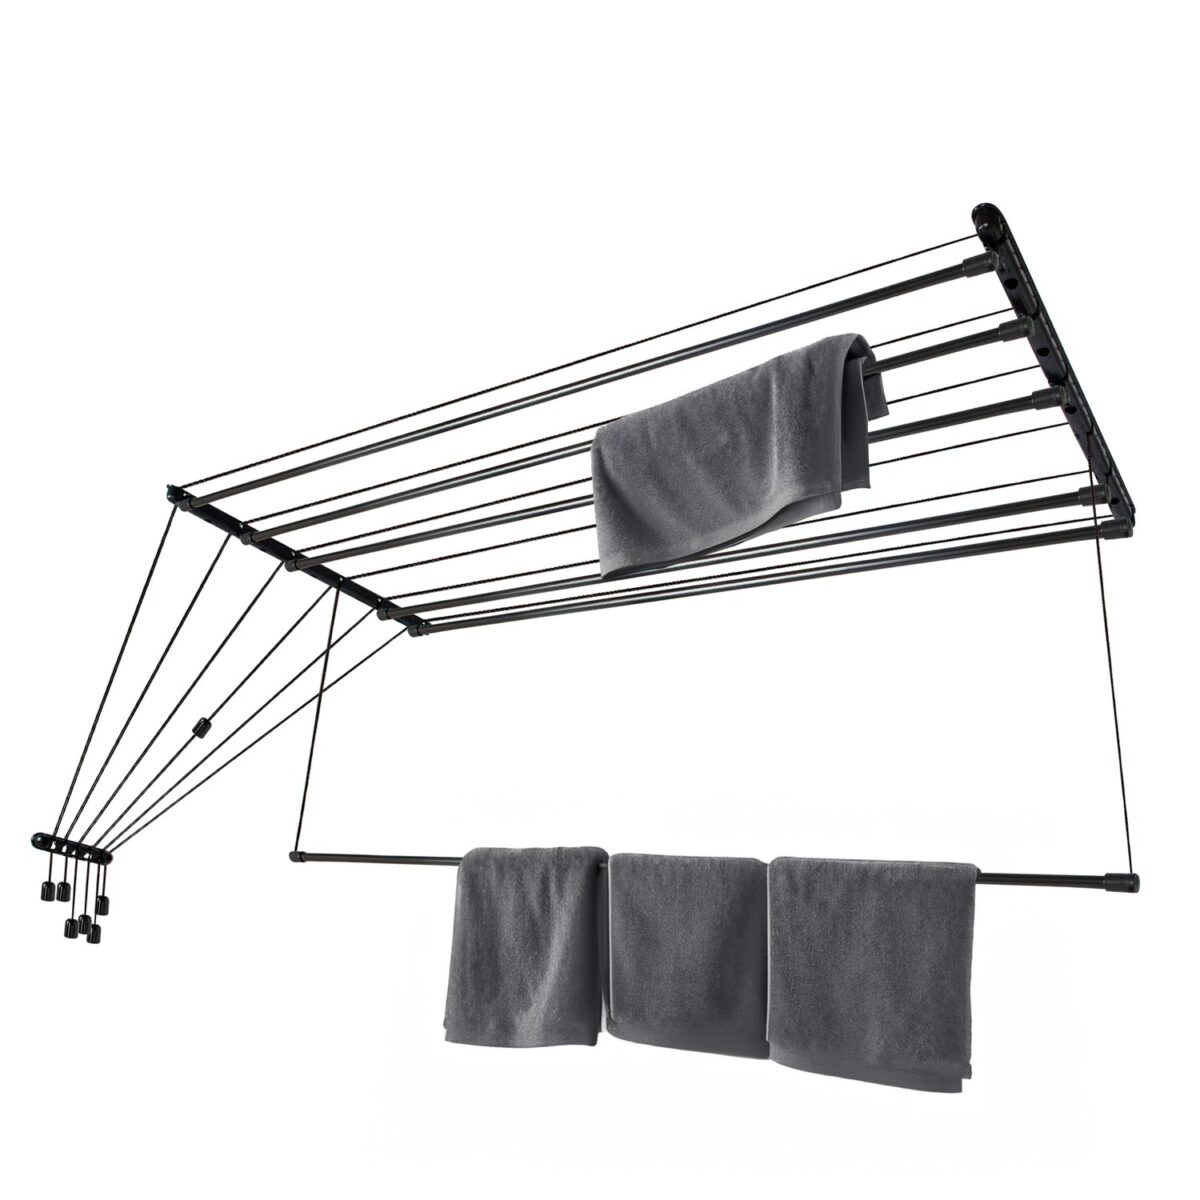
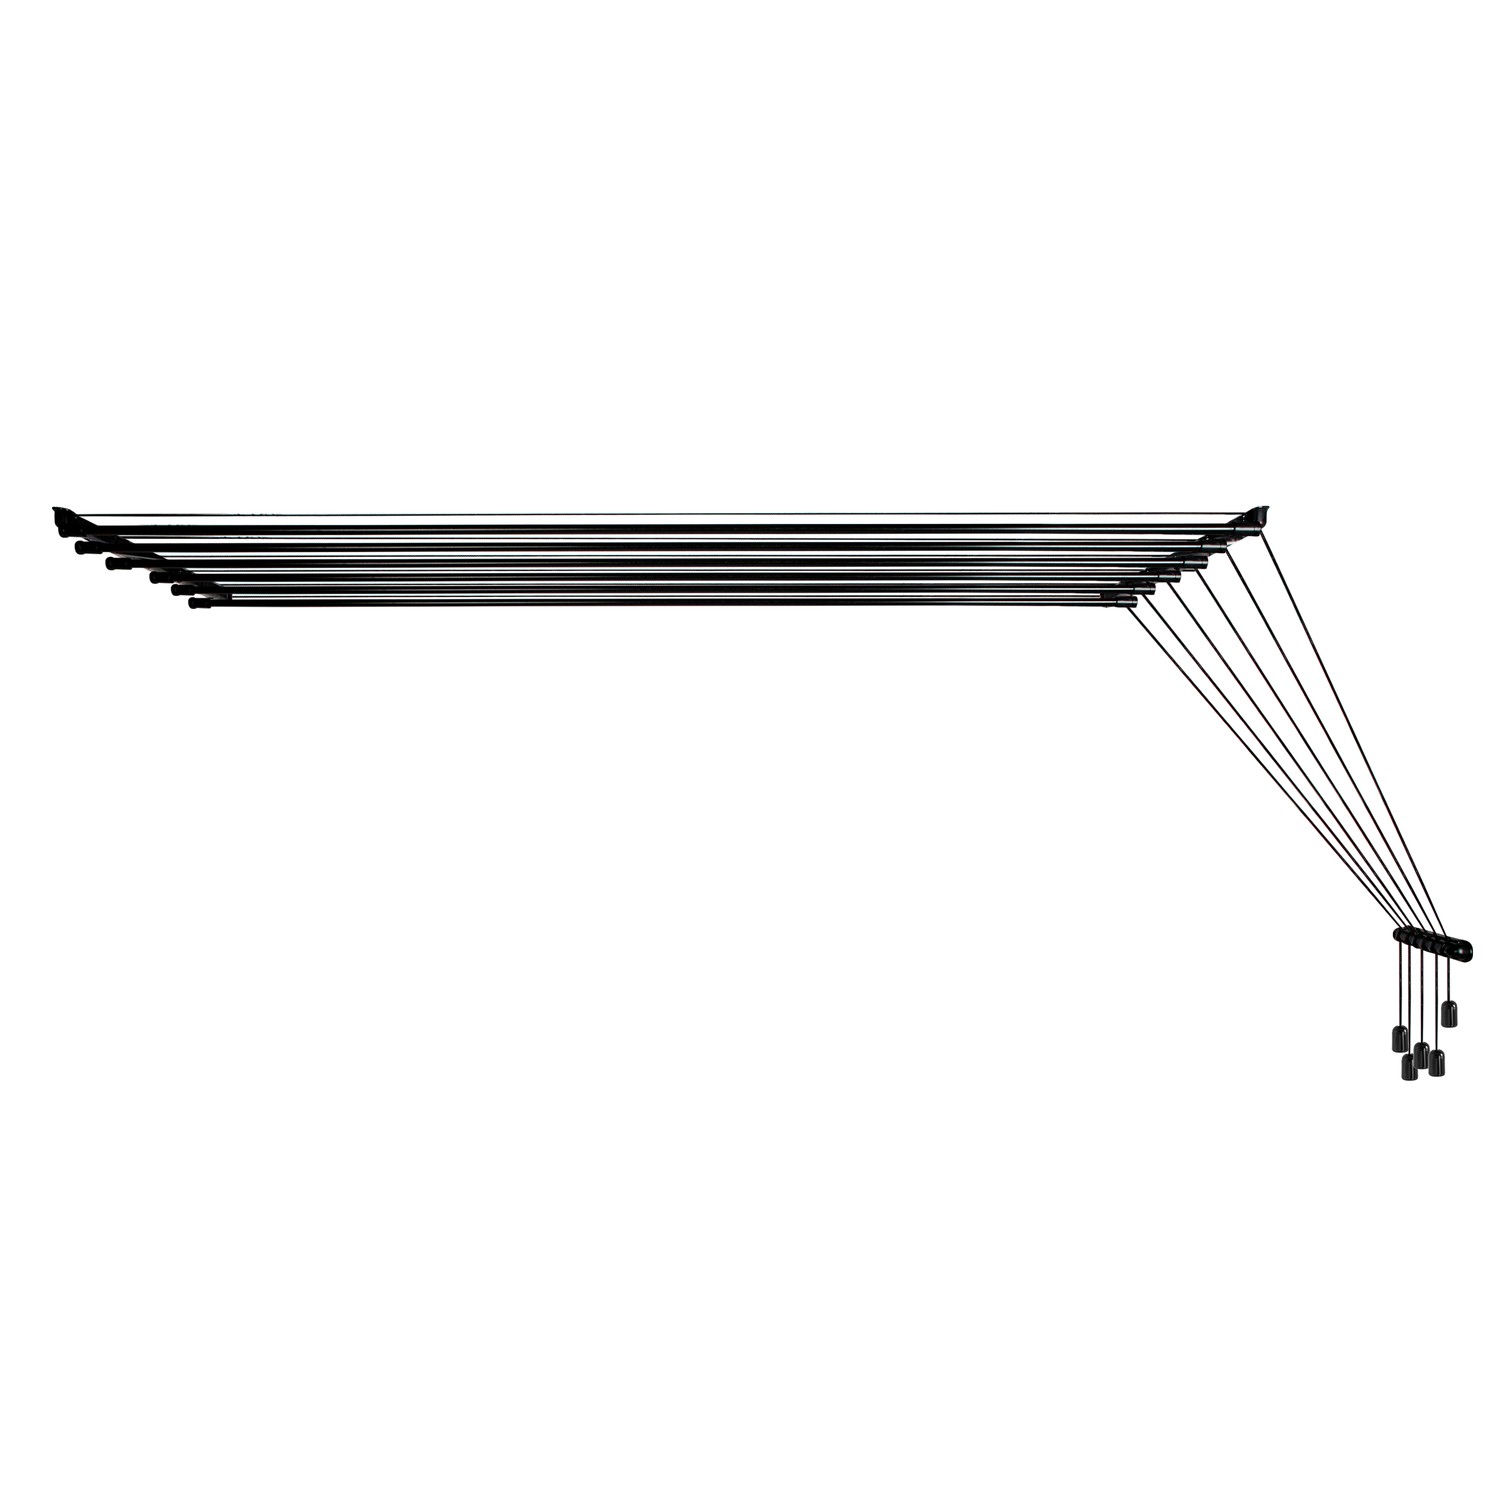
To hang the laundry, the dryer rods are lowered to the desired level and then raised back up. The washed clothes dry under the ceiling, saving space. When not in use, the dryer takes up minimal space, does not obstruct movement, and does not interfere with the opening of balcony doors or windows.

Ceiling Clothes Dryer 6x1.4 m Steel AV140B-6ST - 15
Ceiling Clothes Dryer 6x1.4 m Steel AV140B-6ST - 3

Compactness and simplicity

The drying surface is 9.6 m, and the dimensions of the structure are 160 × 45 cm. The dryer consists of five rods, each 160 cm long. Thanks to their large diameter, clothes do not get marks or creases after drying. The recommended load is up to 2 kg per rod. The weight of the structure is 1.4 kg.

Advantages


To hang the laundry, the dryer rods are lowered to the desired level and then raised back up. The washed clothes dry under the ceiling, taking up little space. When not in use, the dryer occupies minimal space, does not obstruct movement, and does not interfere with the opening of balcony doors or windows.

Ceiling Clothes Dryer 6x1.4 m Steel AV140B-6ST - 13

Additional information

Material

Aluminium

Fastener material

Plastic

Number of rods

6 rods

Length

160 cm

Drying length

9.6 m

Maximum load

2 kg per rod

Weight

1.4 kg

Color

Installation guide

Step 1

Unpacking and preparation

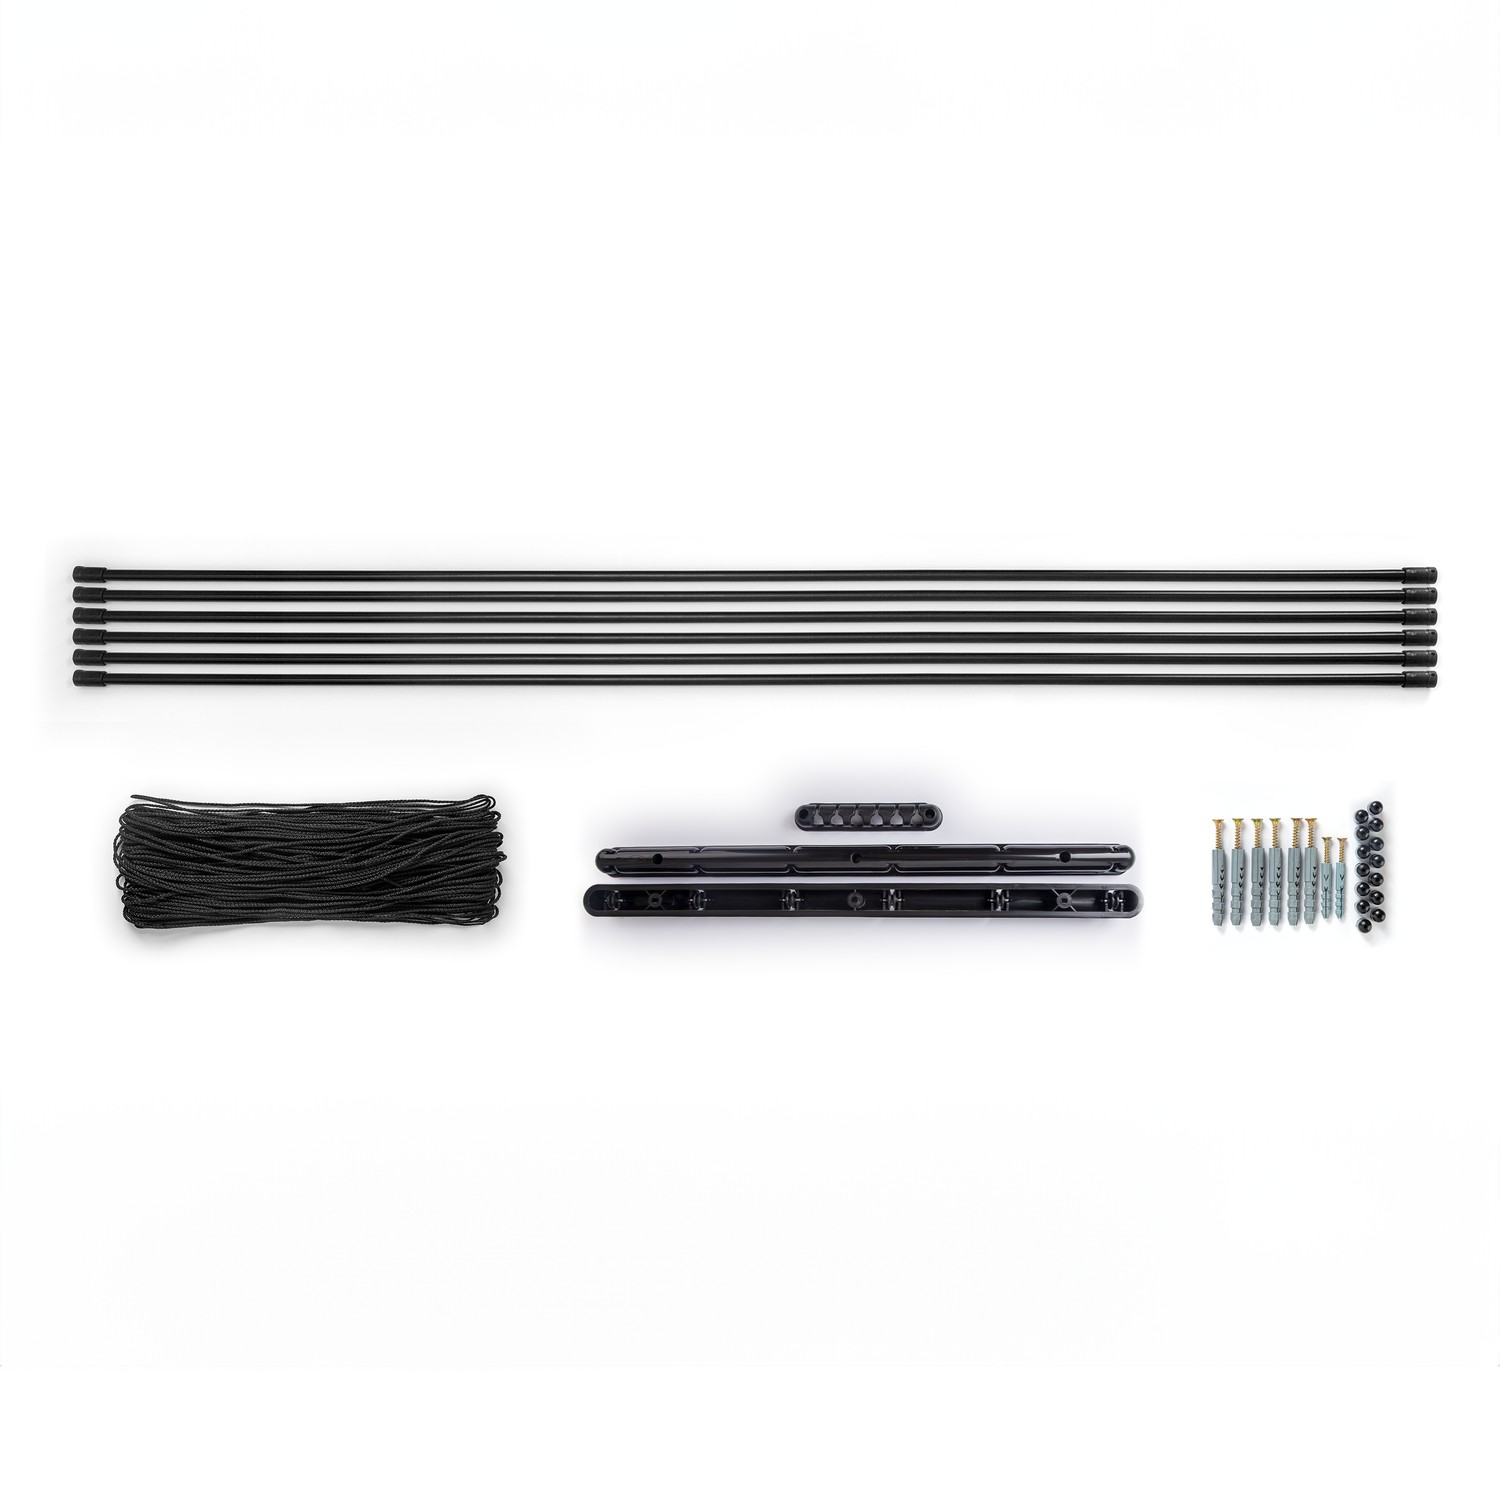
Unpack the dryer and check that all components are in the box. The number of rods, cords and caps depends on the model.

In the box

Rods
4–7, depending on the model
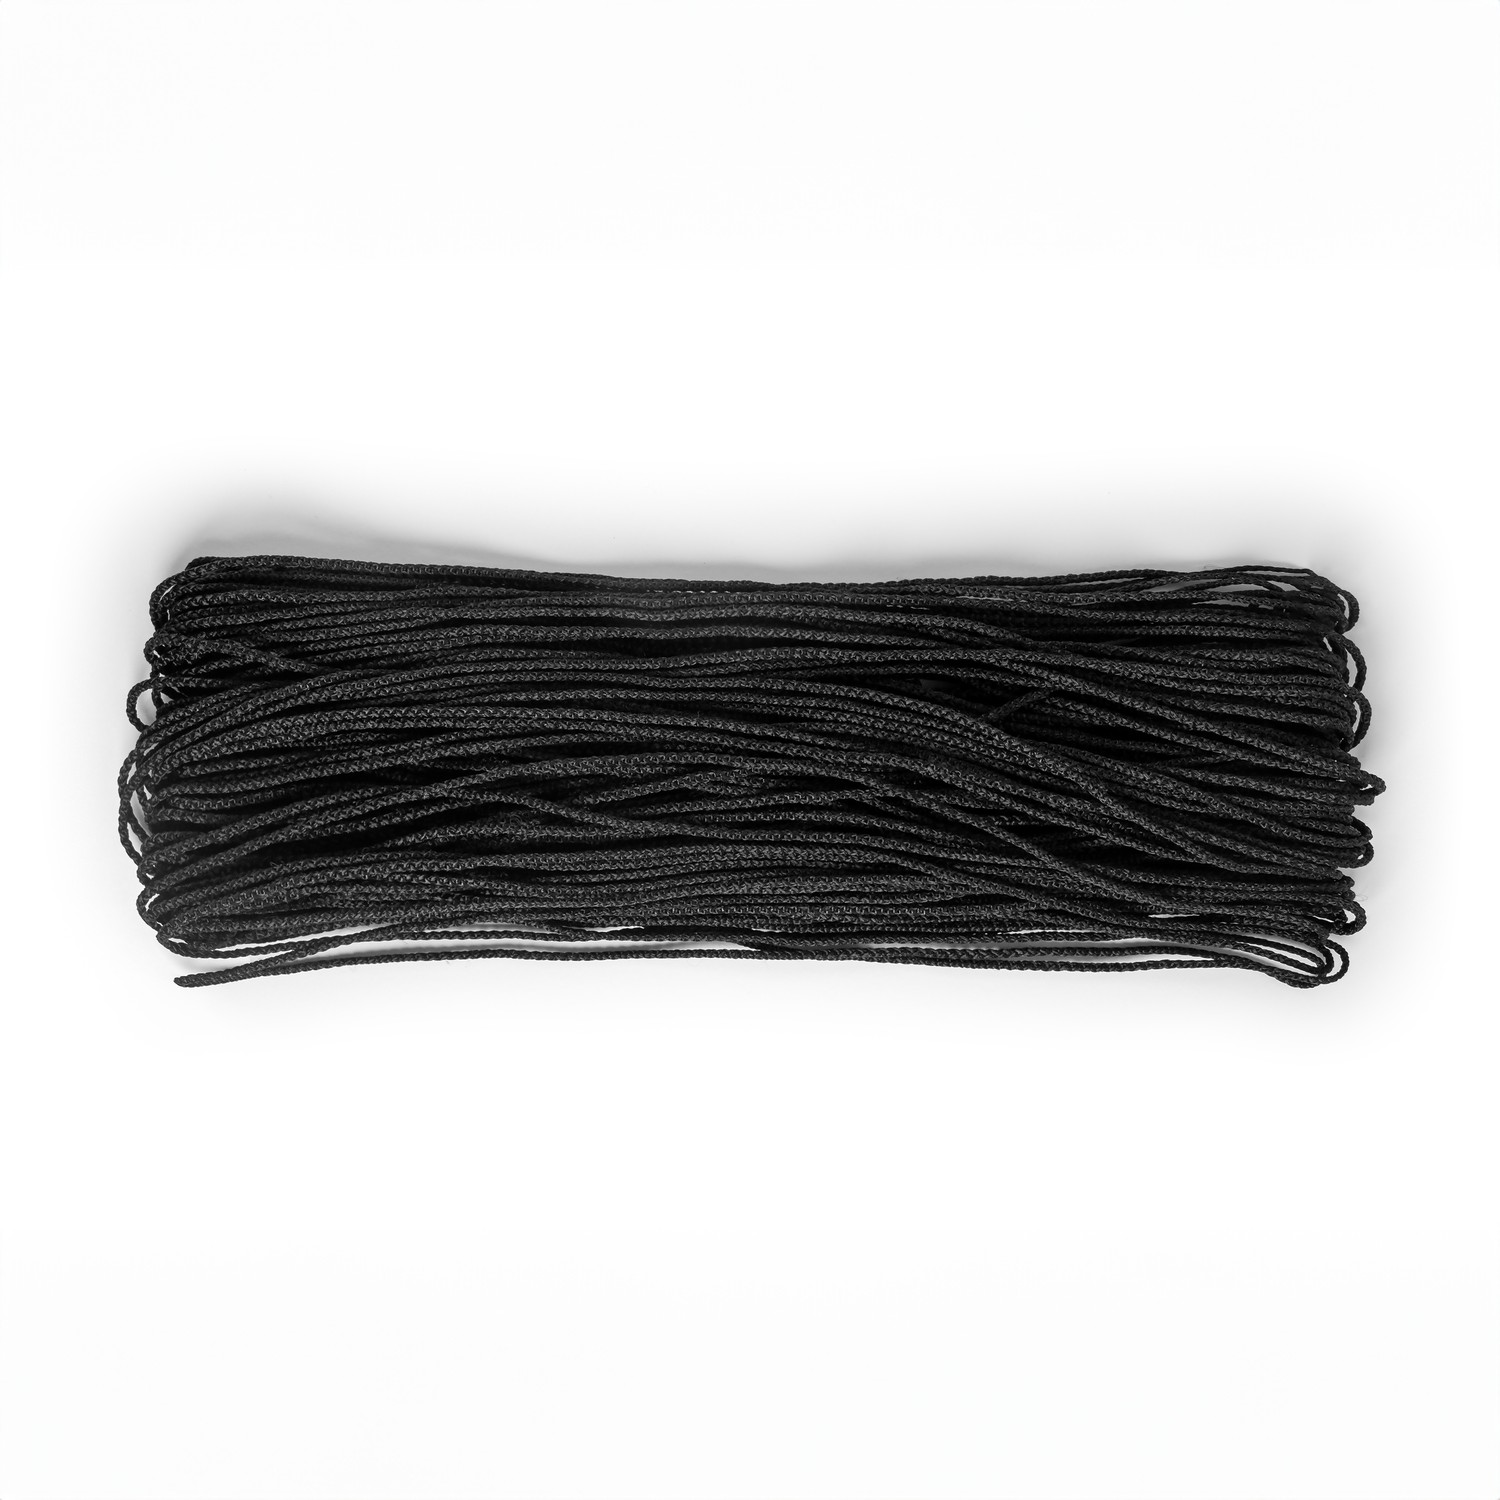
Pre-cut cords
one per rod
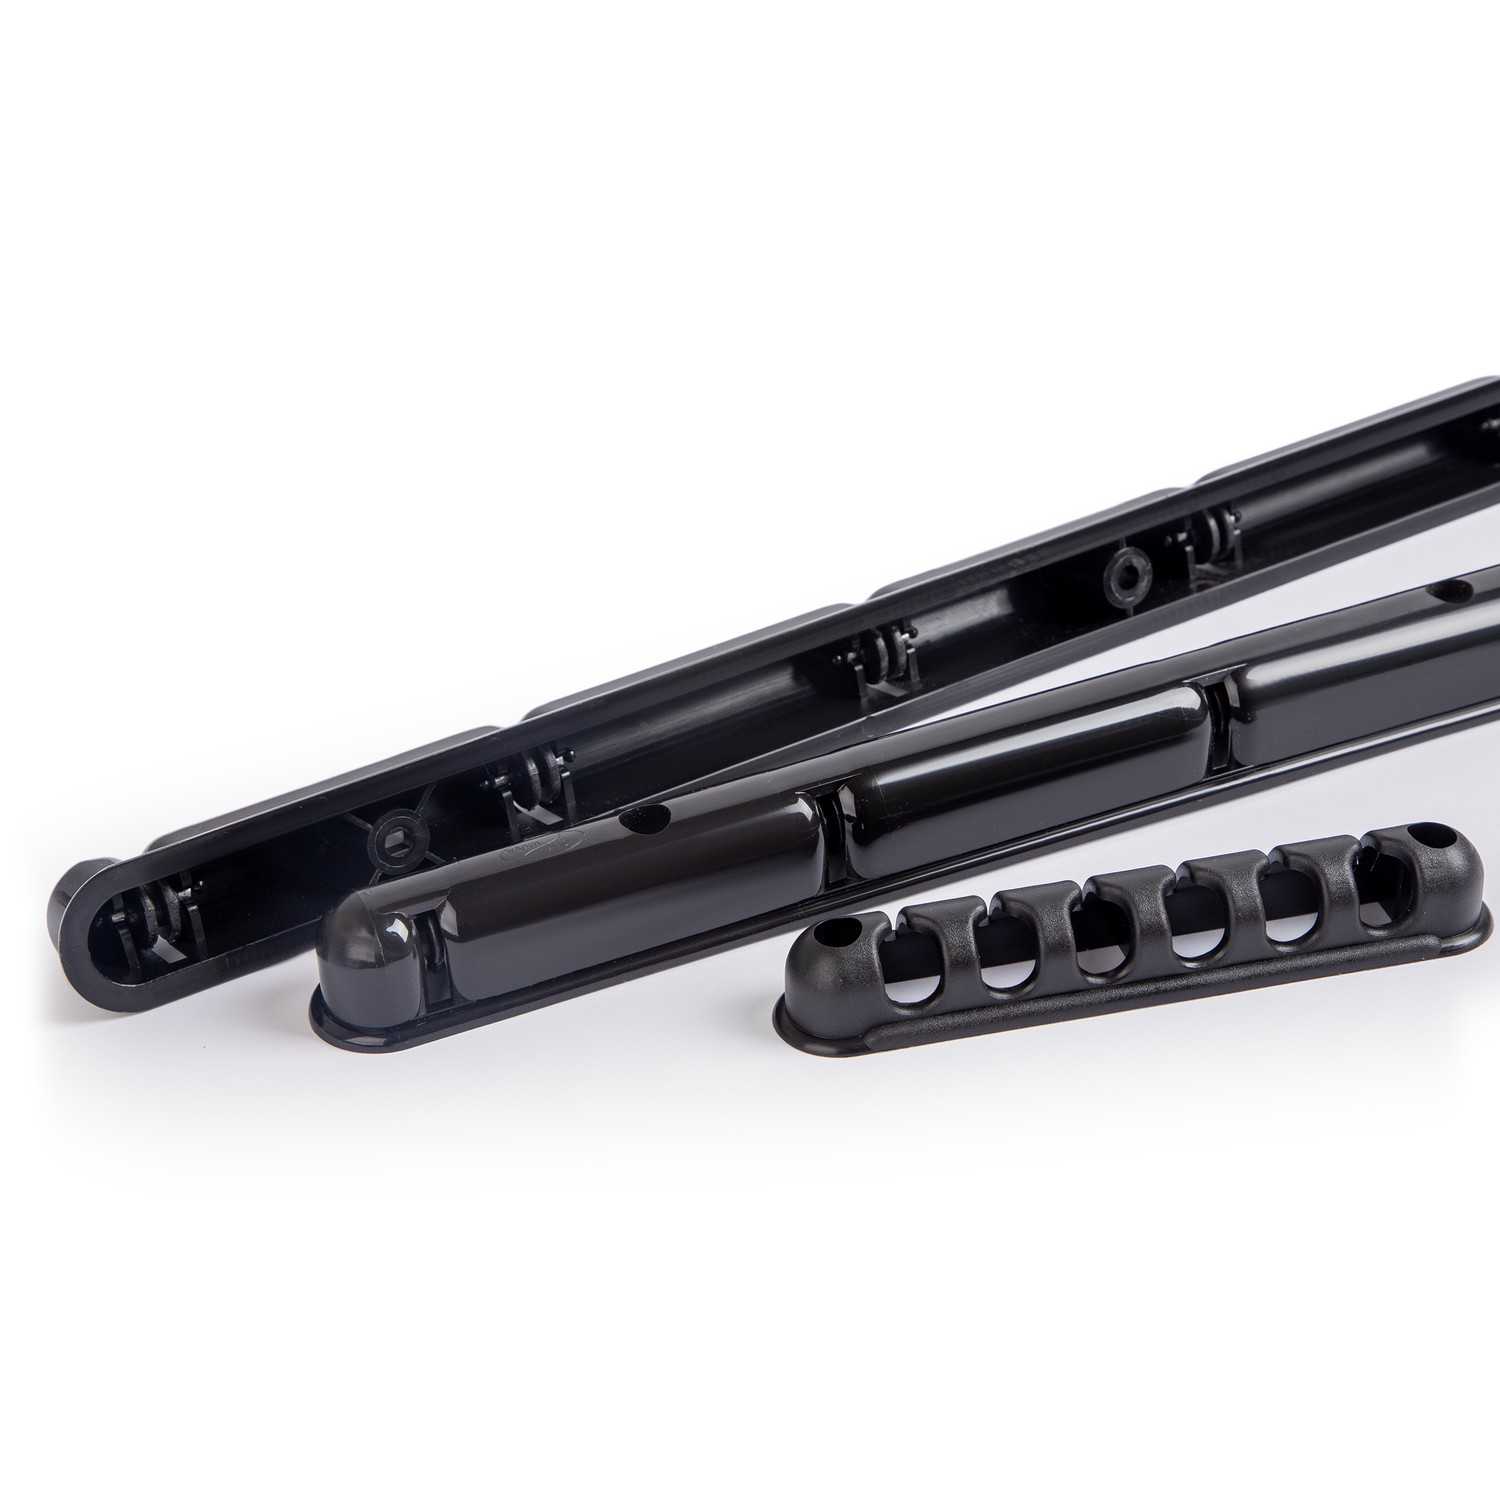
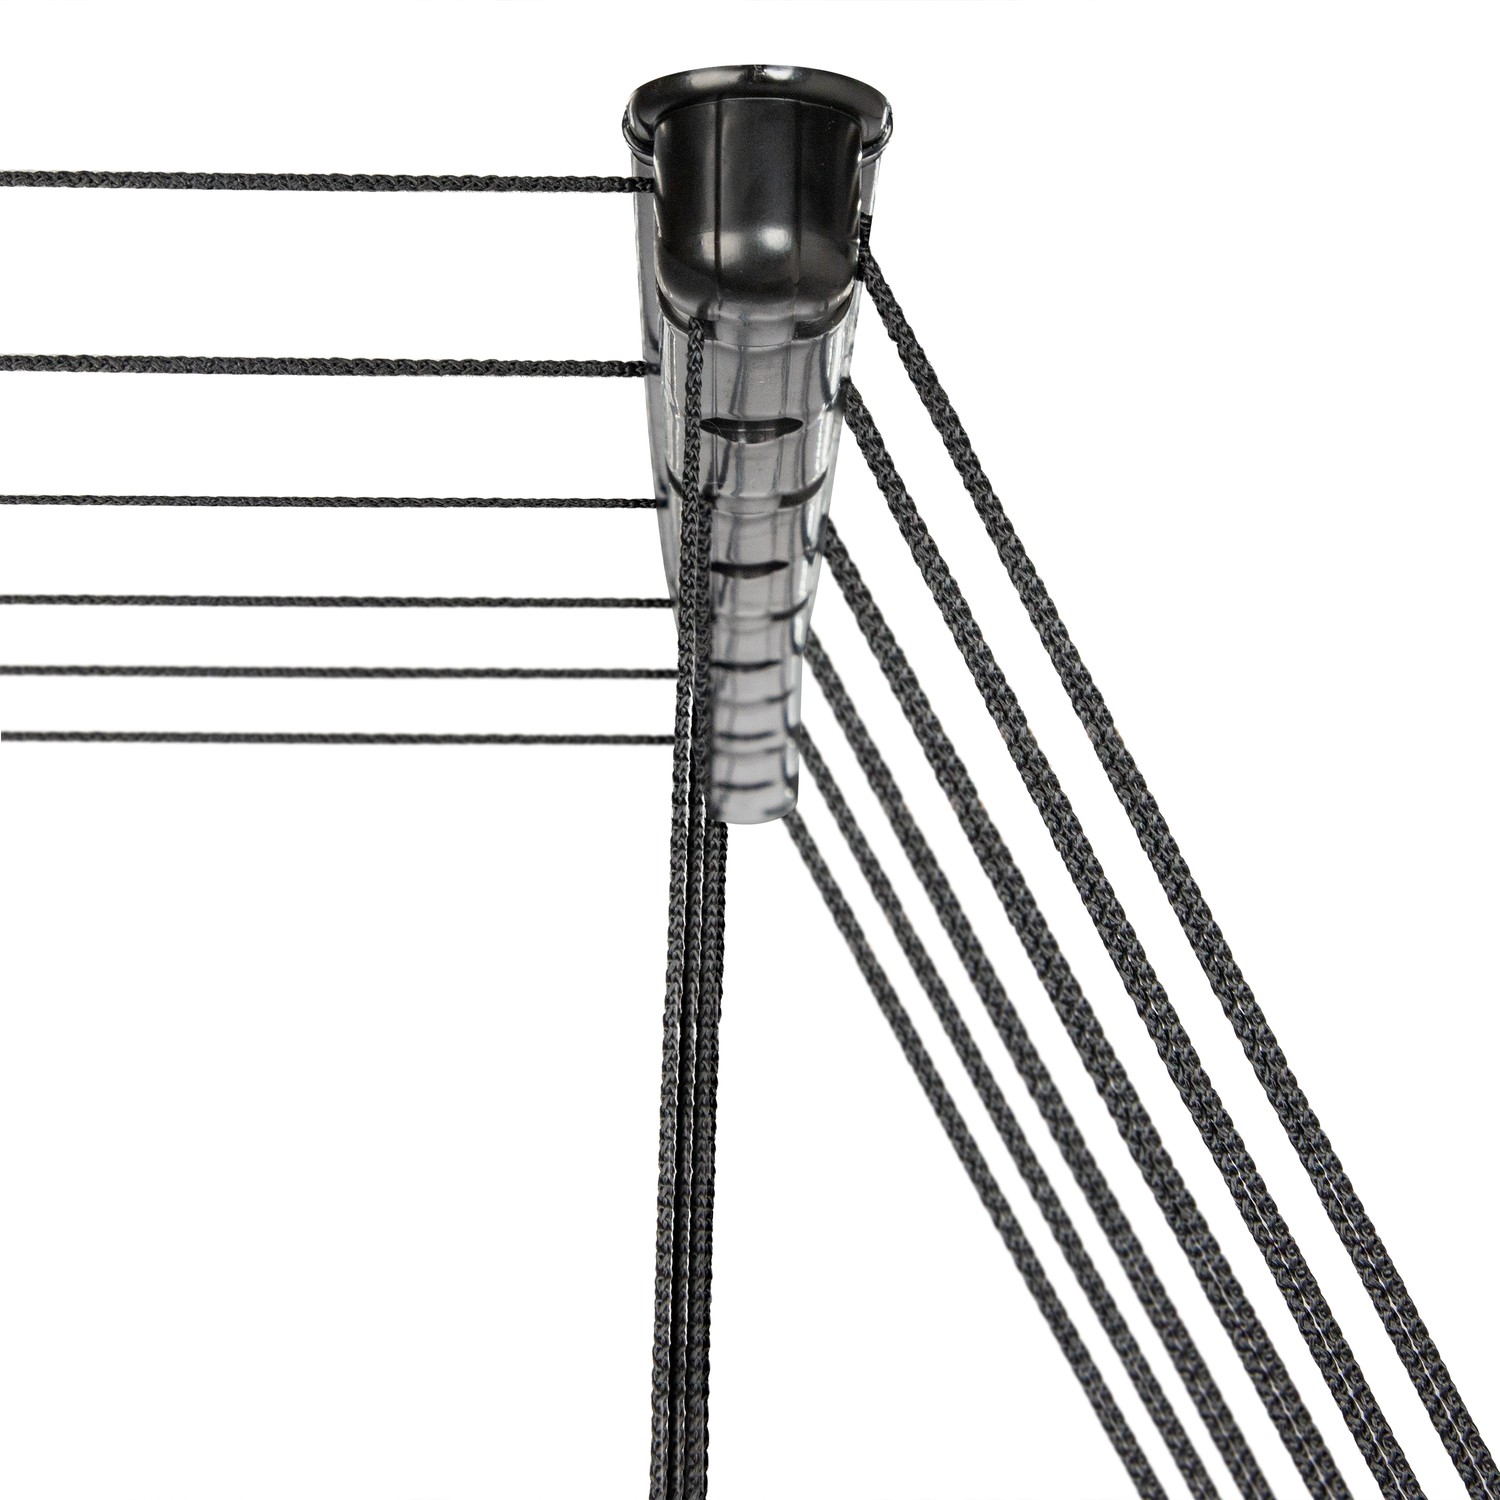
Brackets with rollers
2 pcs
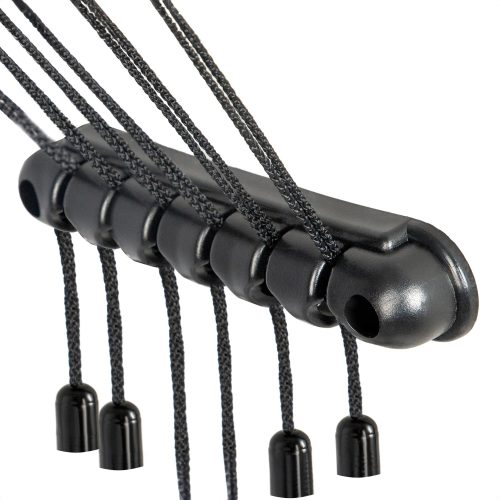
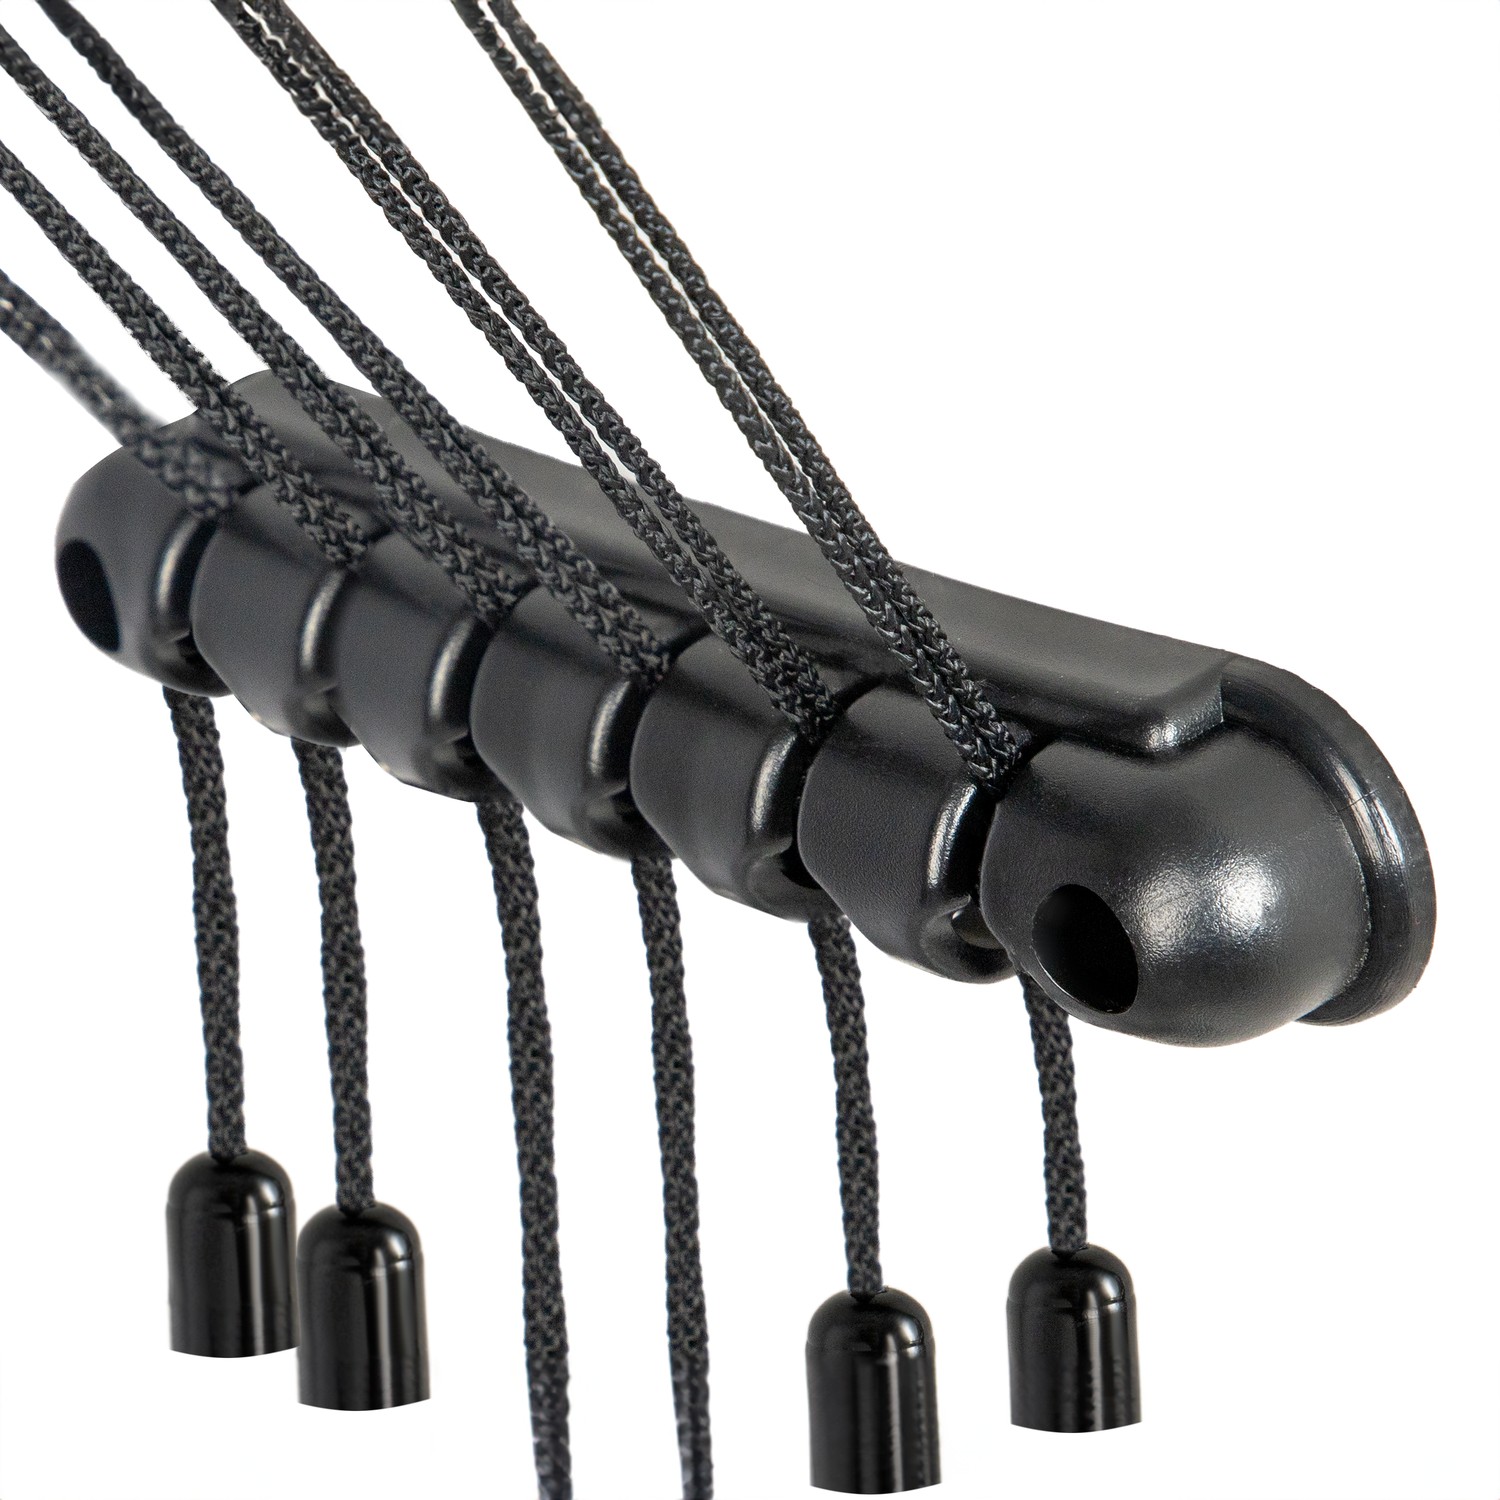
Height adjustment comb
1 pc
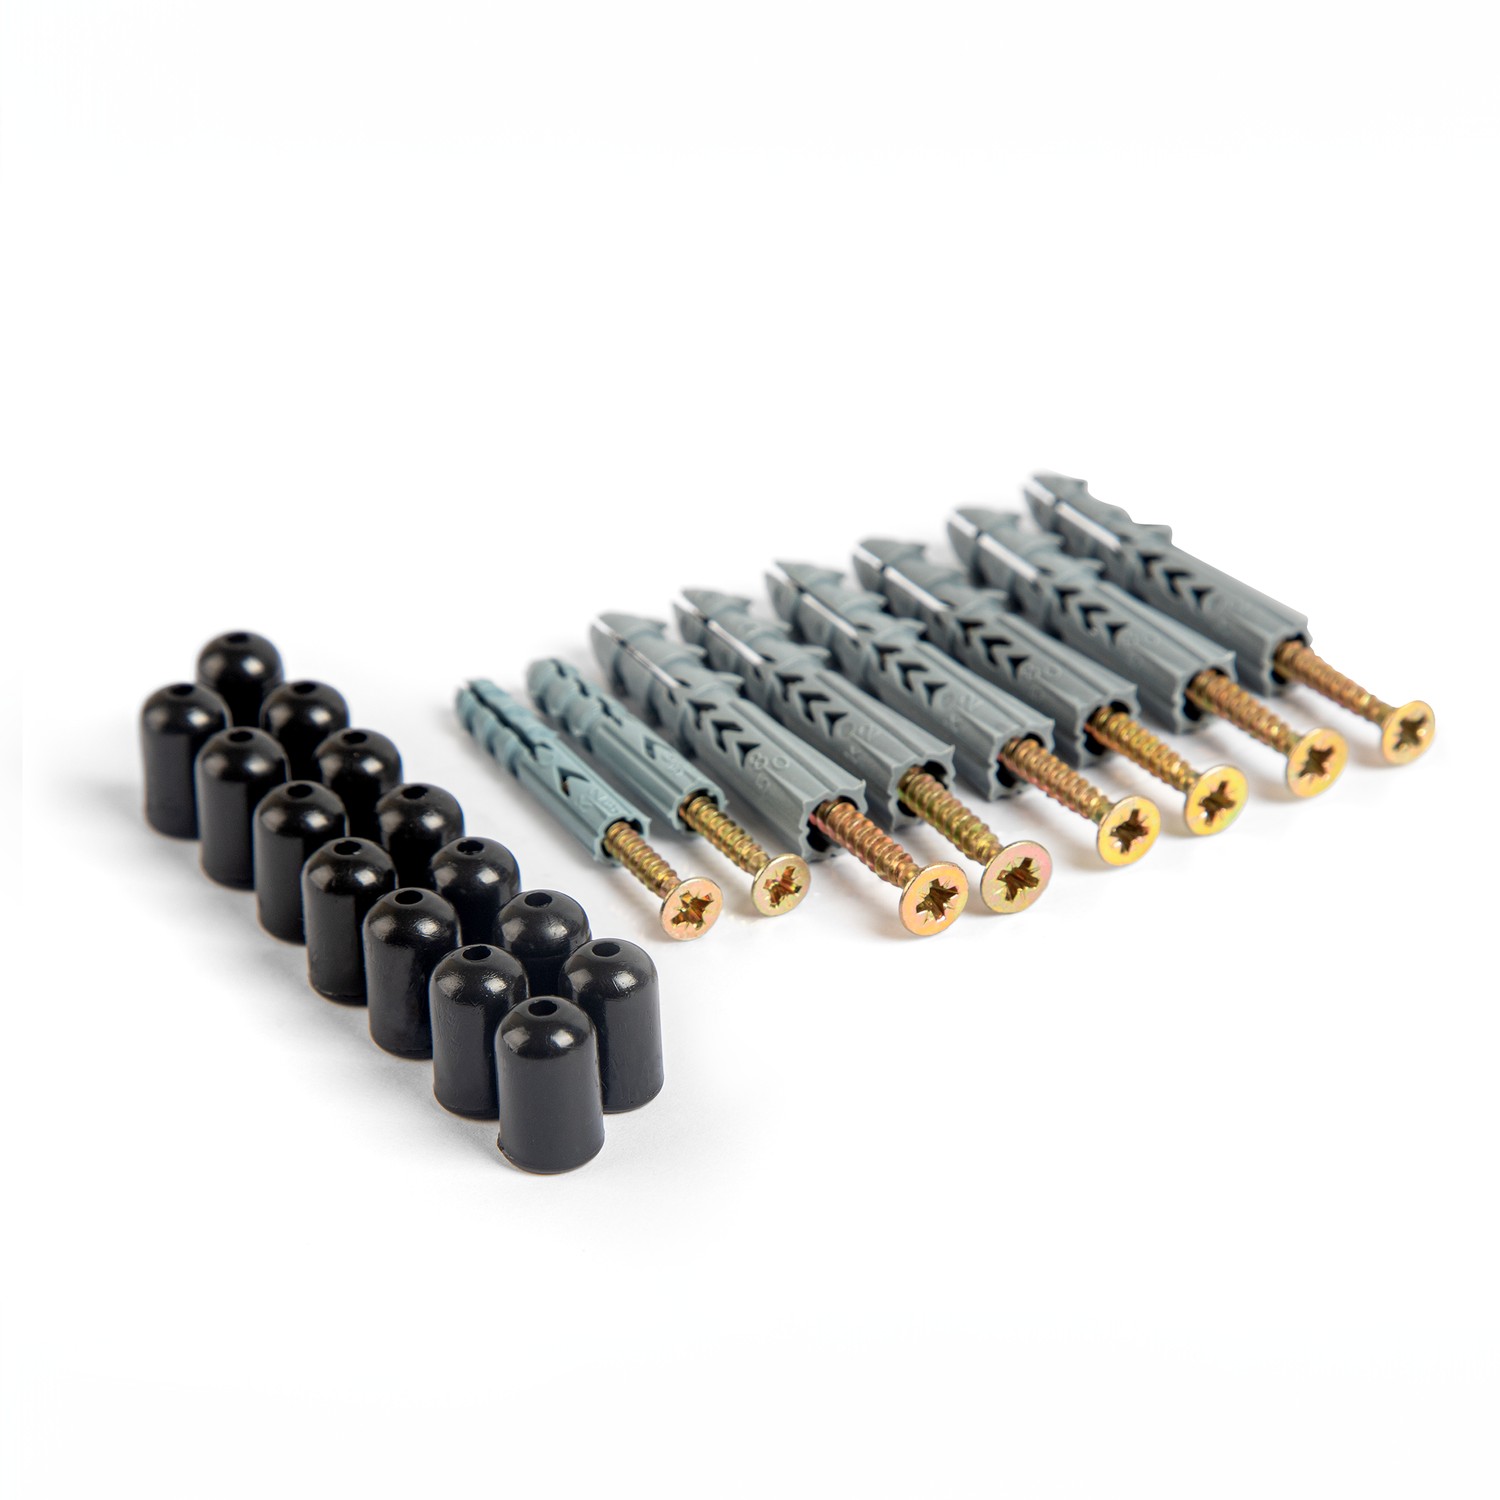
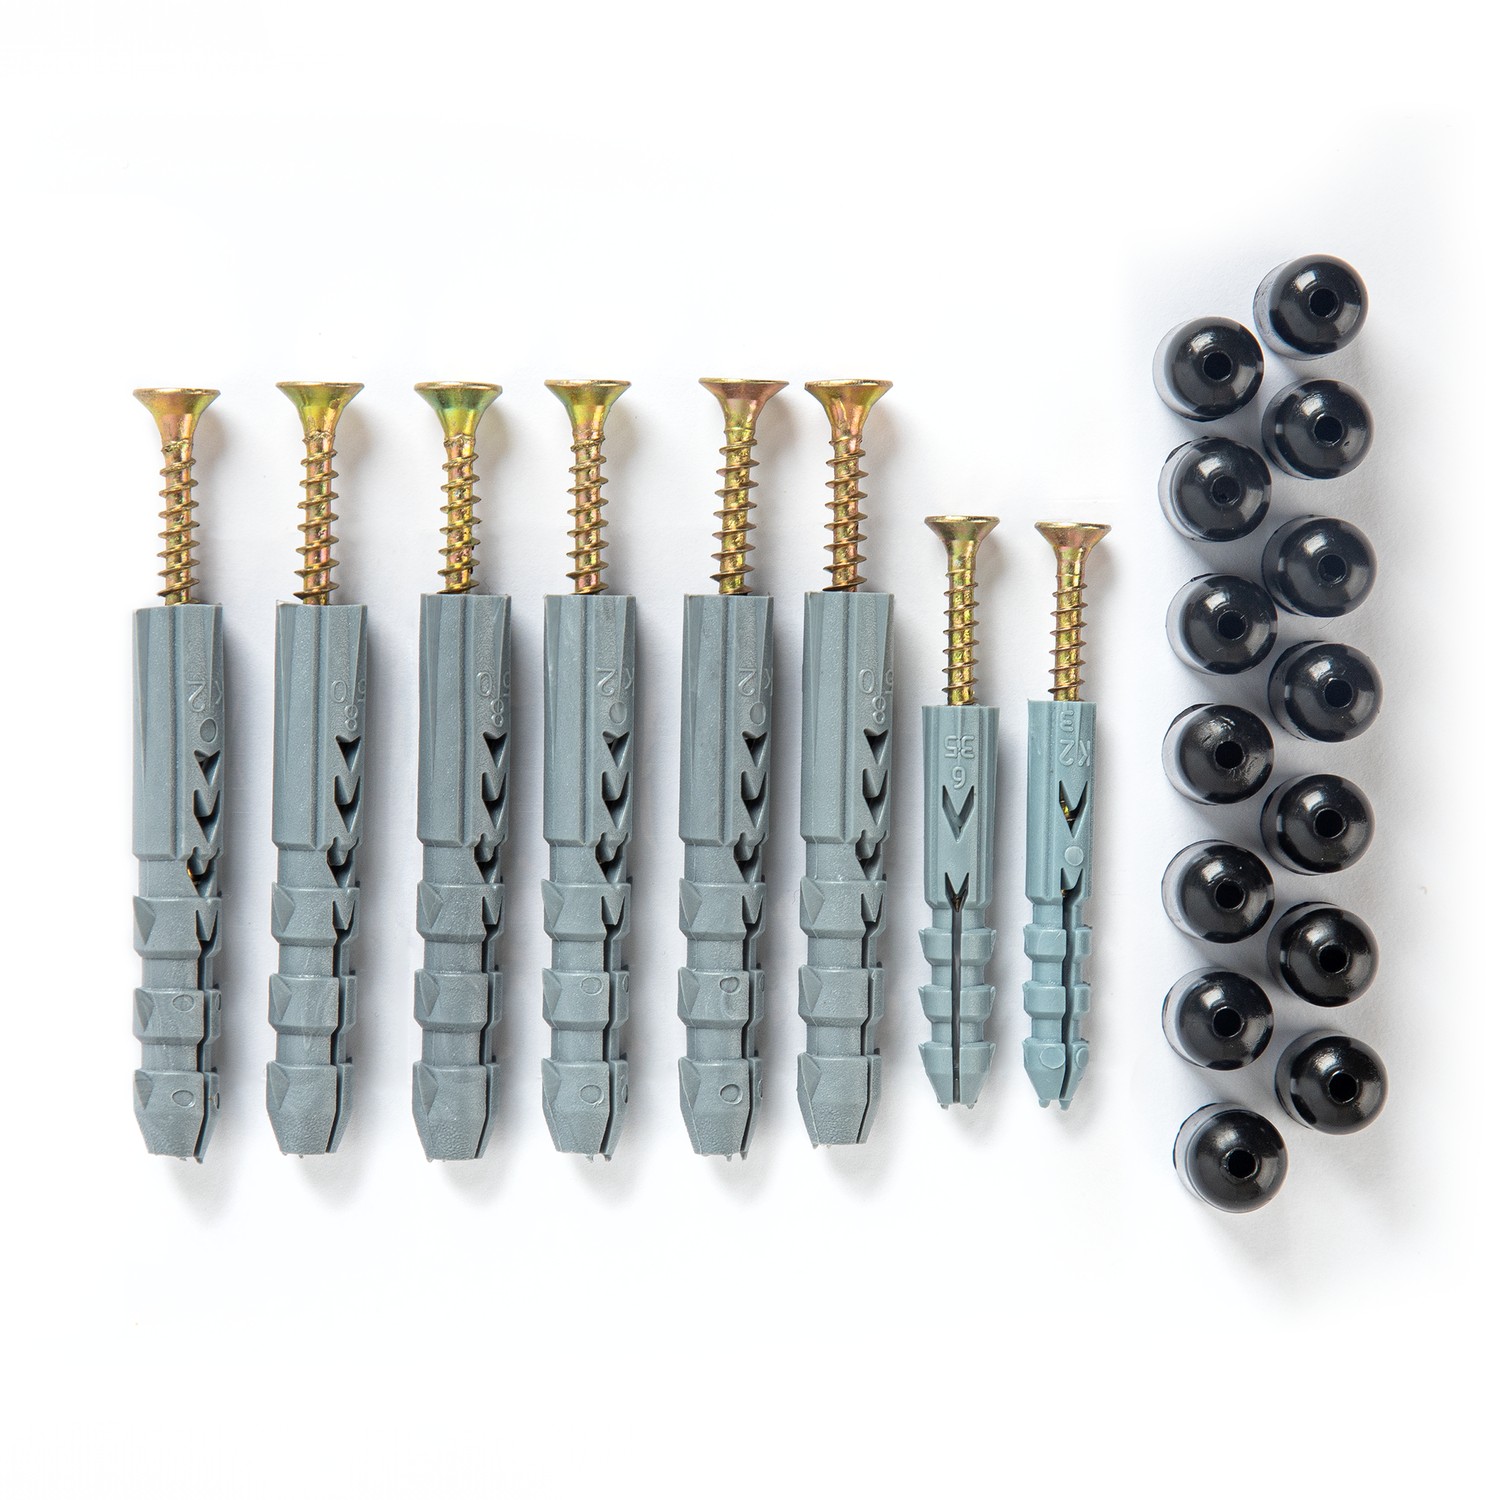
Bracket fixings
6 screws 4.0×50 and 6 wall plugs 8×50
Comb fixings
2 screws 3.5×35 and 2 wall plugs 6×35
Fixation caps
two per rod
Step 2

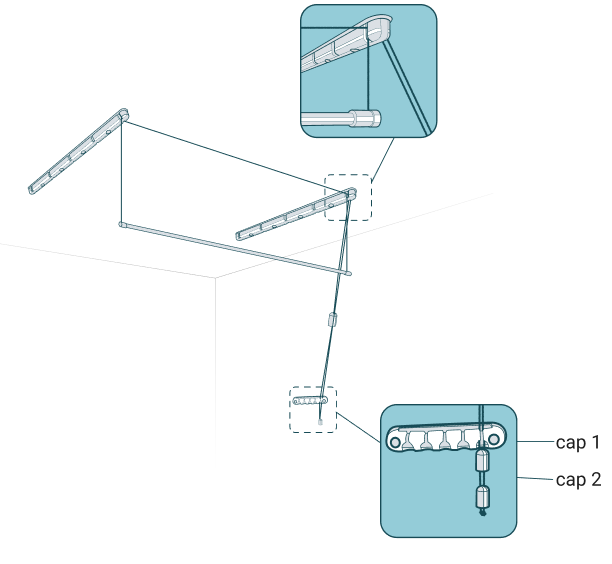
Installing the brackets with rollers

The brackets with rollers are screwed to the ceiling. The distance between them is the rod length (L) minus 18–20 mm for the central hole of the mounting.
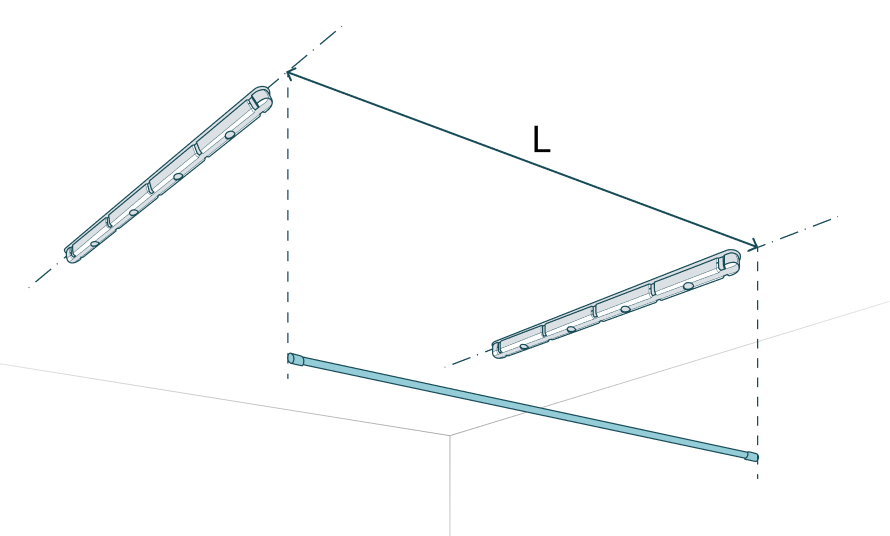
  1. Mark two parallel lines on the ceiling – the distance depends on the size of the dryer.
  2. Place the brackets along the lines and mark the drilling points.
  3. Drill the holes and fix the brackets with 4.0×50 screws and 8×50 wall plugs.
Two brackets with rollers on the ceiling at distance L, with a dryer rod below
Step 3

Installing the height adjustment comb

The comb is screwed to the wall – the recommended height is 1.3–1.6 m from the floor.
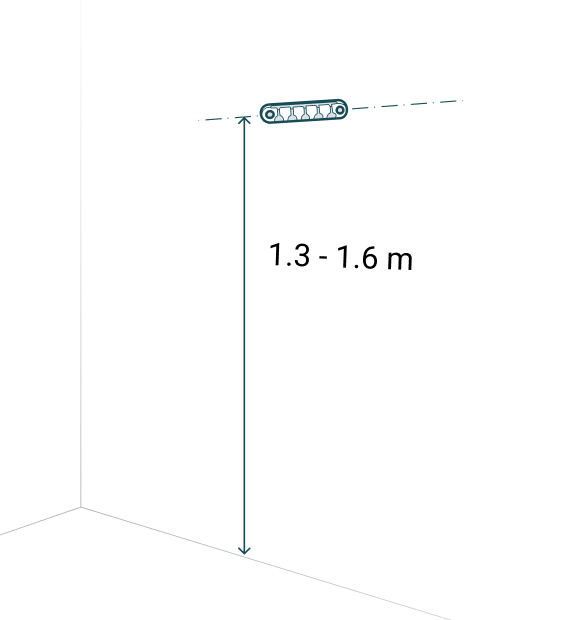
  1. Raise and lower a rod to find the most comfortable height.
  2. Drill the holes at the chosen height.
  3. Fix the comb with 3.5×35 screws and 6×35 wall plugs.
Height adjustment comb on the wall, 1.3–1.6 m from the floor
Step 4

Preparing the cords

  1. Separate the cords – one for each rod.
  2. Insert one end of the cord through the smaller hole of the fixation cap at one end of the rod and tie a large knot so that it stops in the larger hole.
  3. Thread the other end through the roller bracket, lower it to the other end of the rod and fix it the same way.
  4. Fold the cord in half between the fixing points and thread it through the second roller bracket.
  5. Thread the folded cord through the fixation caps, lift the rod to the ceiling and set the first height level. Set the second level lower, at a comfortable height.
Cord threaded through the roller brackets and the fixation caps at the rod ends
Step 5

Final checks

  • Before first use, wipe the rods with a damp cloth.
  • Check that all components are securely fixed and work properly.

PDF guide for your model

You will find the model code on the box and in the product name: the number after AV is the rod length in cm, W – white, B – black, the digit after the dash – number of rods, AL – aluminium, ST – steel.