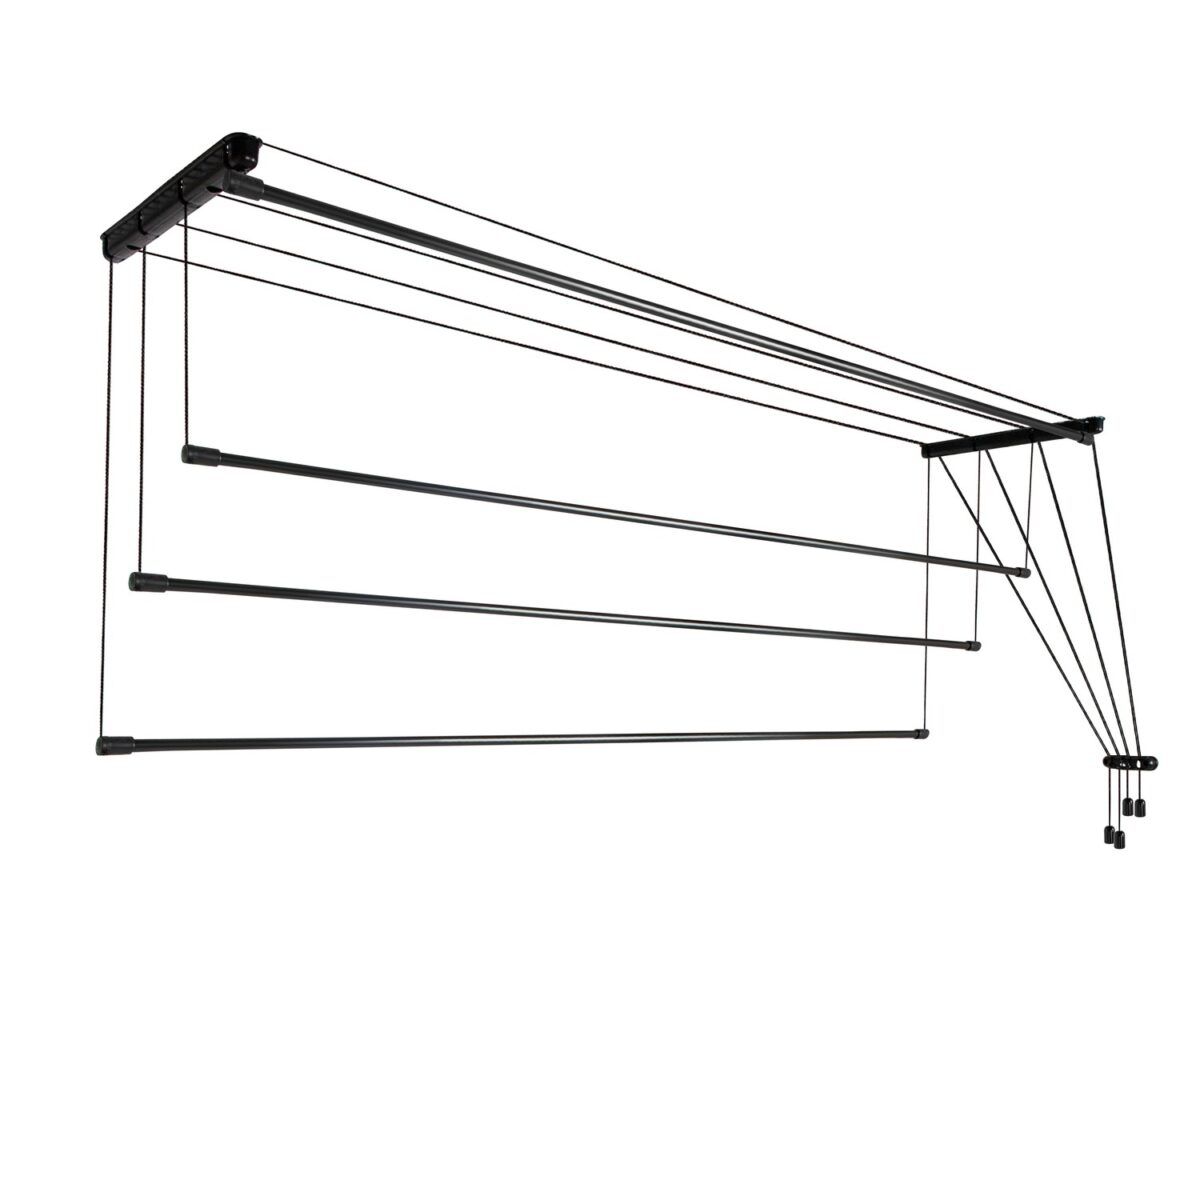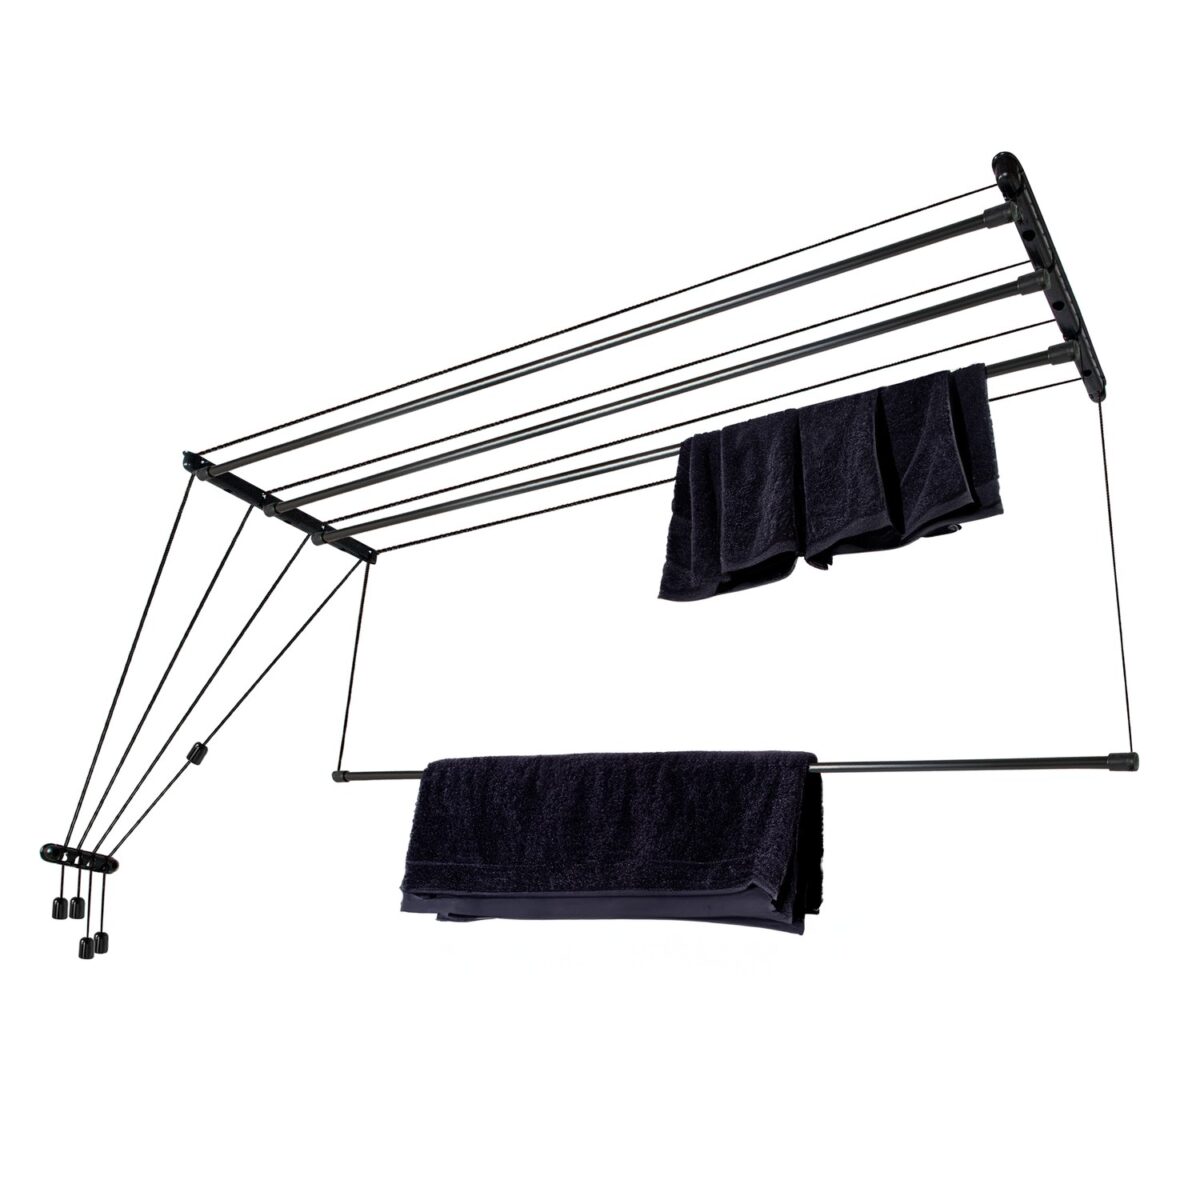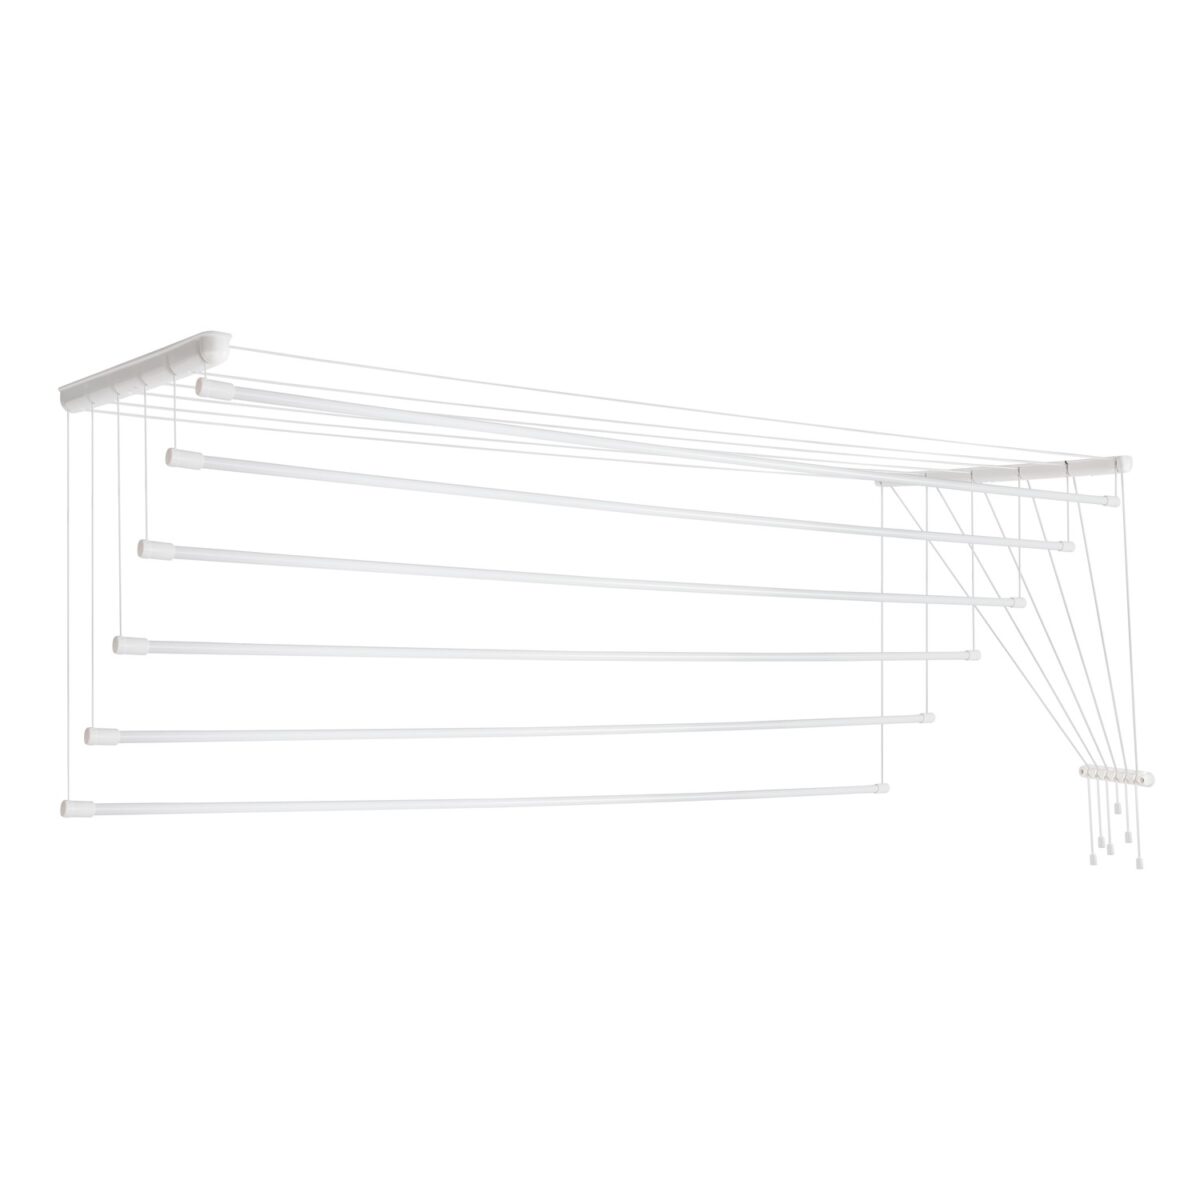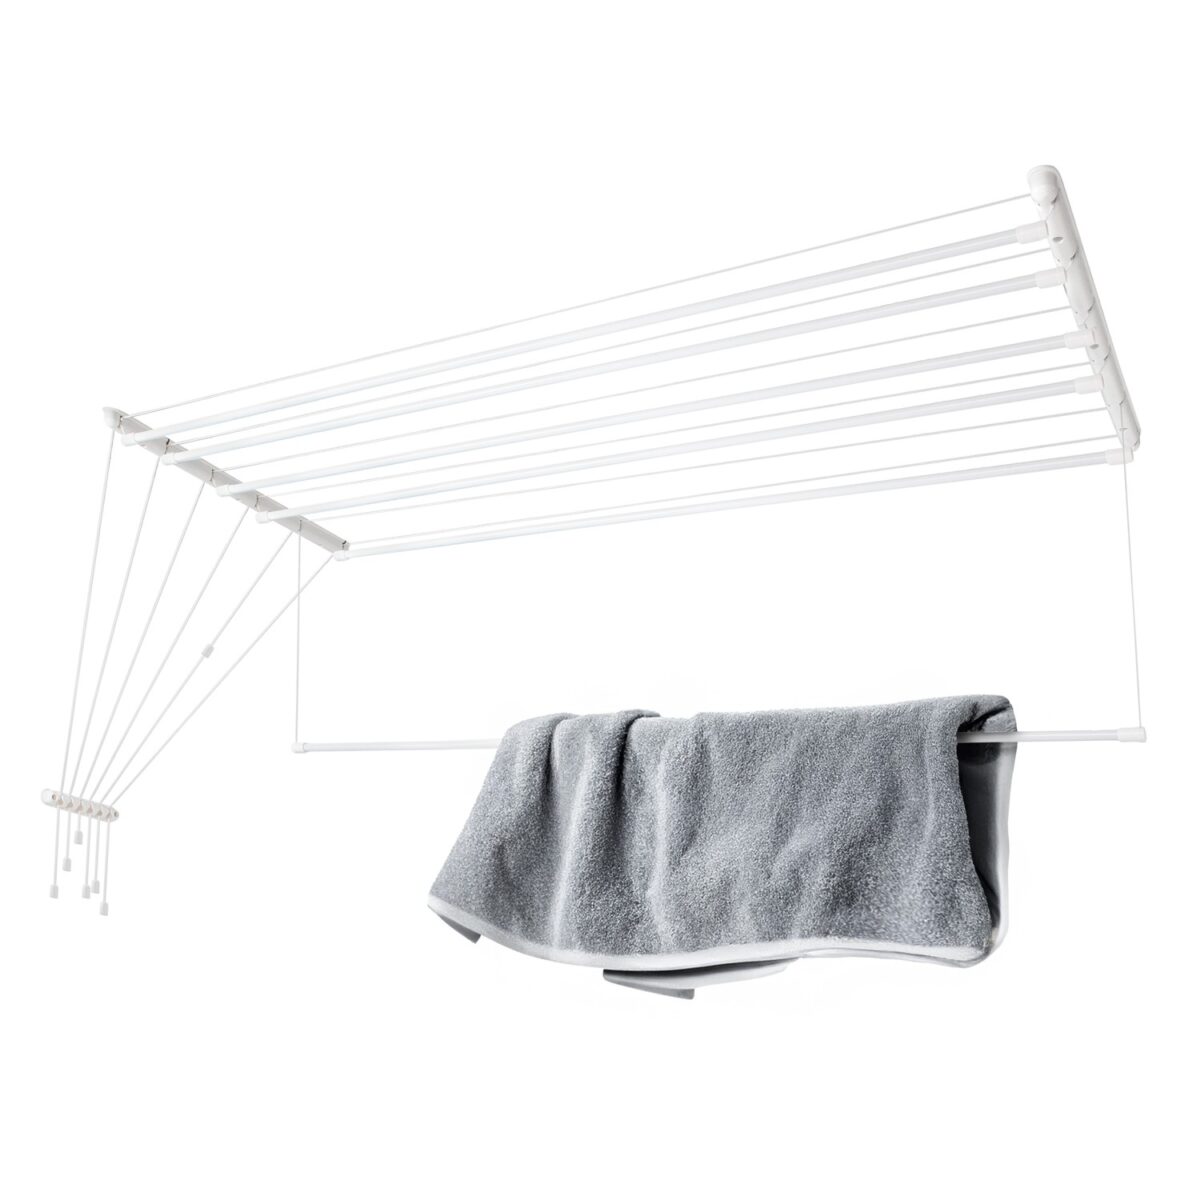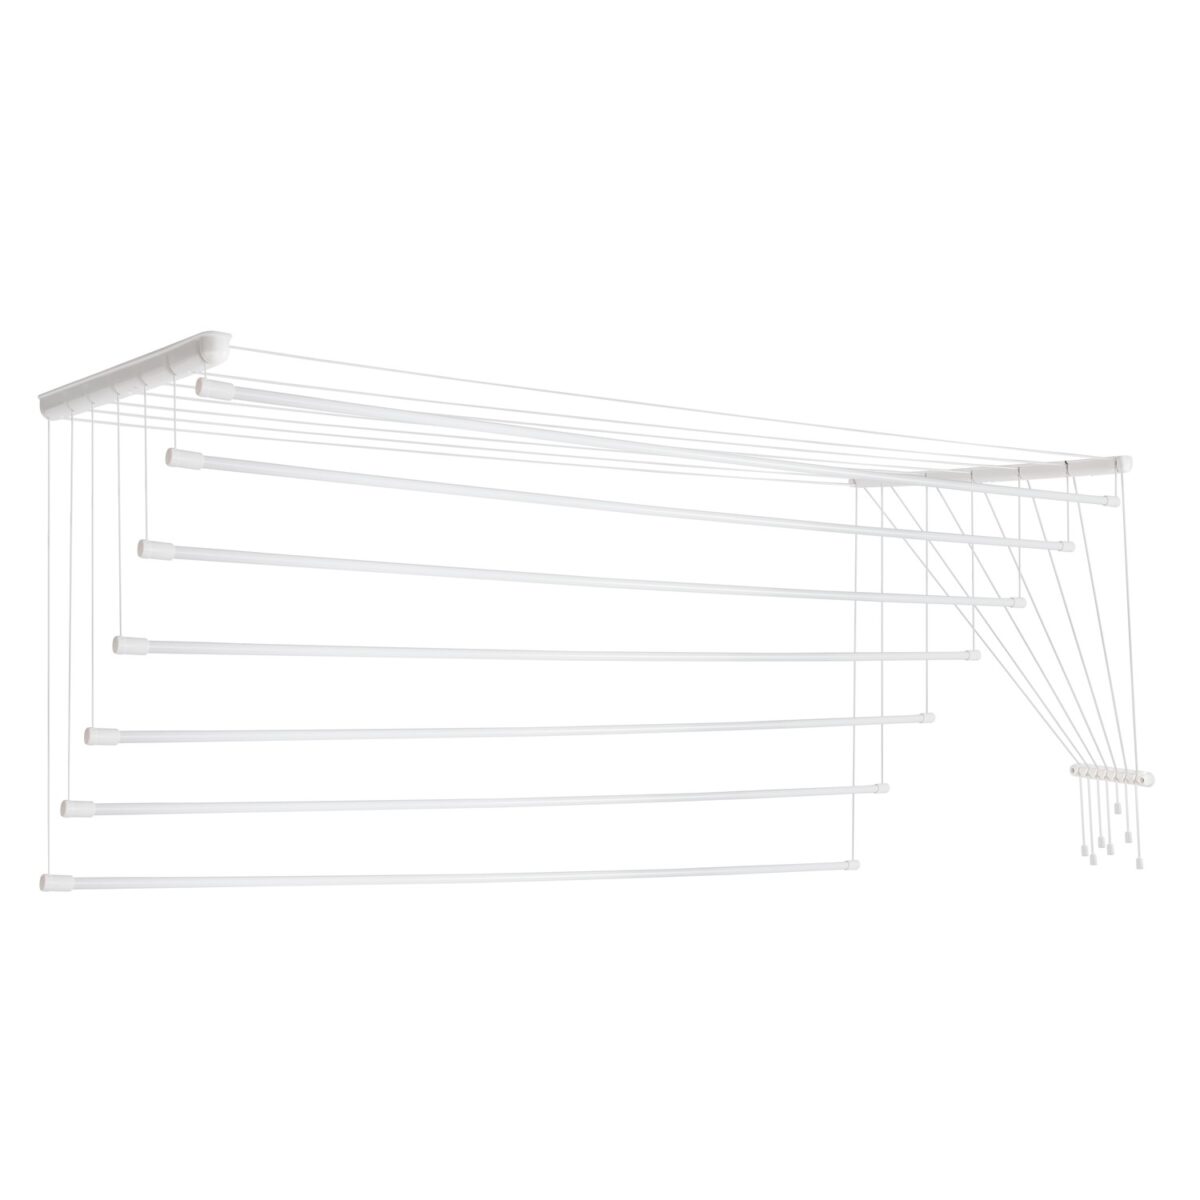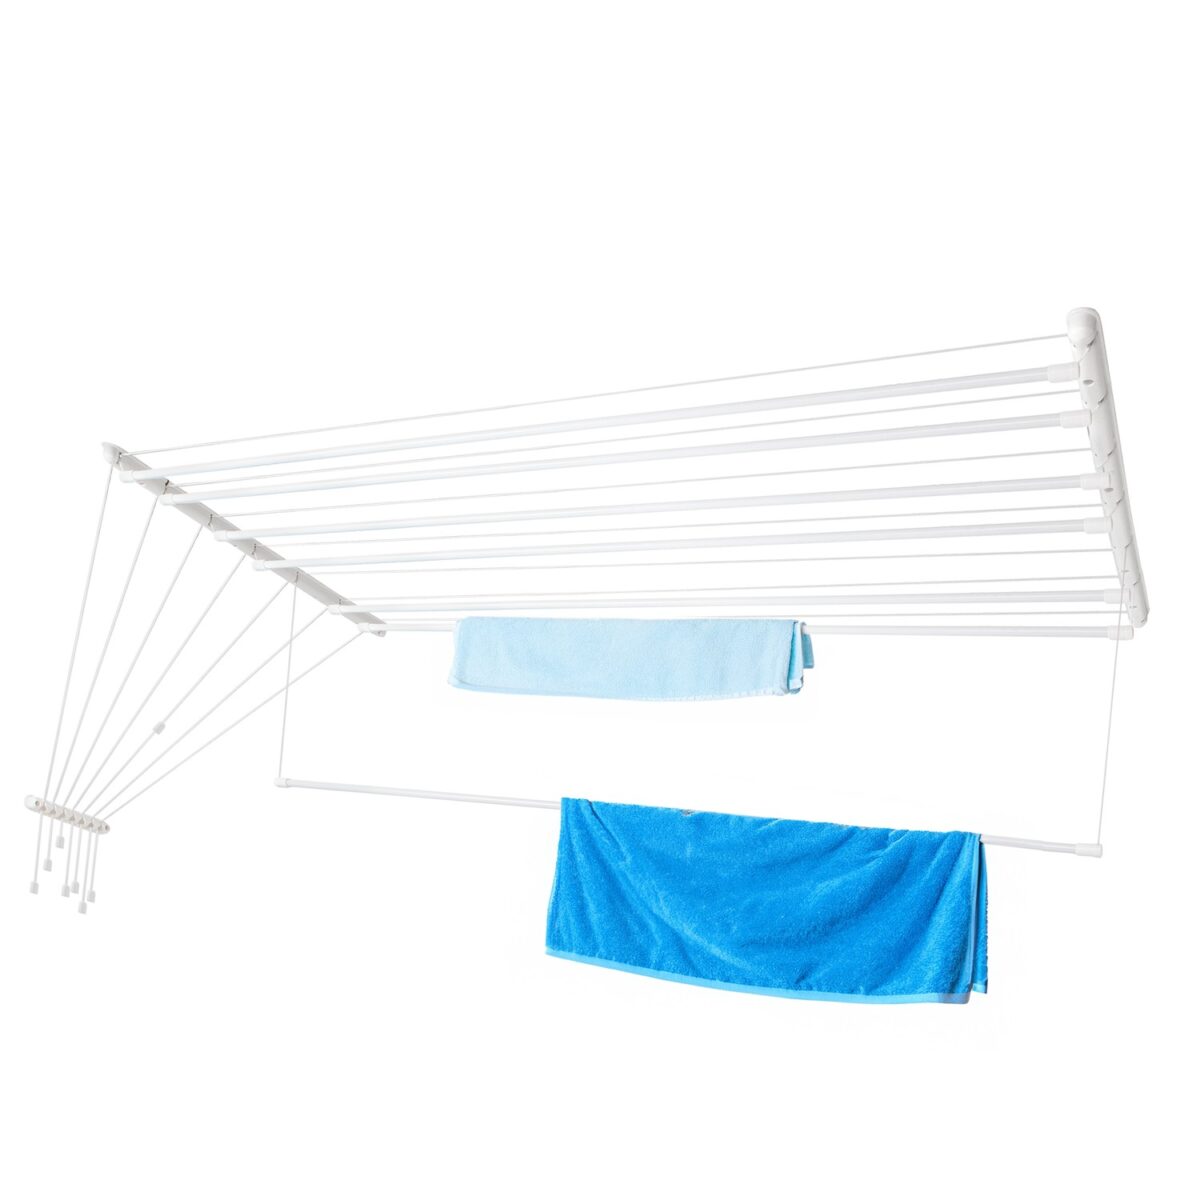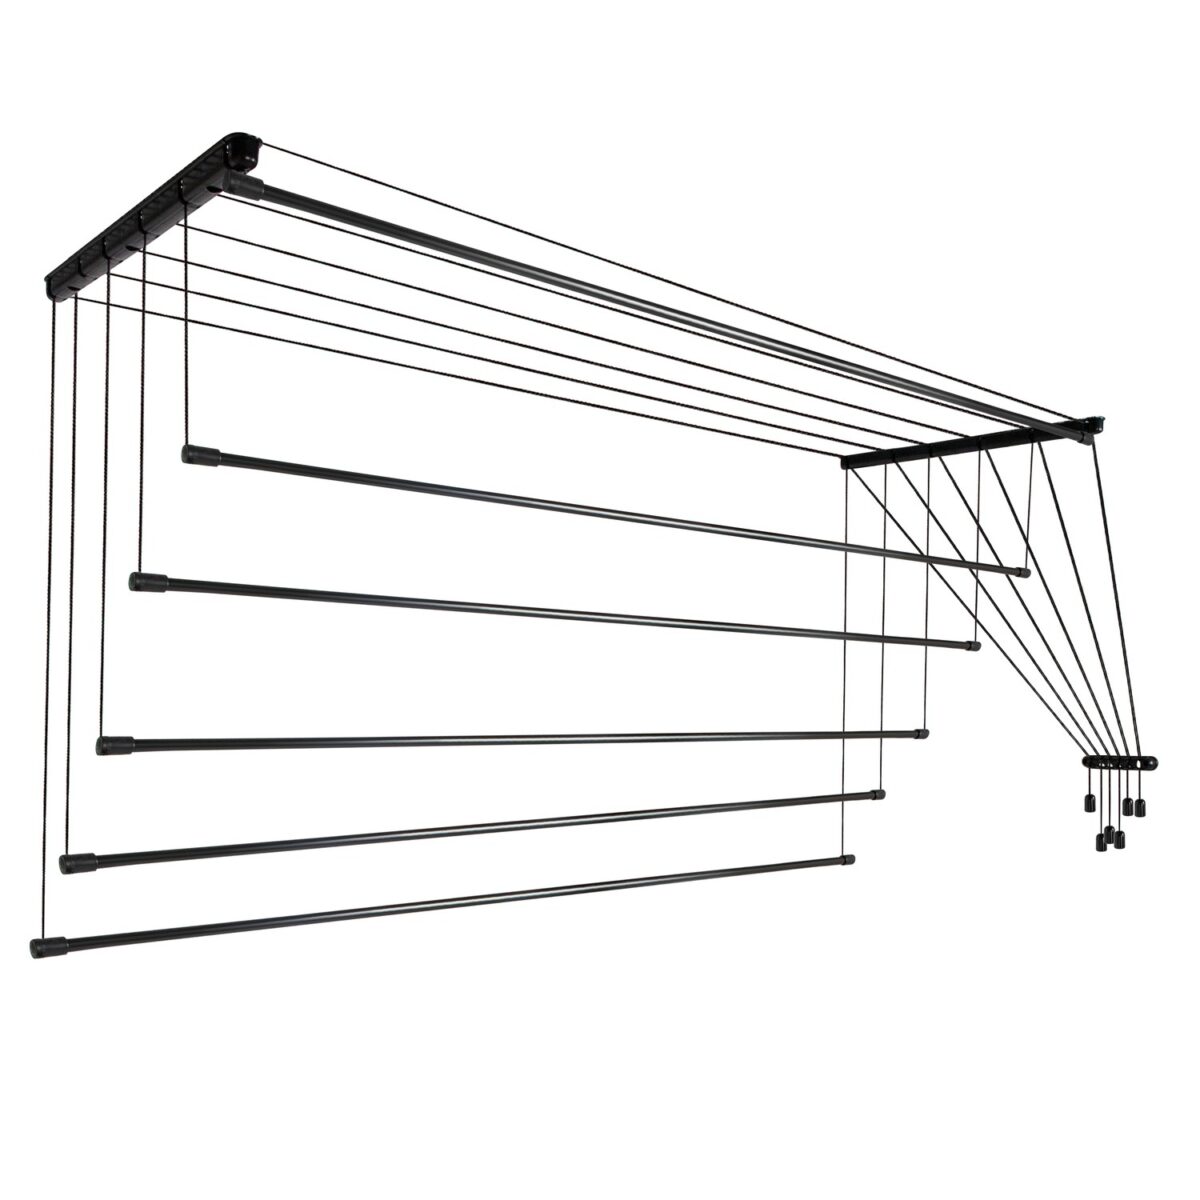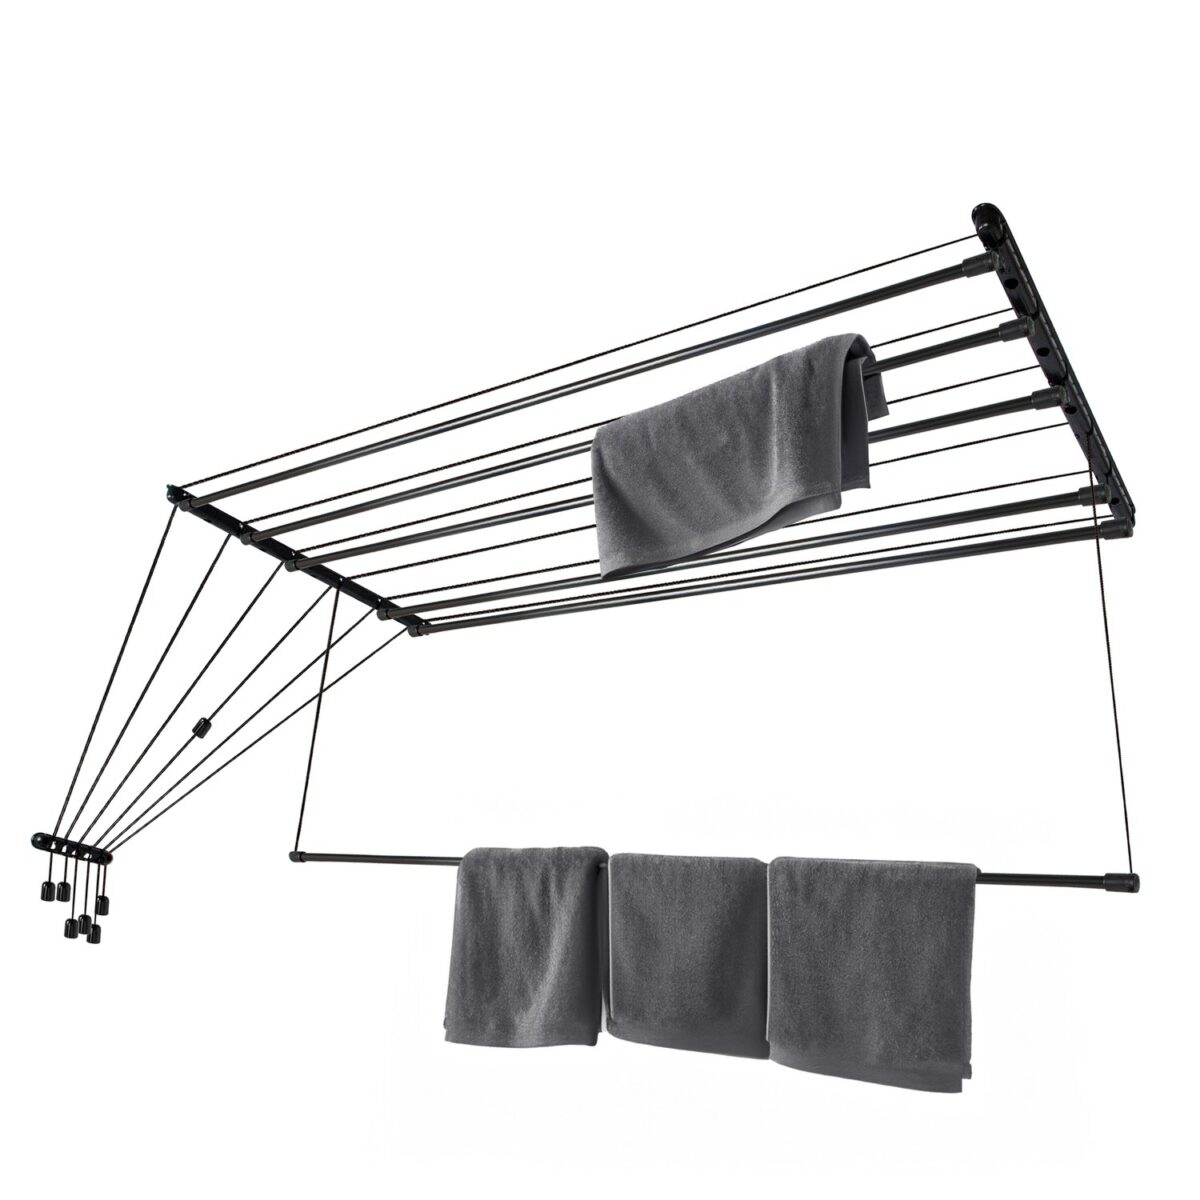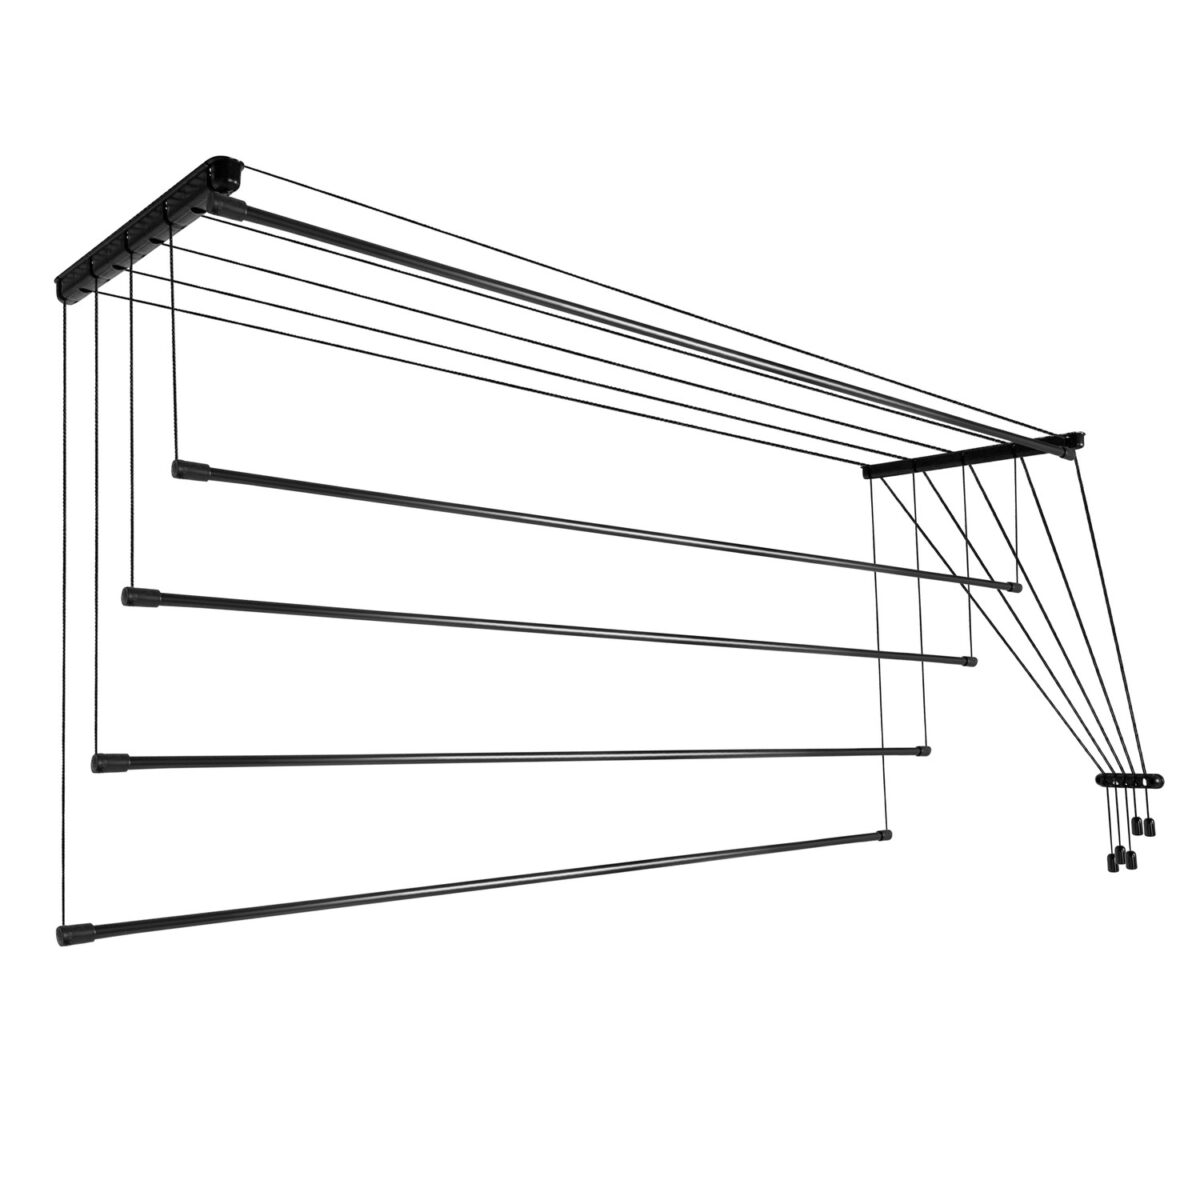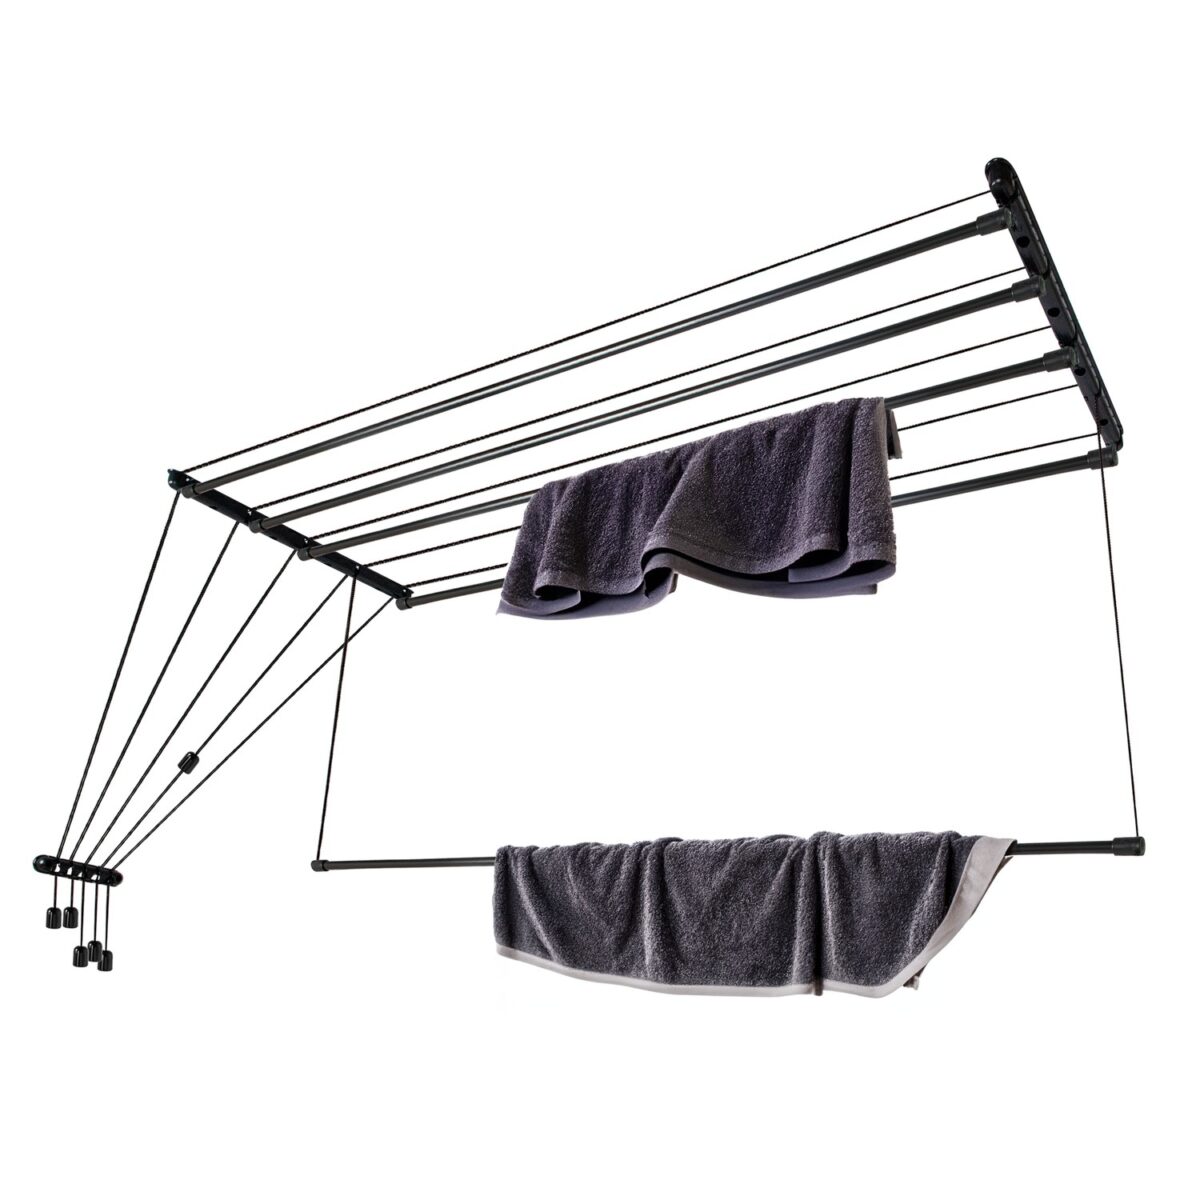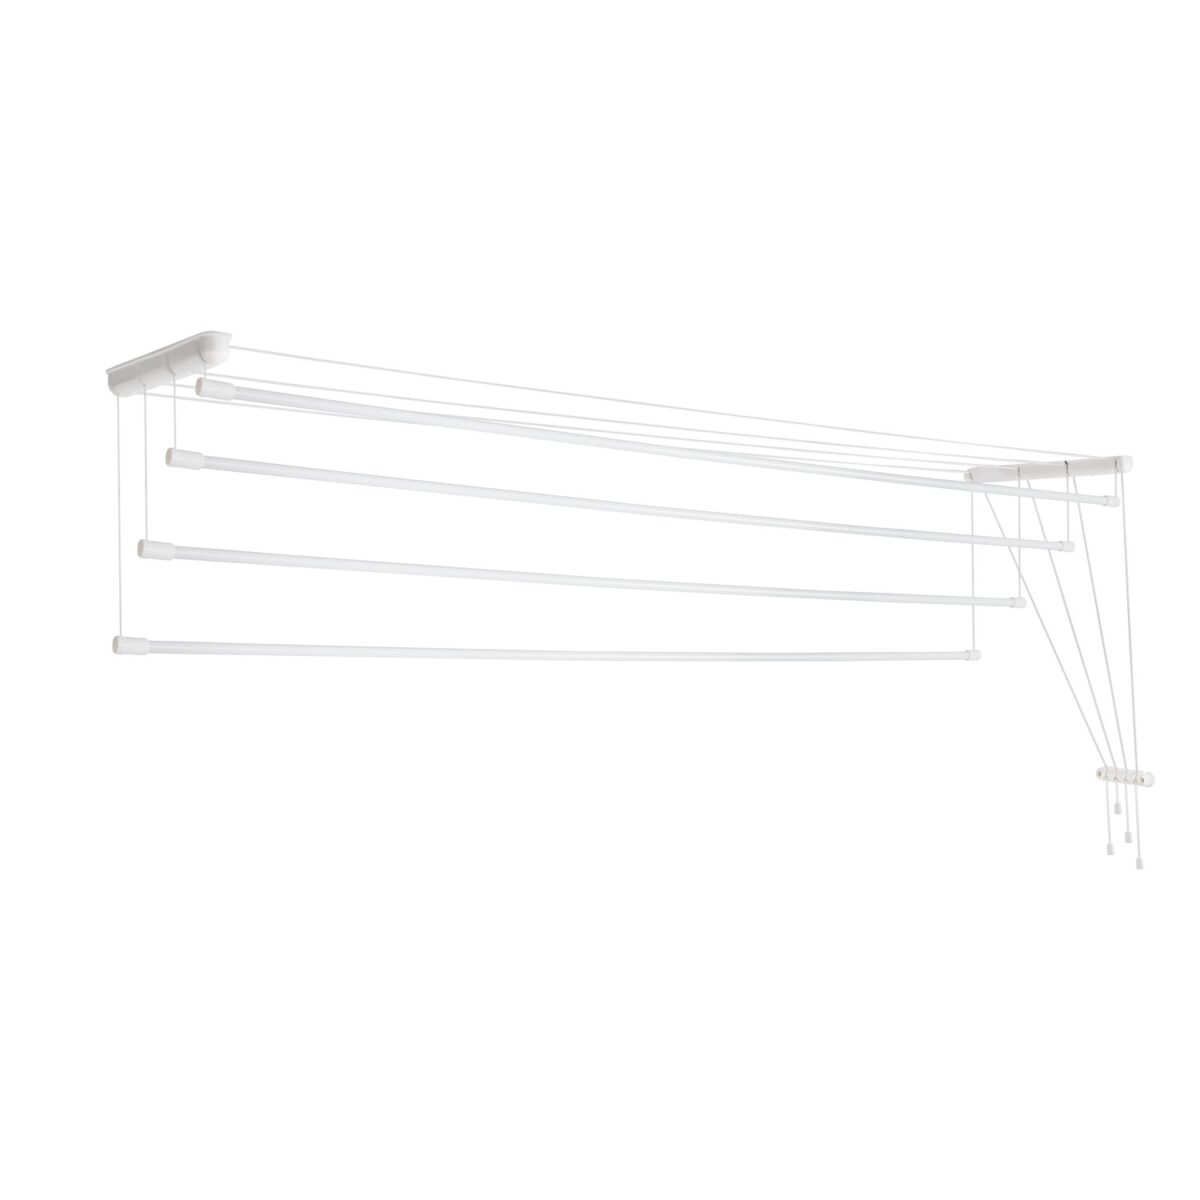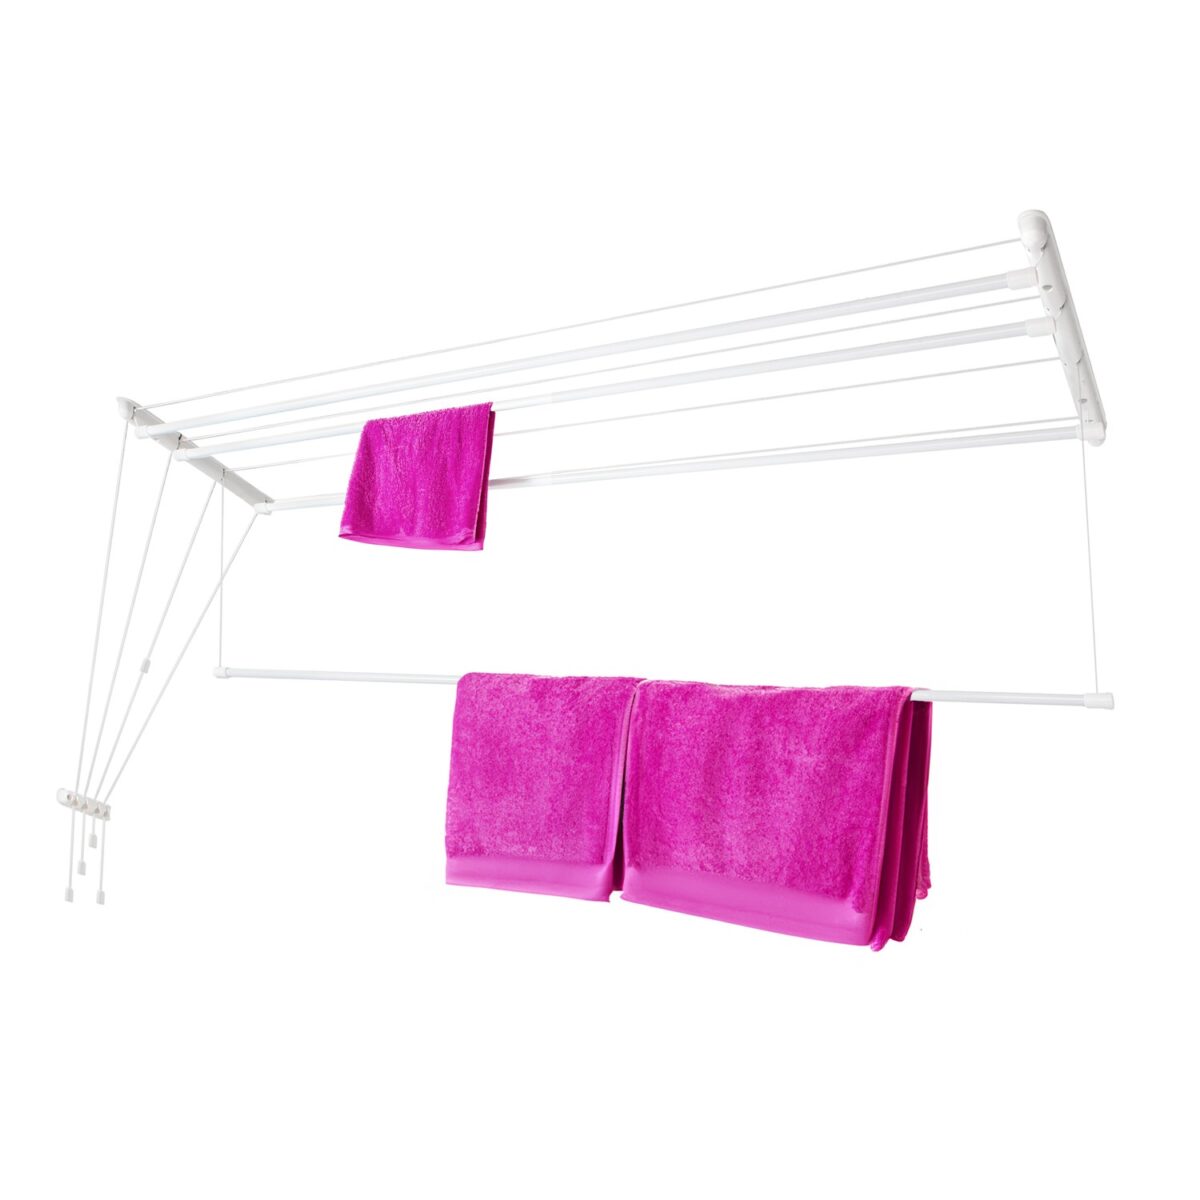
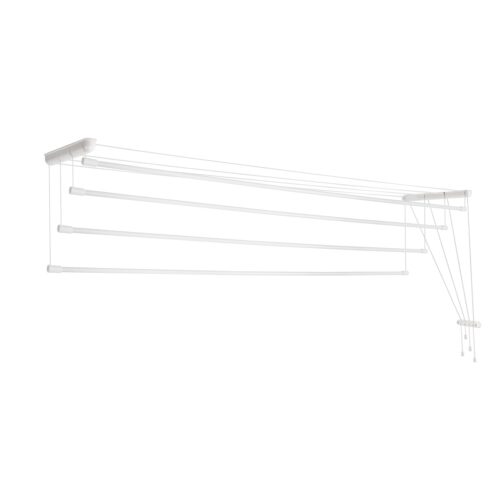
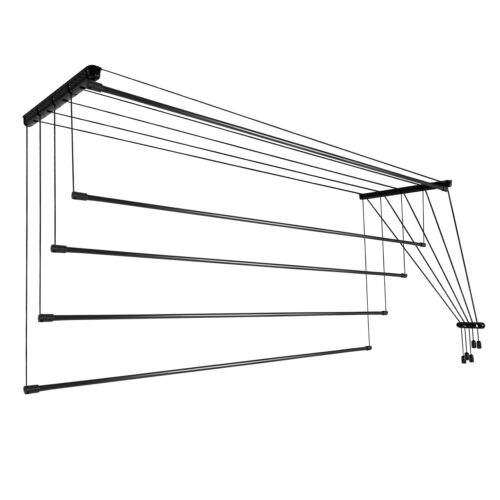
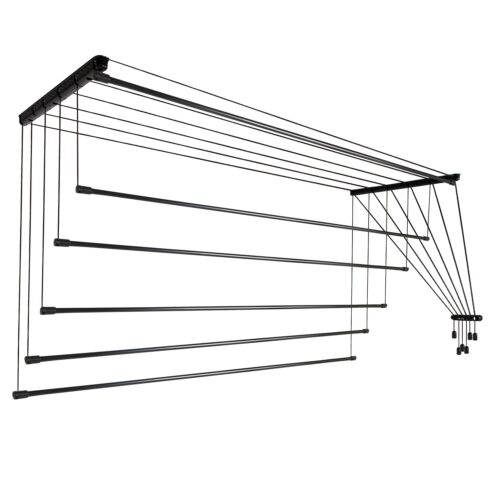
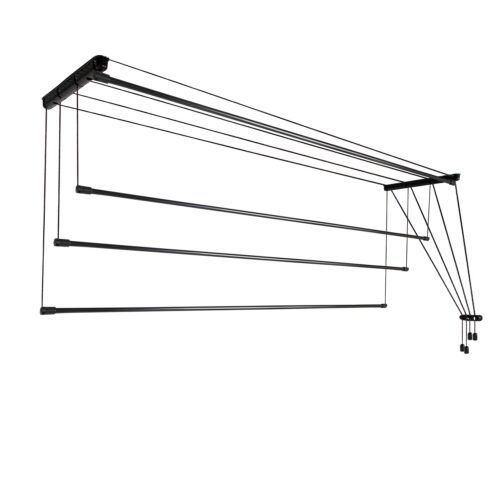

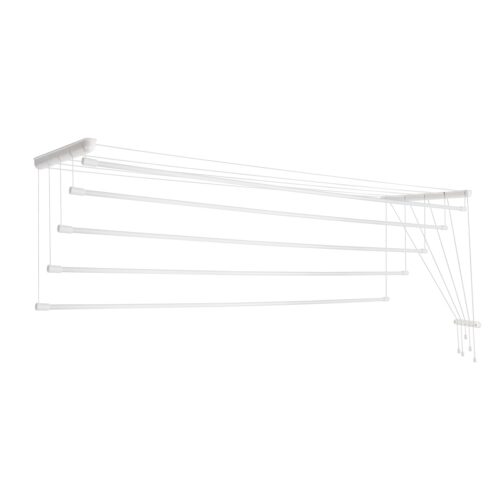
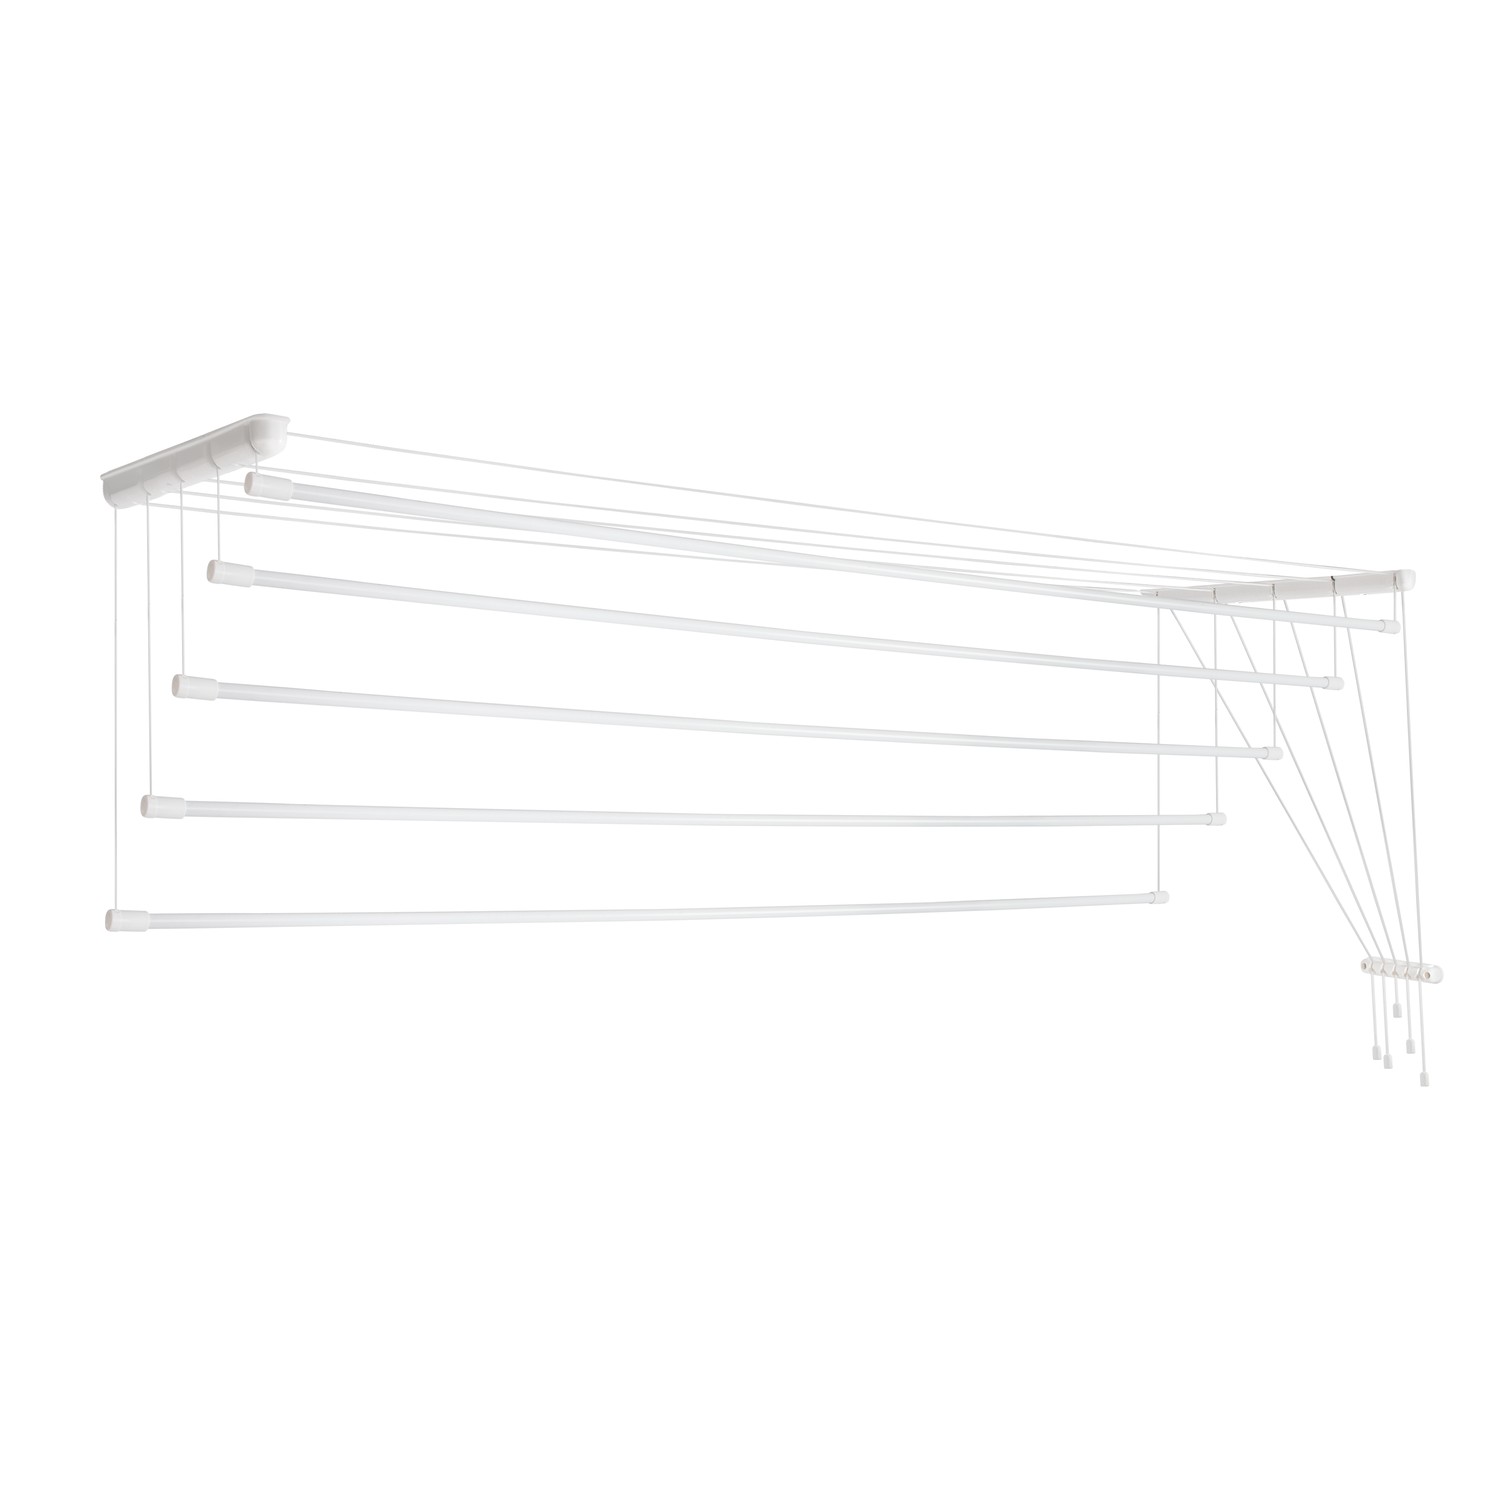
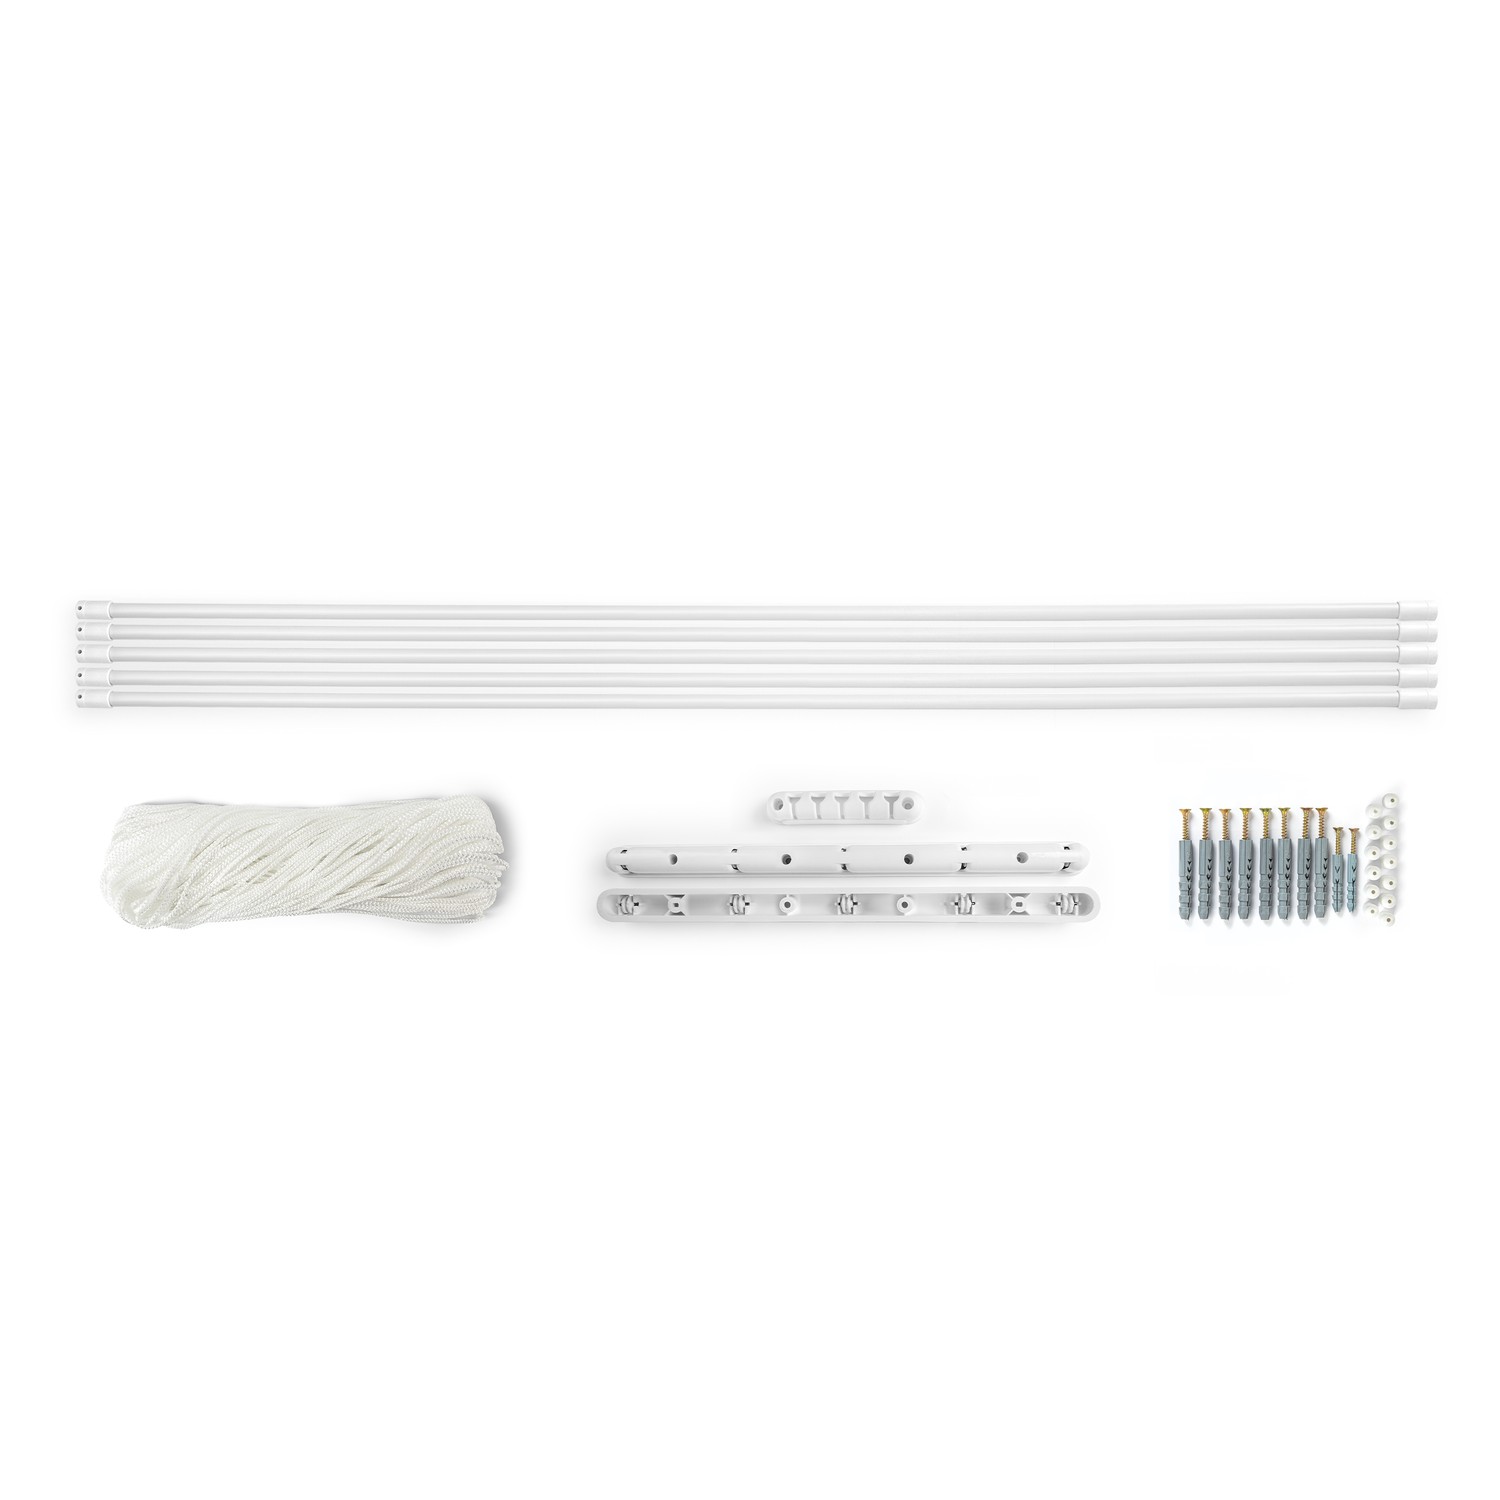
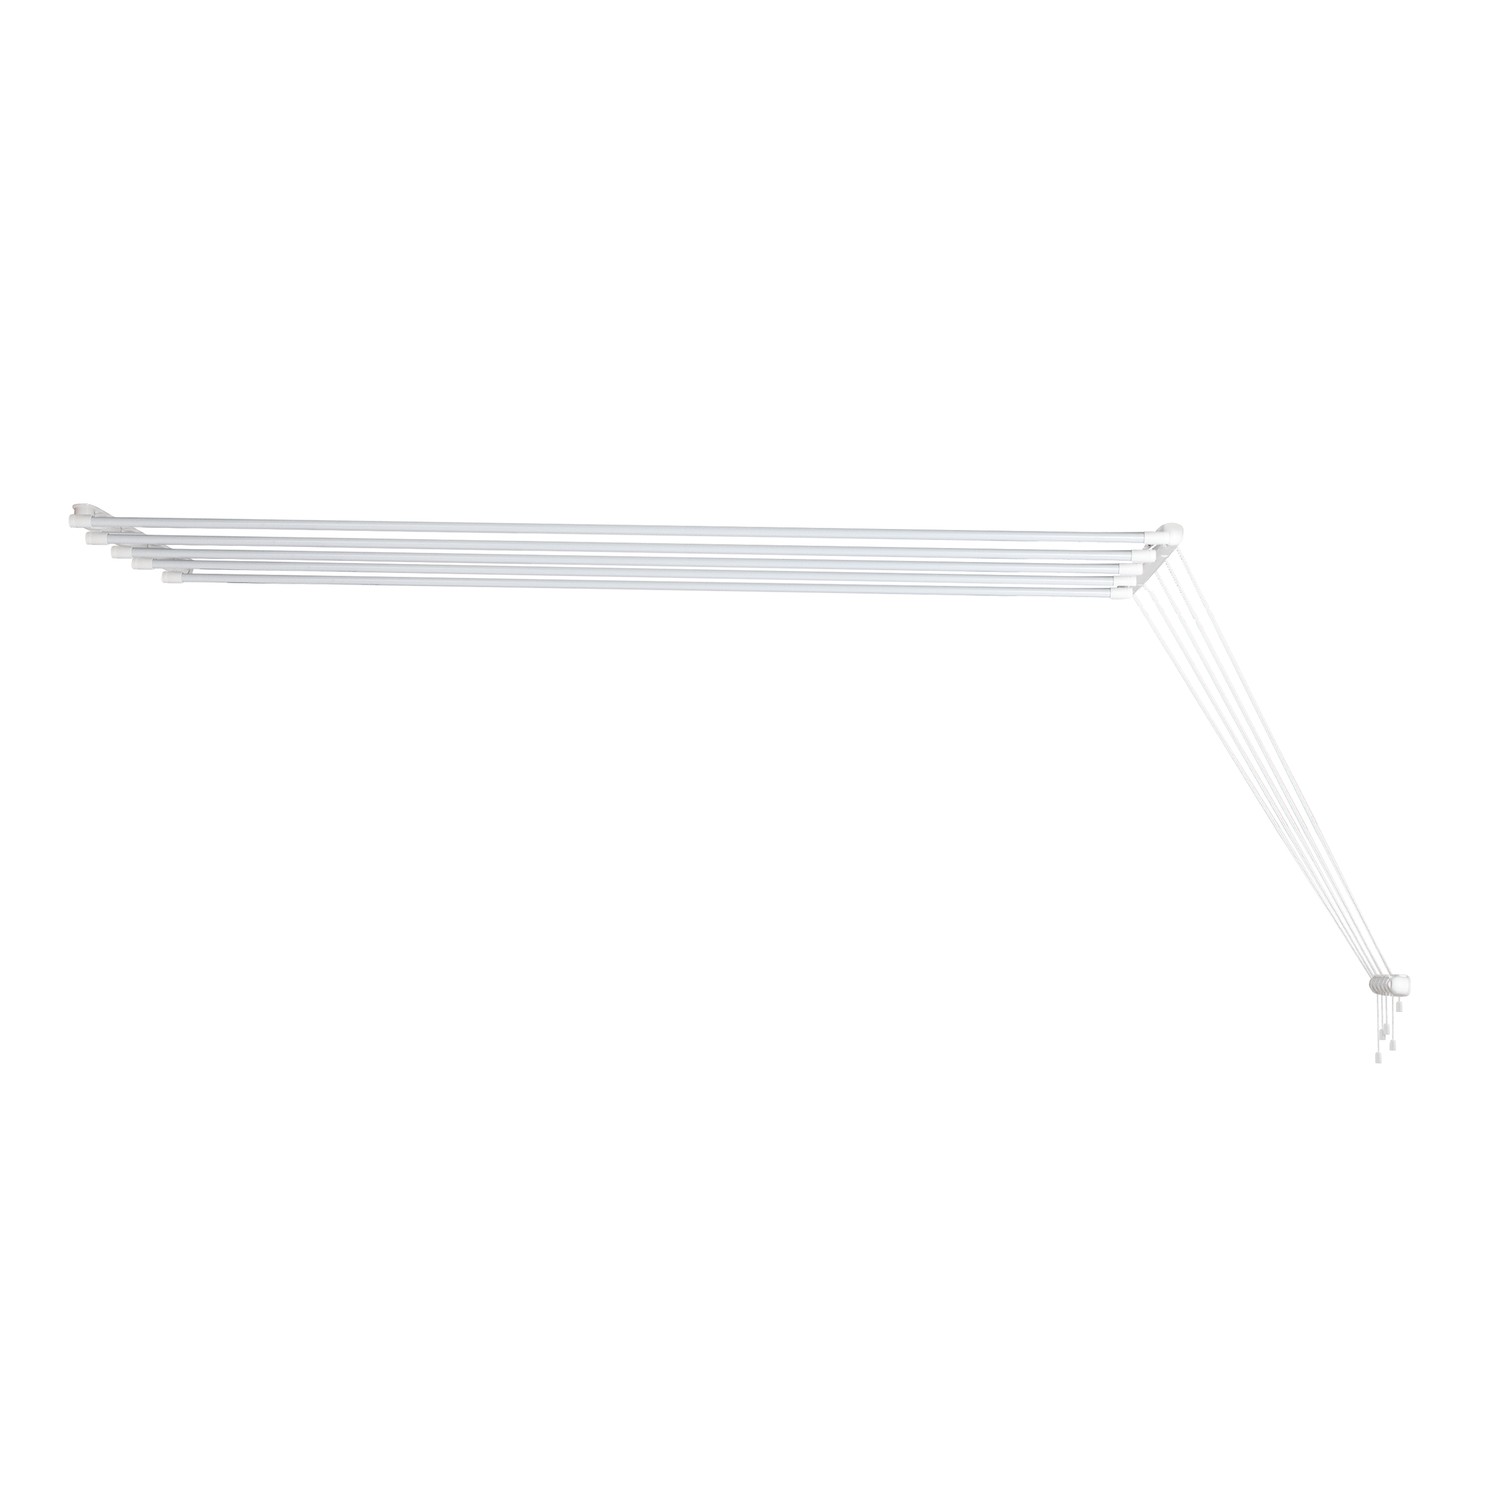
Laundry ceiling dryer 5×1.6 m, aluminum (AV160W-5AL)
10,0 zł
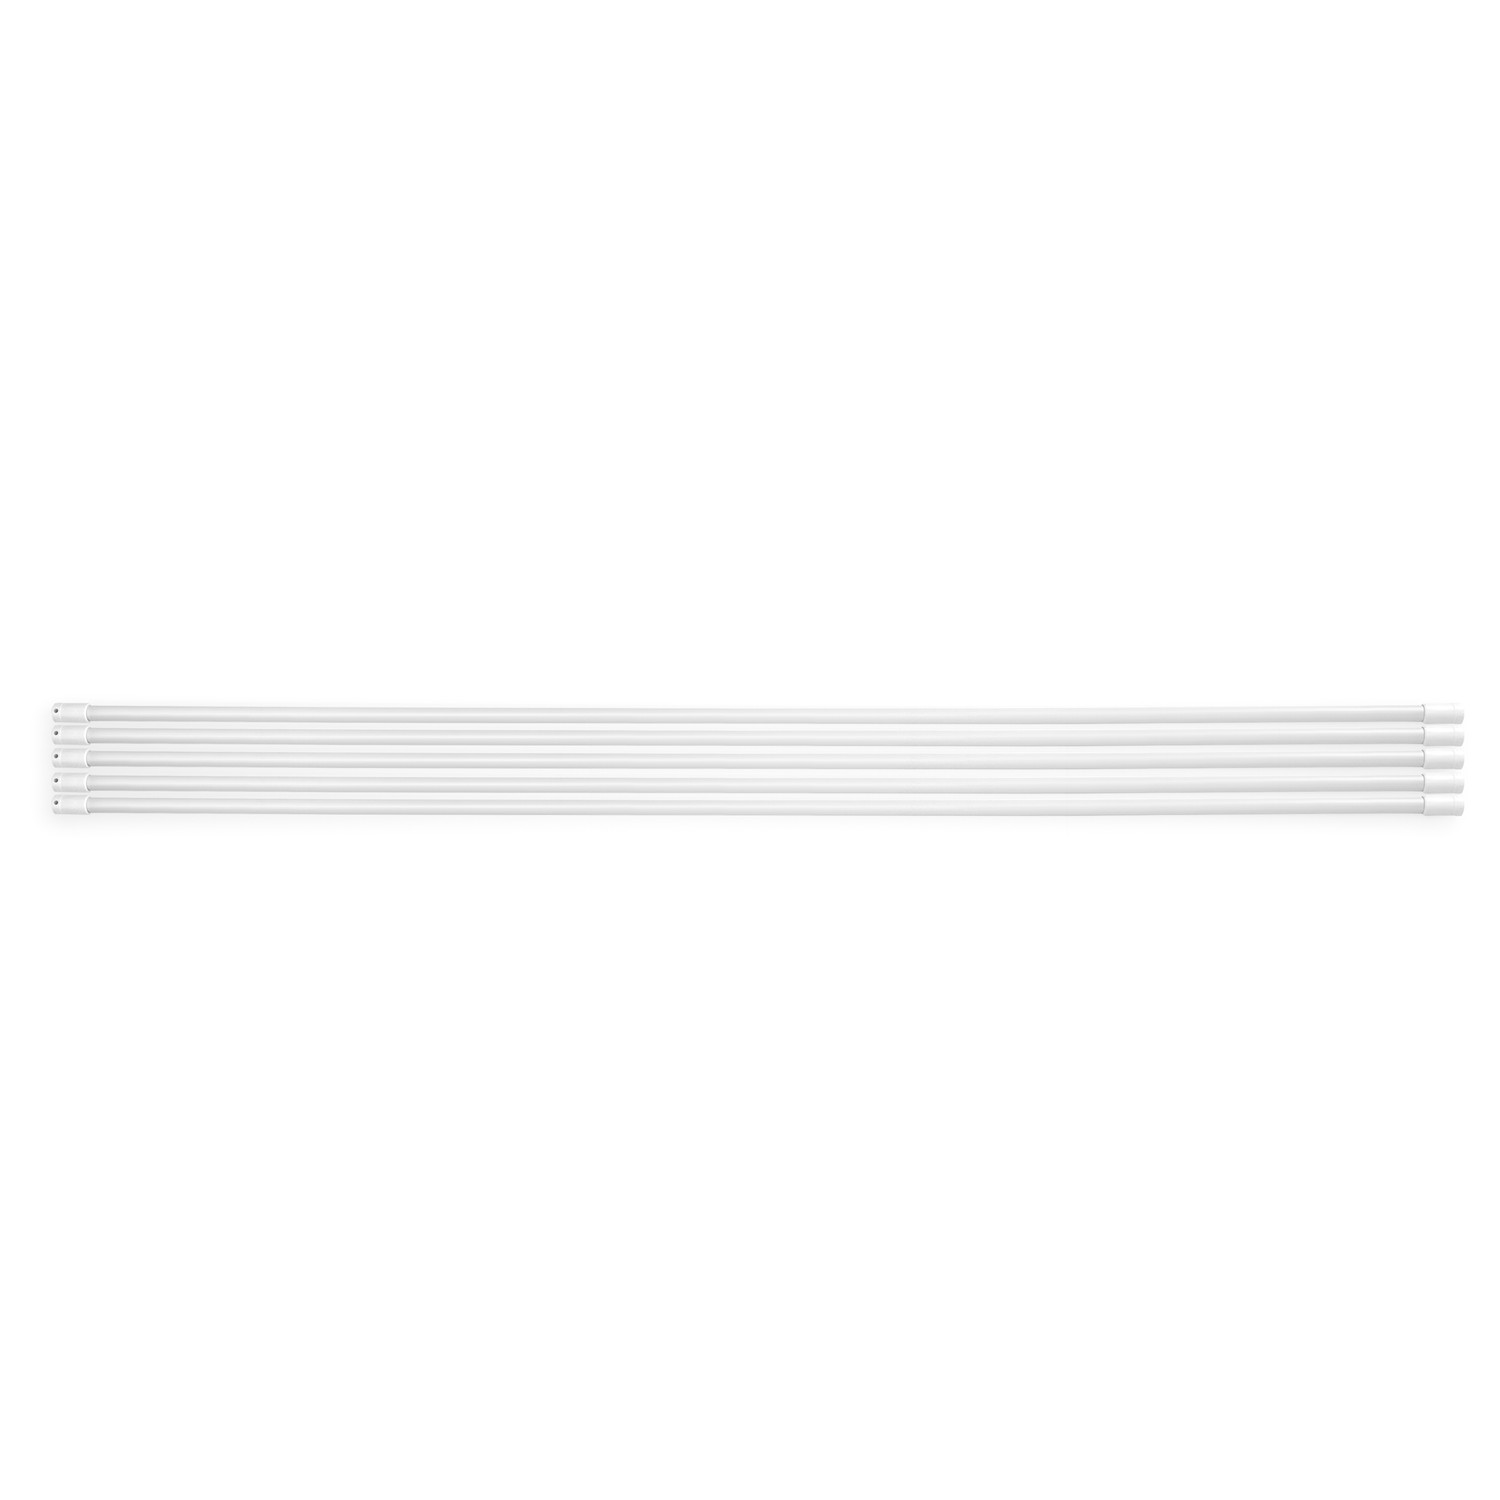
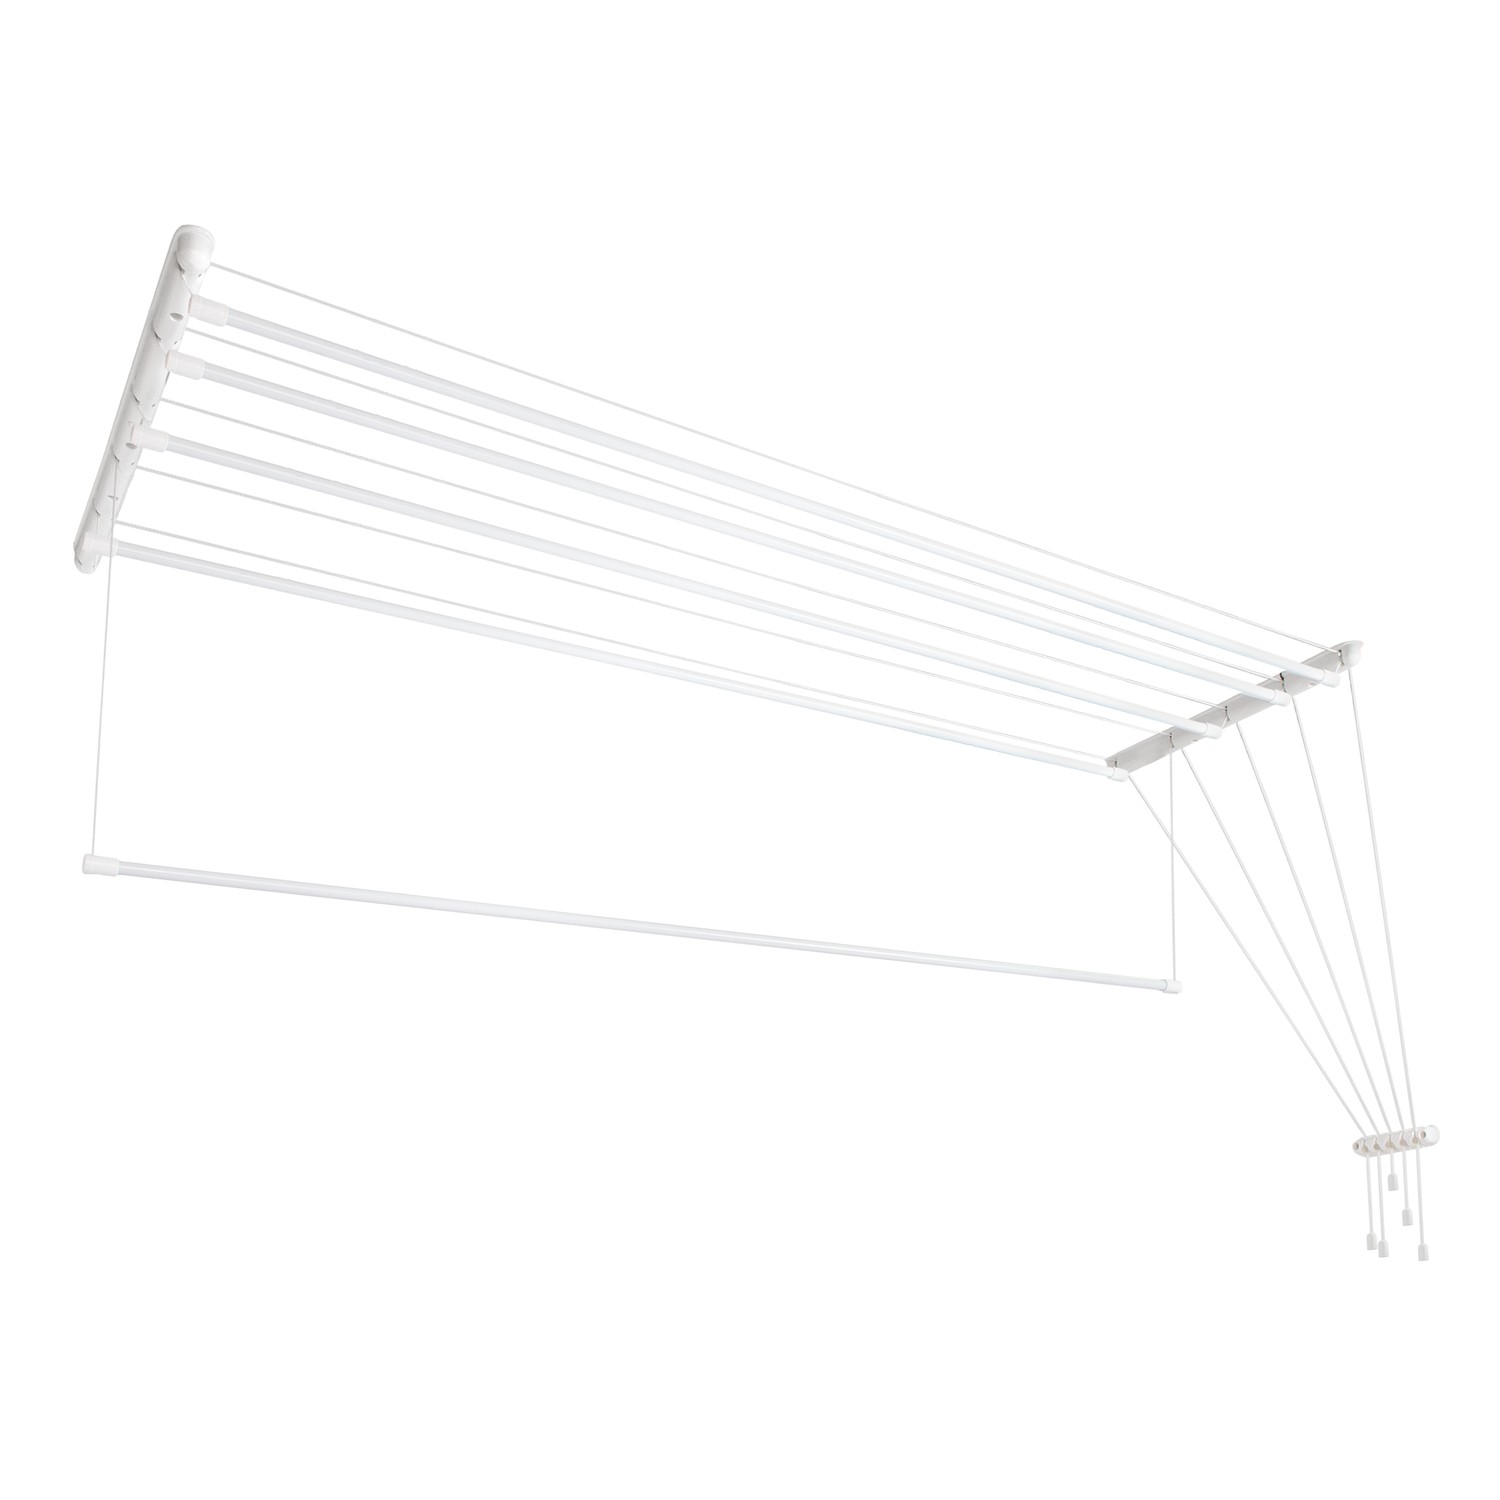
Efficient and space-saving ceiling-mounted laundry drying system with 5 durable aluminum rods, each 160 cm long, providing 8 meters of drying space. Ideal for bathrooms, balconies, or loggias. Built with powder-coated aluminum and strong plastic, it offers reliability and long-term use. Easy to operate with minimal space requirements.
In stock
Description
Product Description
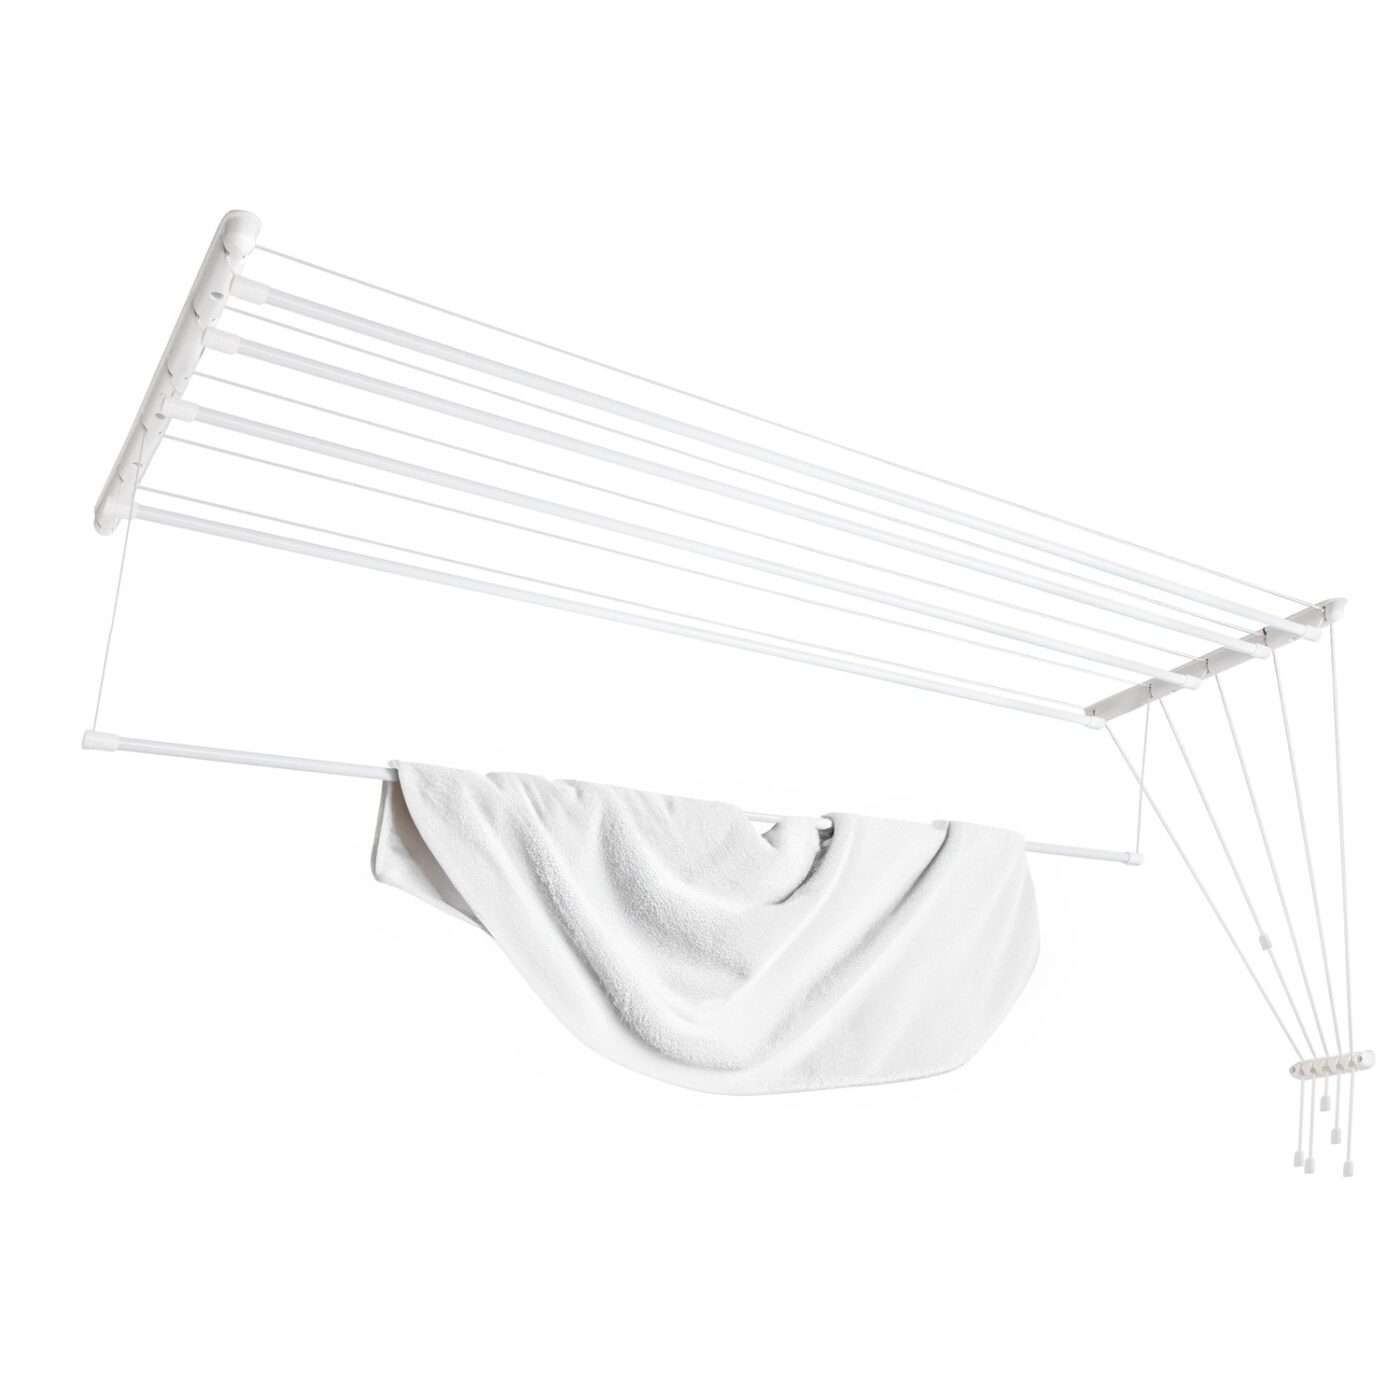
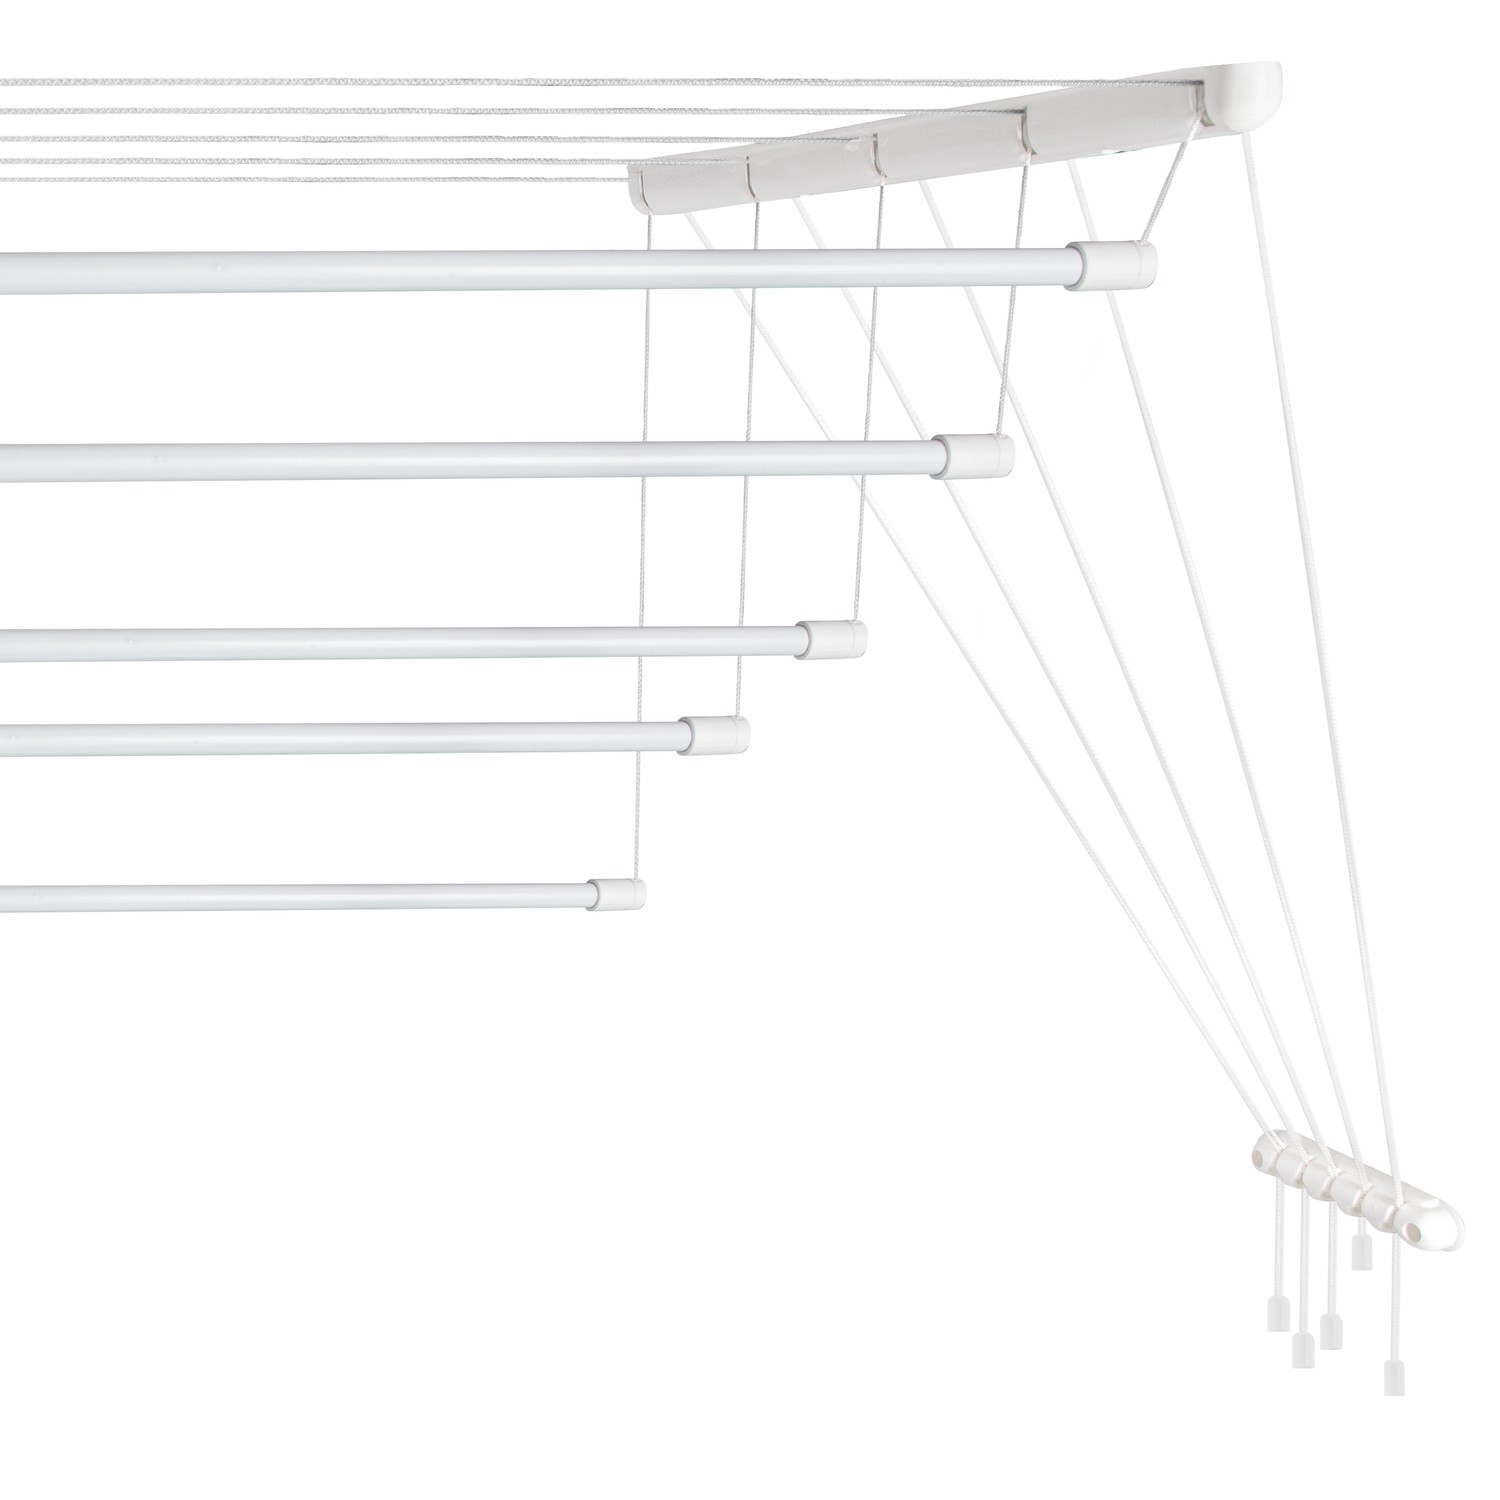
Laundry ceiling dryer 5x1.6 m, aluminum (AVDC160W-4AL)
DURABILITY AND PRACTICALITY
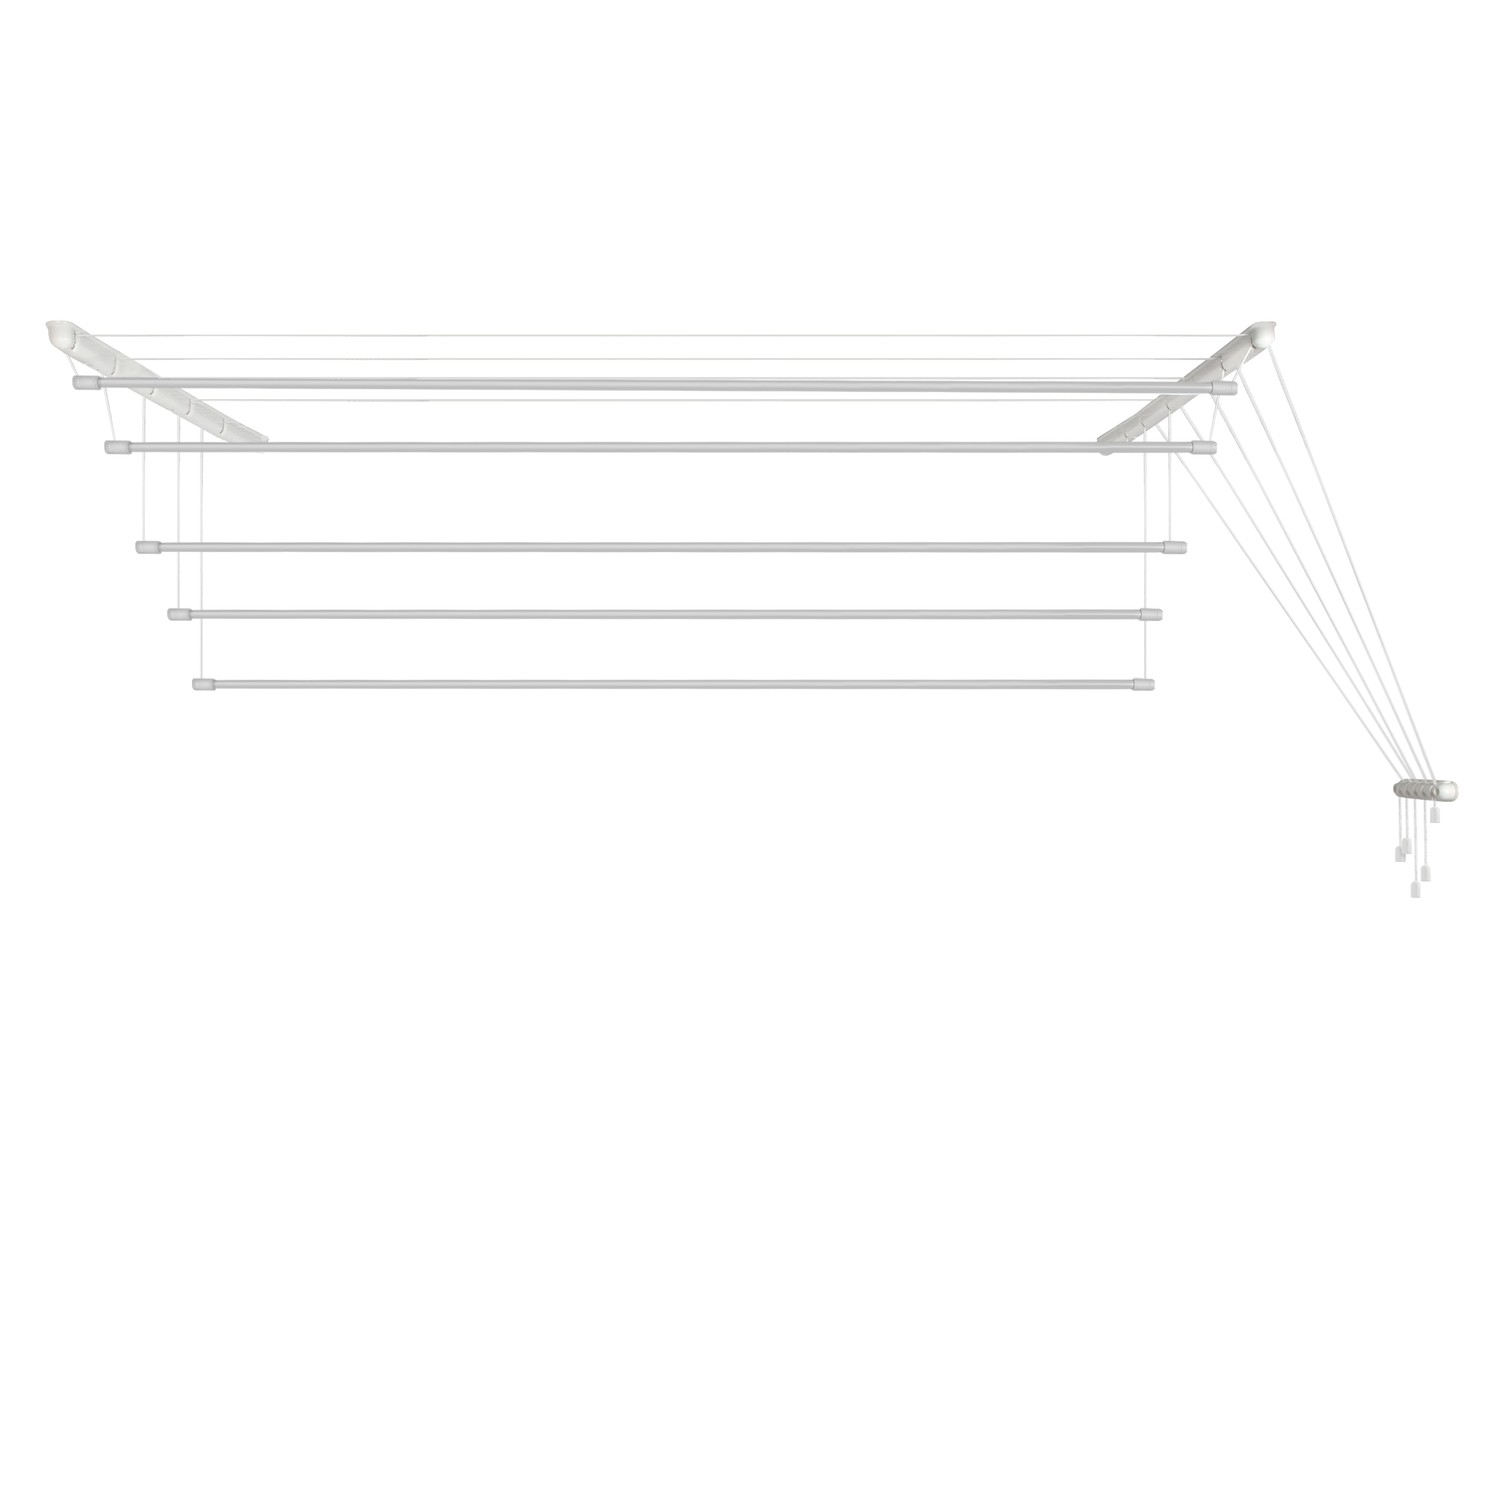
Ceiling dryer – a compact and convenient clothes drying rack. It allows you to quickly and efficiently dry your laundry. The white color of the product fits any interior. The design can be used in the bathroom, on the balcony, or on the loggia.
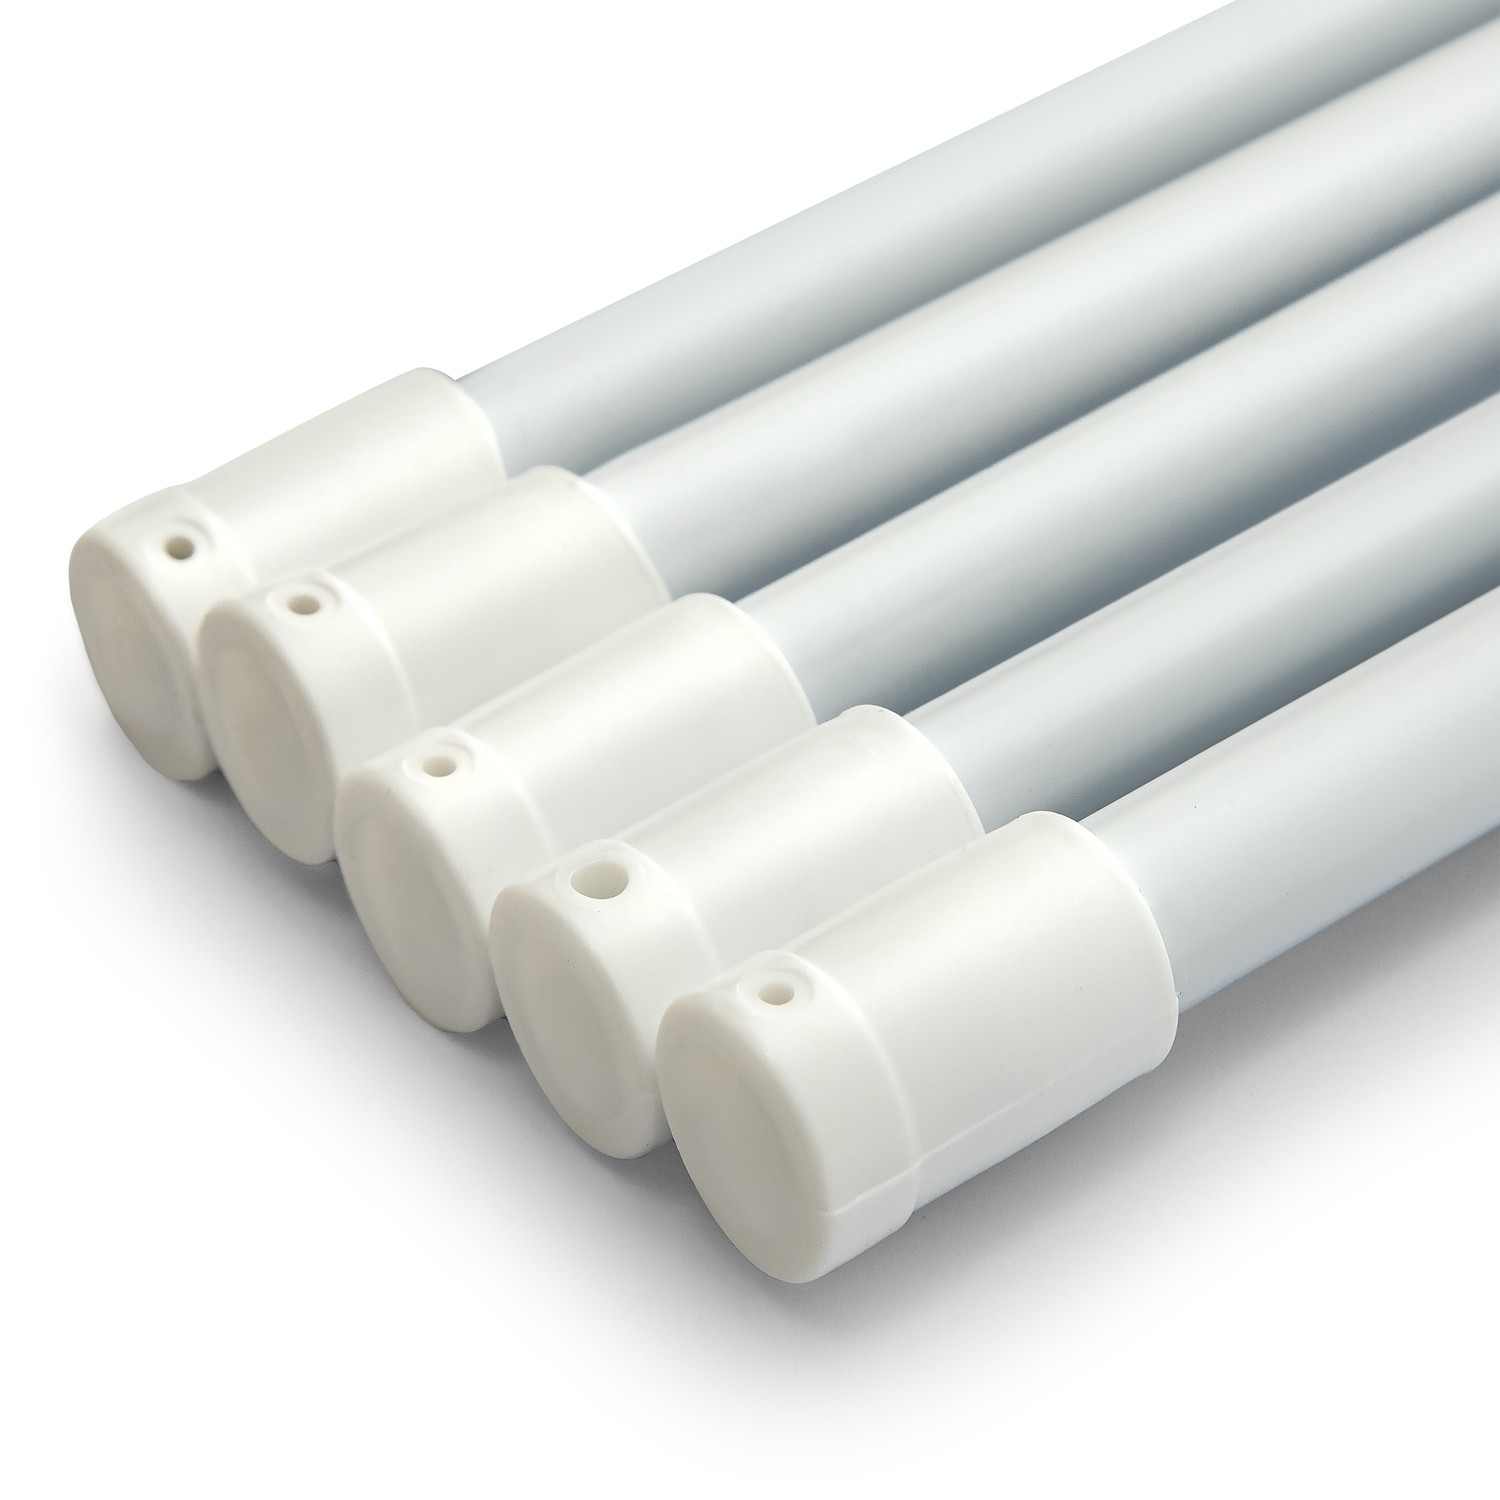
The rods of the structure are made of aluminum and coated with powder paint. The fastening elements are made of durable plastic that does not deform over time. The dryer is designed for long-term use and is suitable for everyday household use.
RELIABILITY
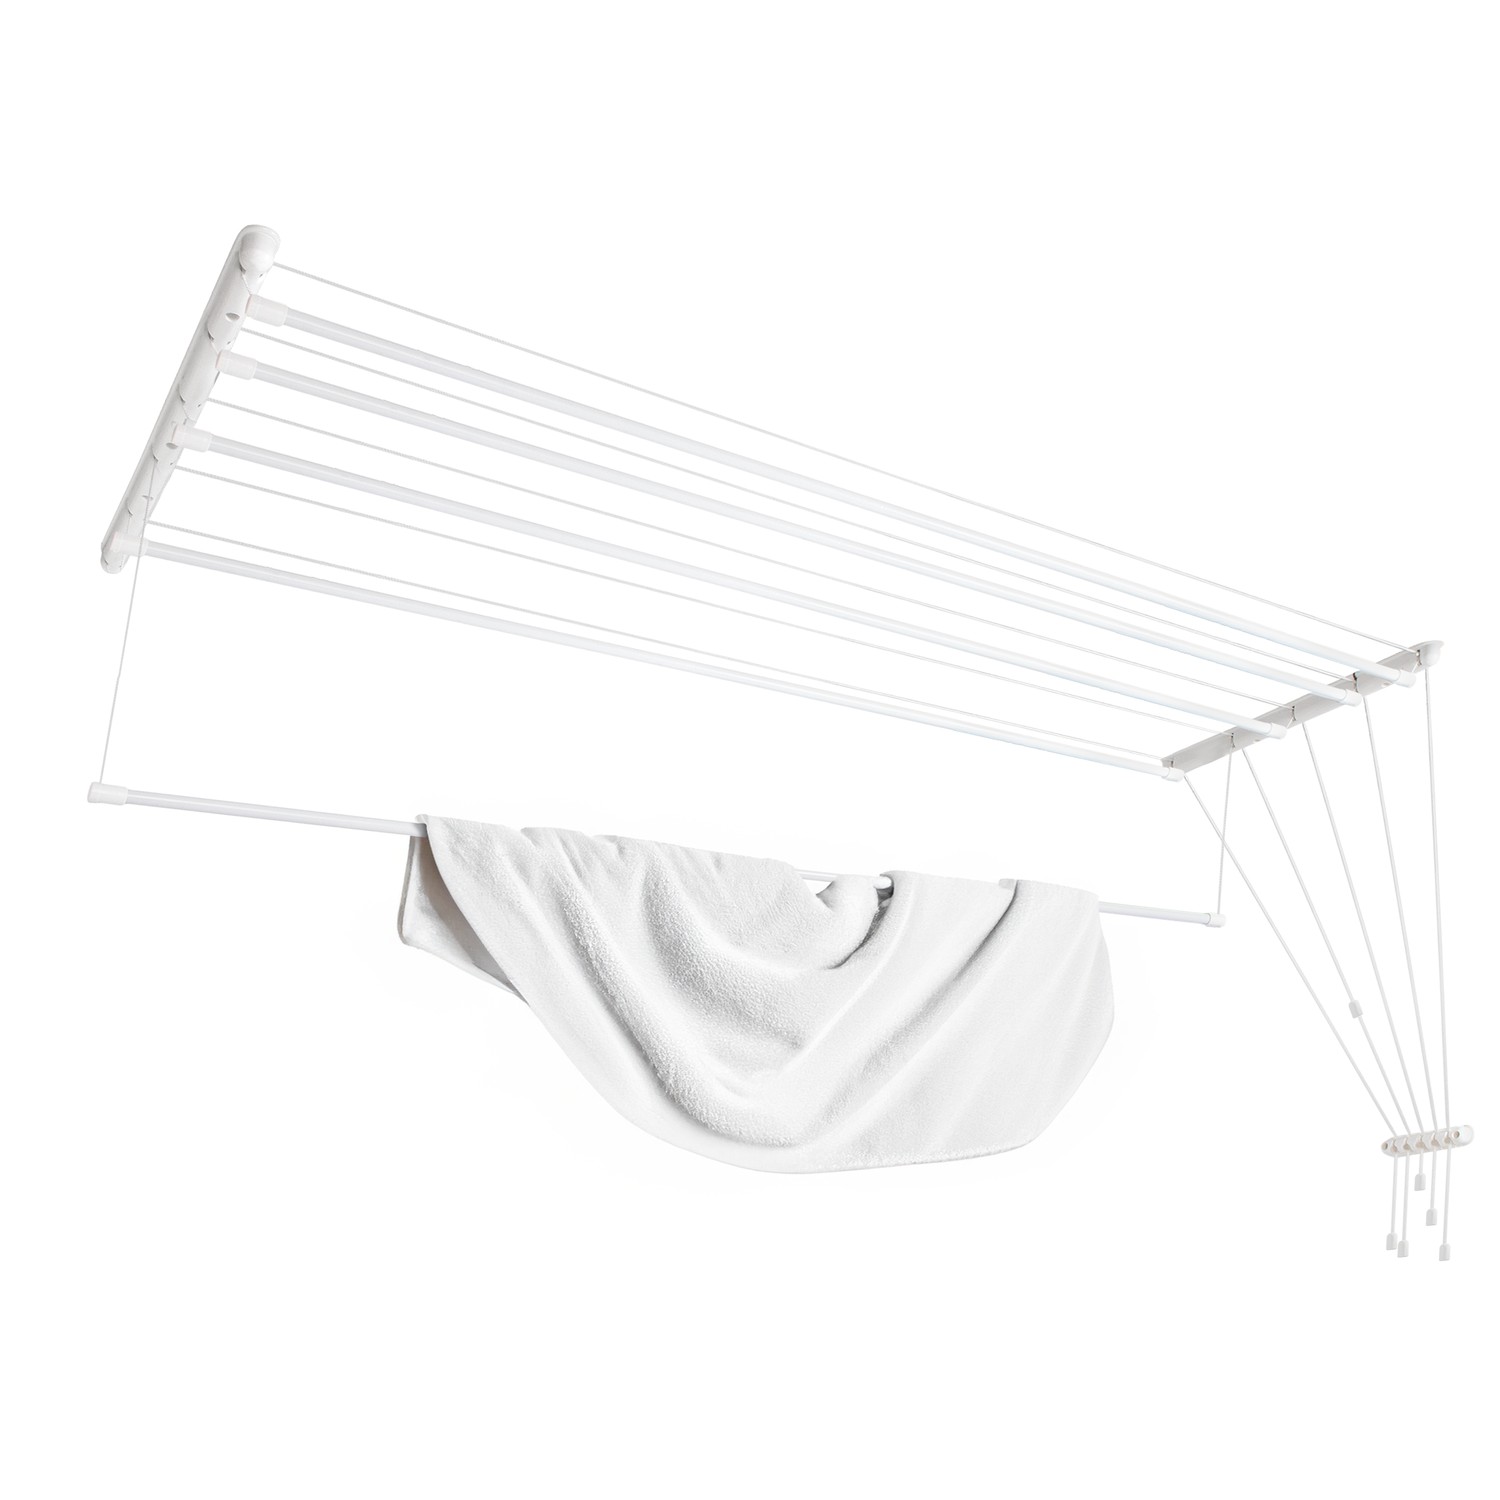
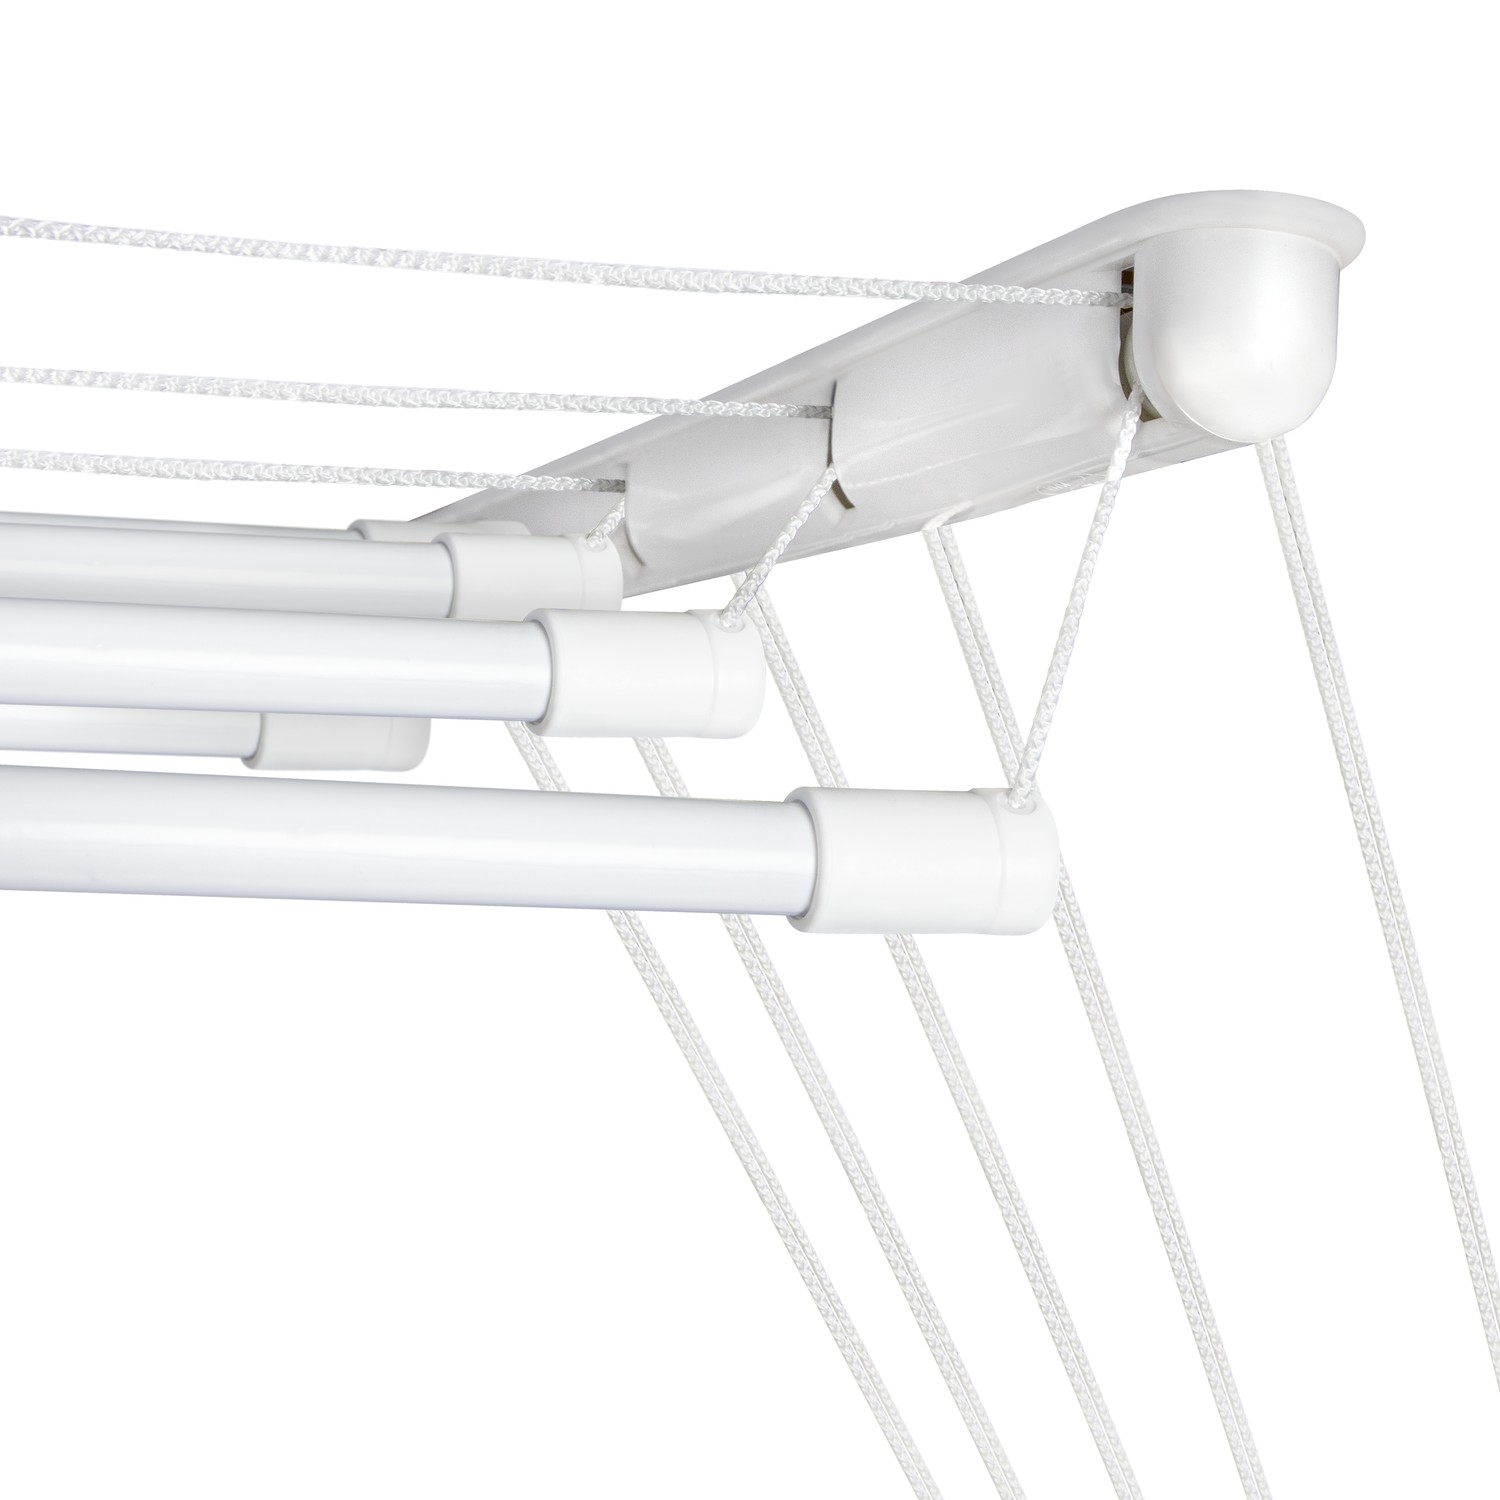
To hang the laundry, the dryer rods are lowered to the desired level and then raised back up. The washed clothes dry under the ceiling, saving space. When not in use, the dryer takes up minimal space, does not obstruct movement, and does not interfere with the opening of balcony doors or windows.
COMPACTNESS AND SIMPLICITY
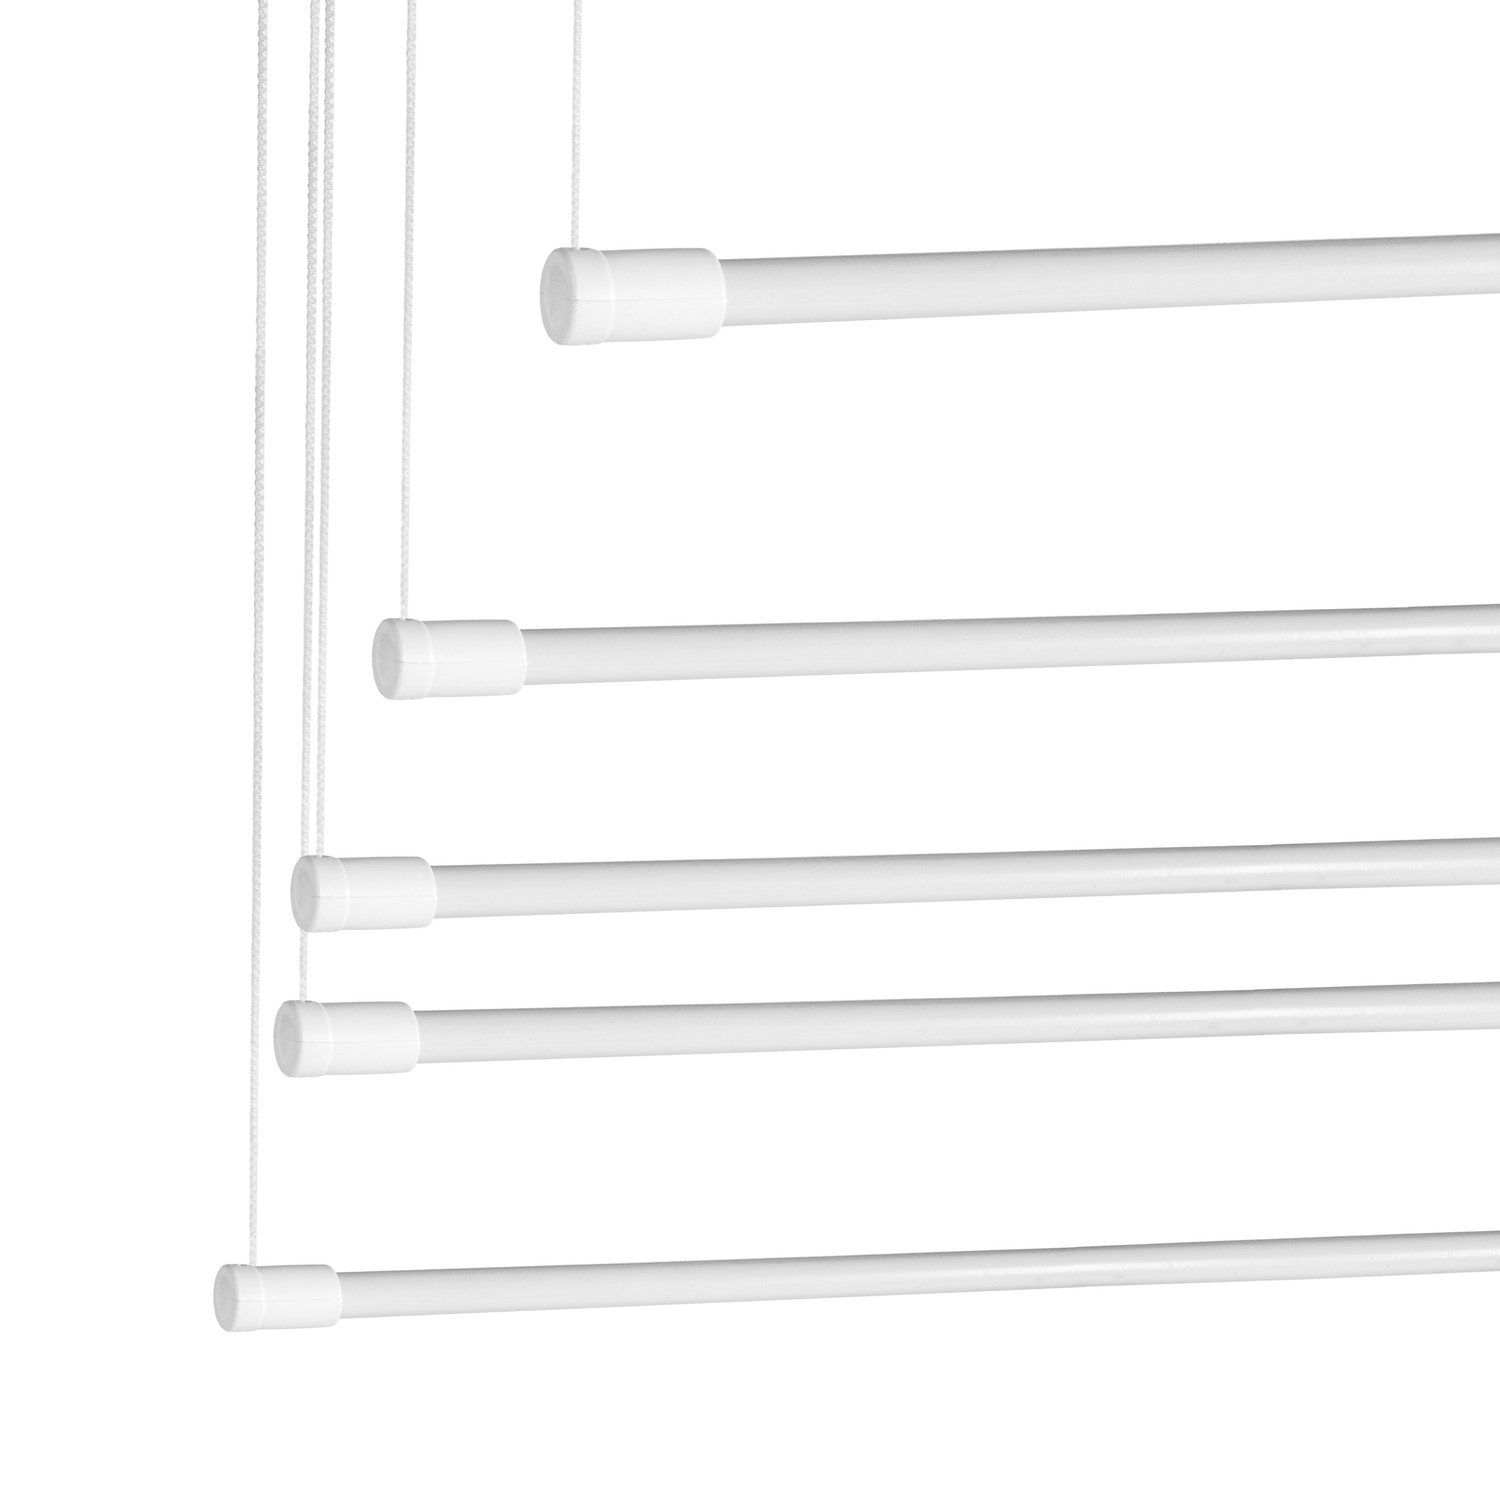
The drying surface is 8 m, and the dimensions of the structure are 160 × 45 cm. The dryer consists of five rods, each 160 cm long. Thanks to their large diameter, clothes do not get marks or creases after drying. The recommended load is up to 2 kg per rod. The weight of the structure is 1.11 kg.
Advantages
To hang the laundry, the dryer rods are lowered to the desired level and then raised back up. The washed clothes dry under the ceiling, taking up little space. When not in use, the dryer occupies minimal space, does not obstruct movement, and does not interfere with the opening of balcony doors or windows.
Additional information
| Size | 160 cm per rod |
|---|---|
| Material | Aluminum and durable plastic |
| Rod Count | 5 |
| Working Surface Length | 8 meters |
| Recommended Load | 2 kg per rod |
| Color | White |
Installation guide
Ceiling Dryer installation guide
Please read the manual before use.
Universal Installation Guide
Unpacking and Preparation
Unpack the product and ensure all components are present.
Identify the number of measuring rods and corresponding accessories based on the model.
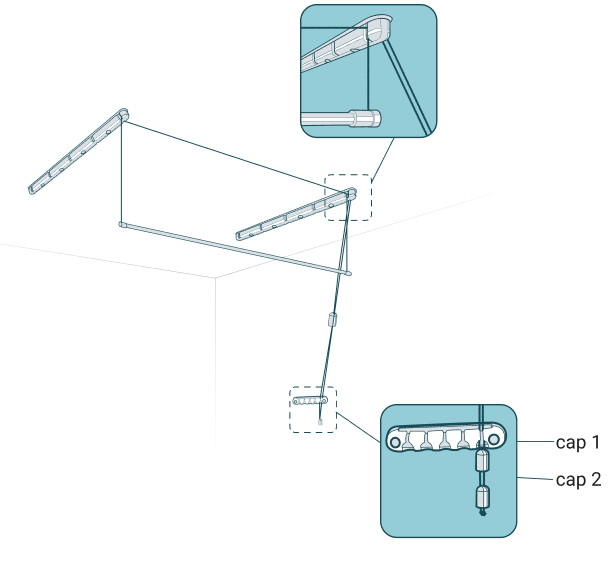
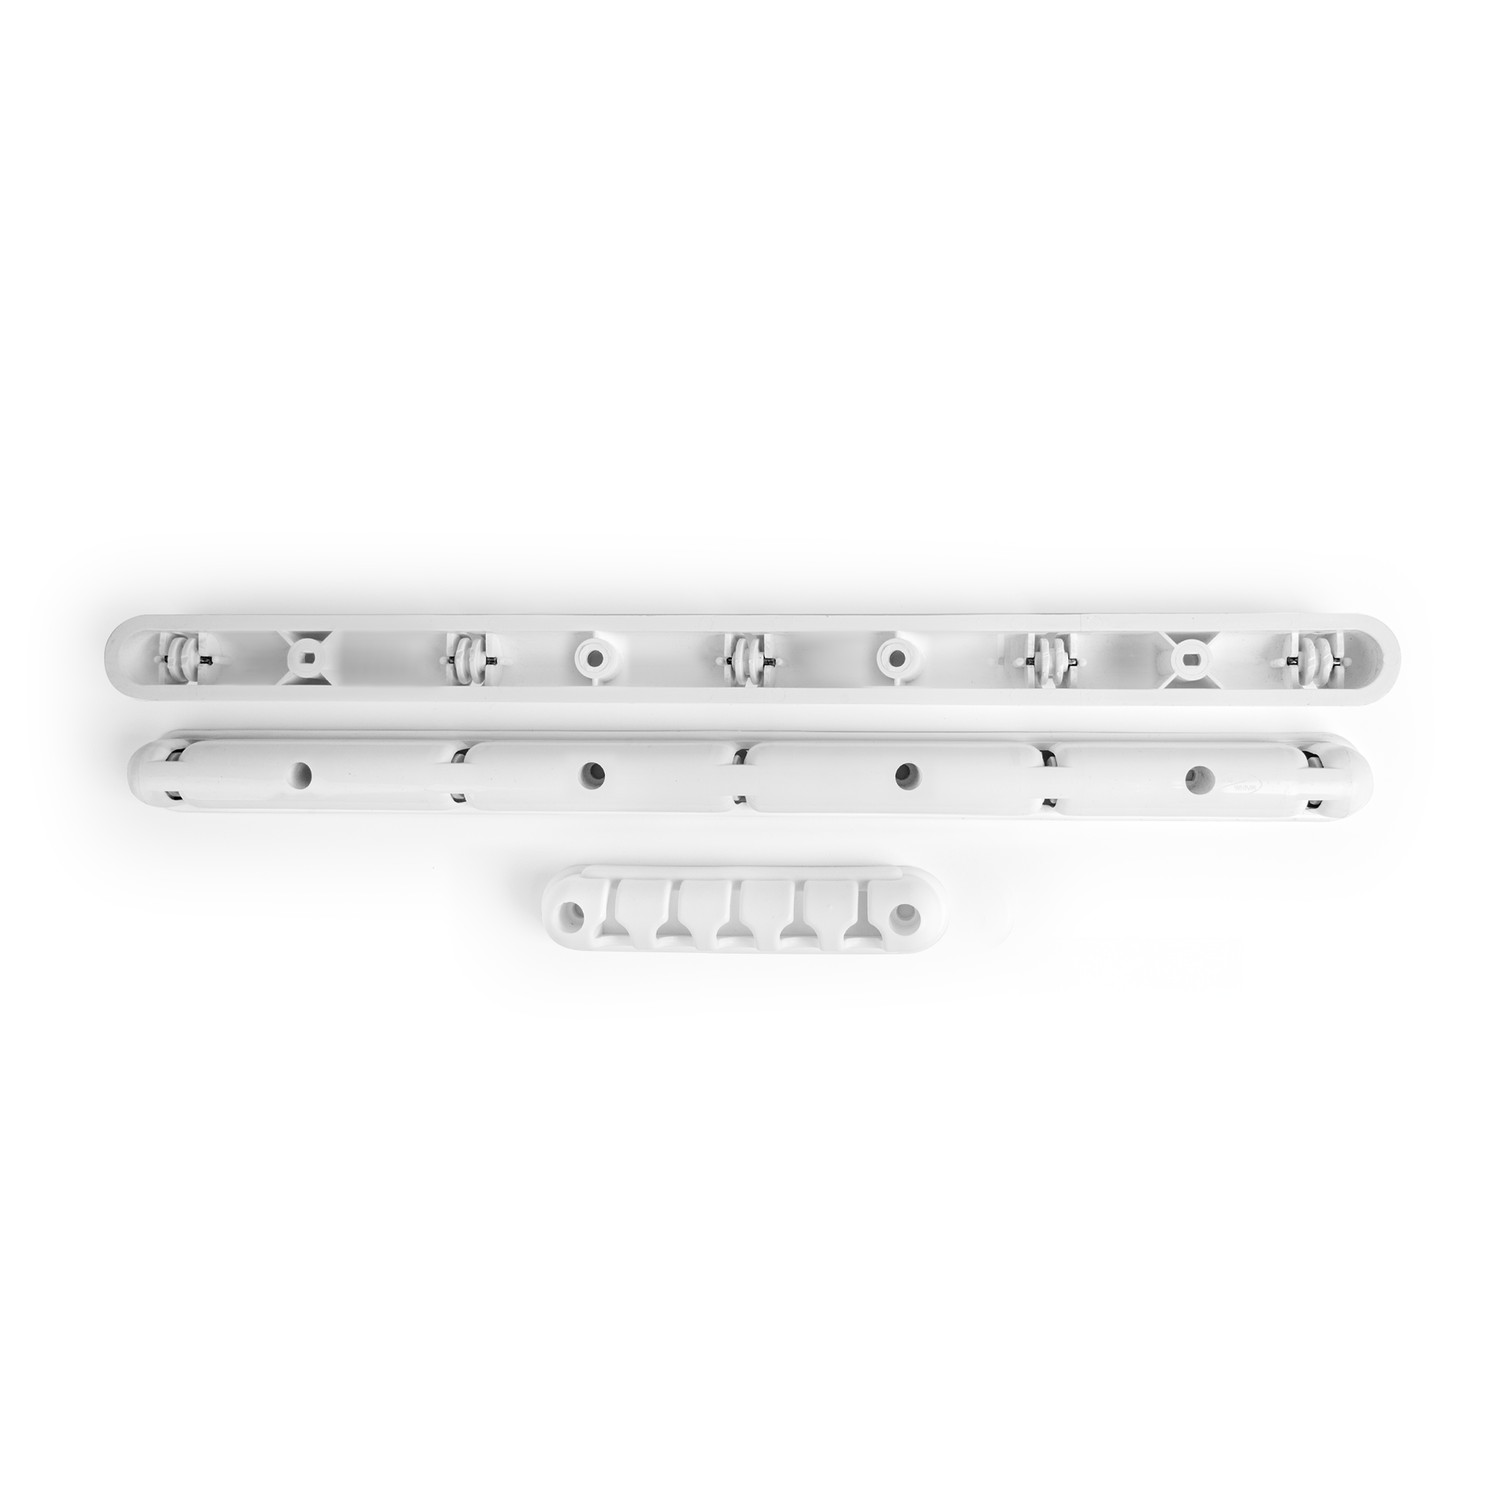
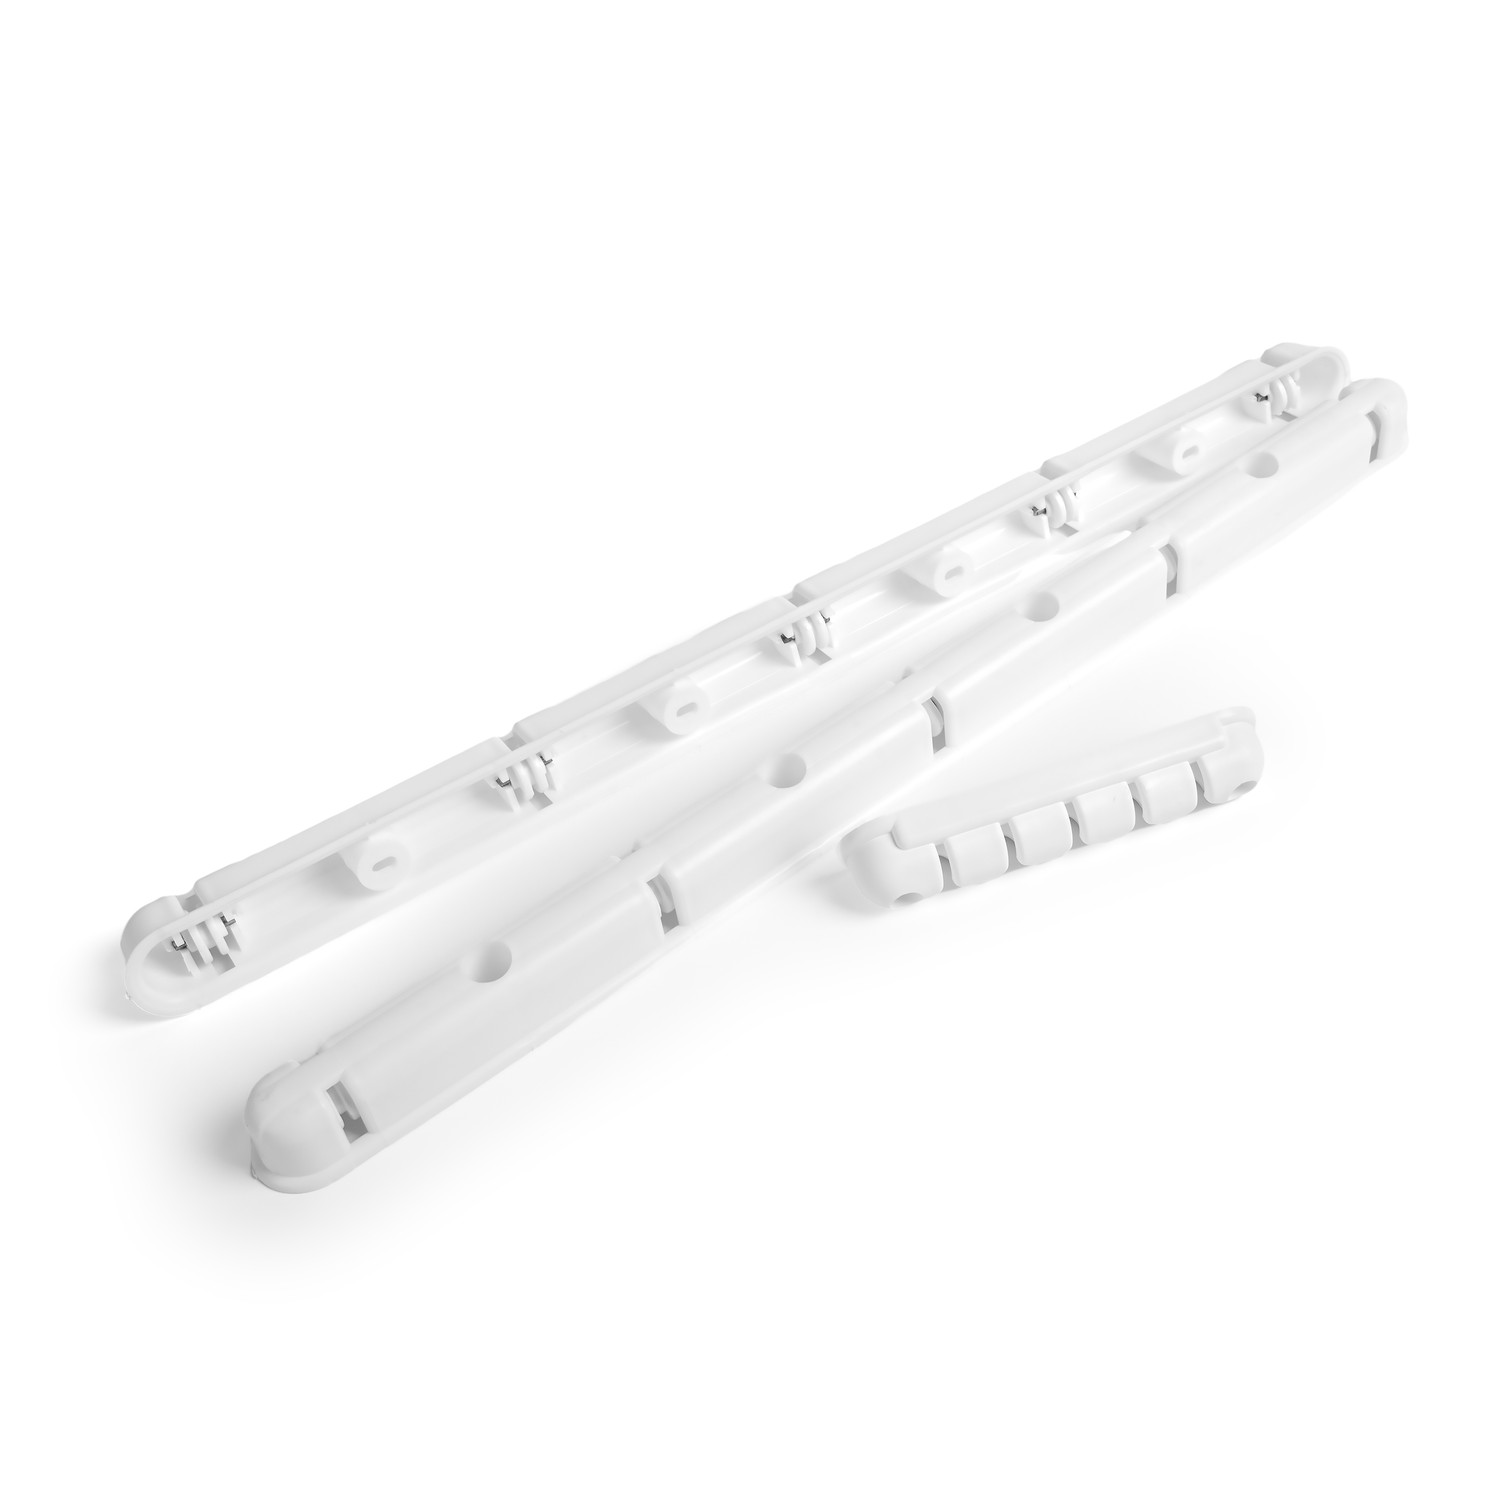
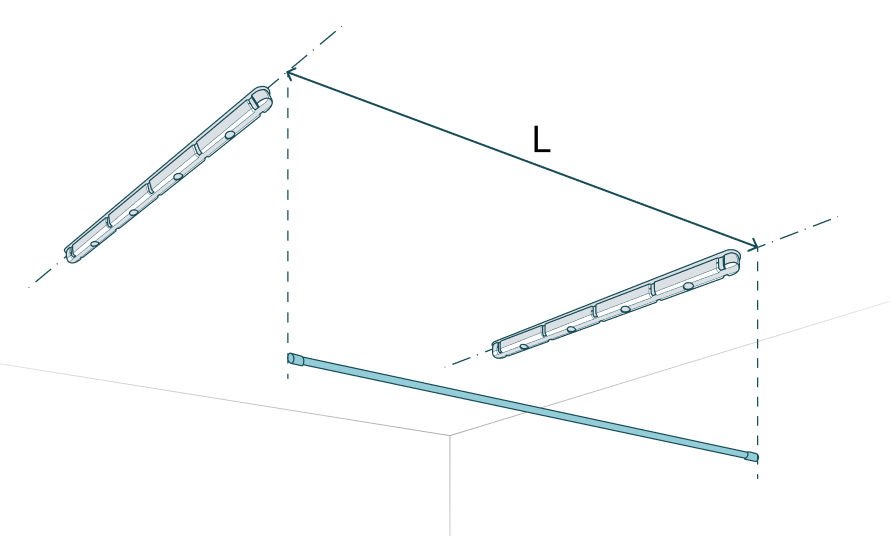
Installing the Brackets with Rollers
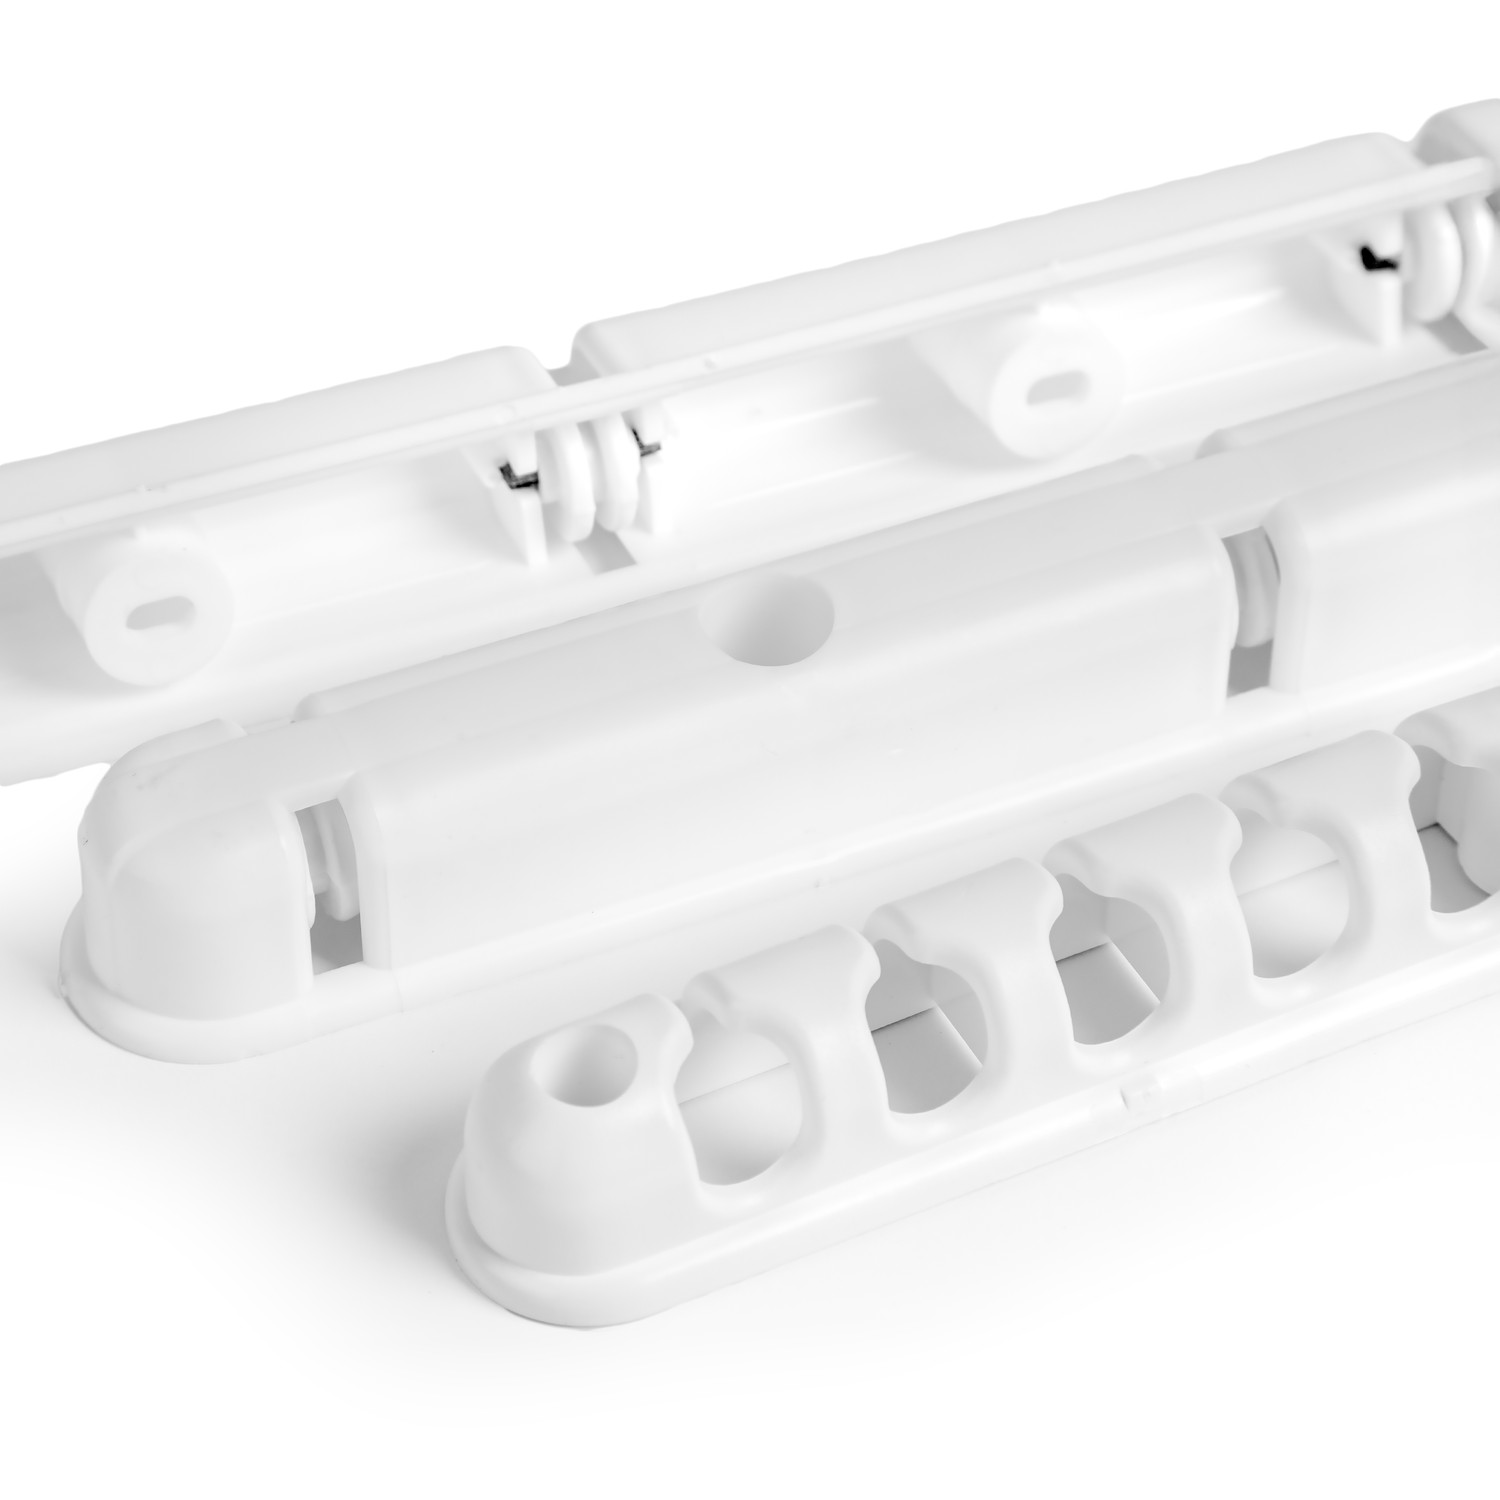
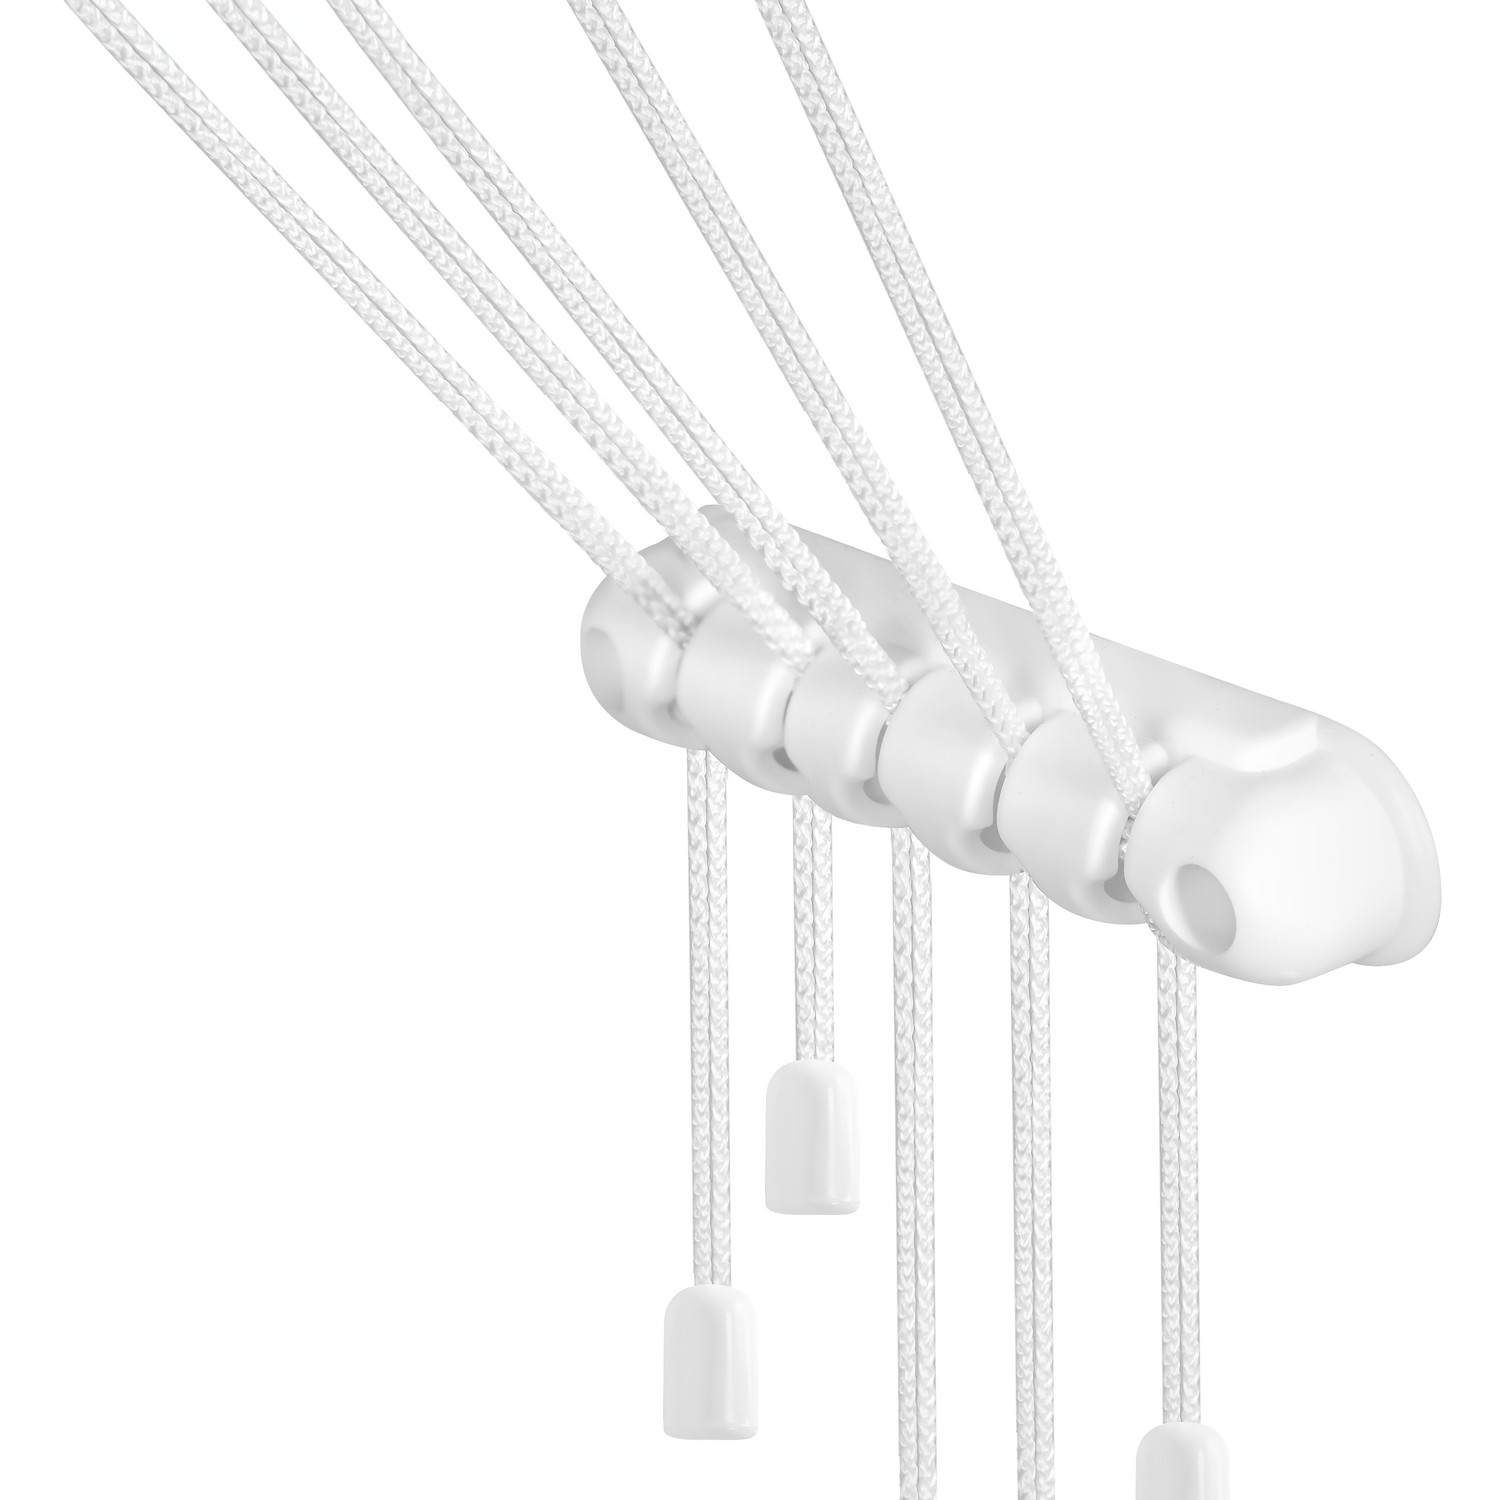
The brackets with rollers must be fixed to the ceiling using screws.
The distance between the brackets should correspond to the length (L) of the measuring rods, minus 18–20 mm for the central hole of the mounting structure.
Steps:
Measure and mark two parallel lines on the ceiling (the distance between them depends on the size of the drying rack).
Position the brackets with rollers along these lines and mark the drilling points.
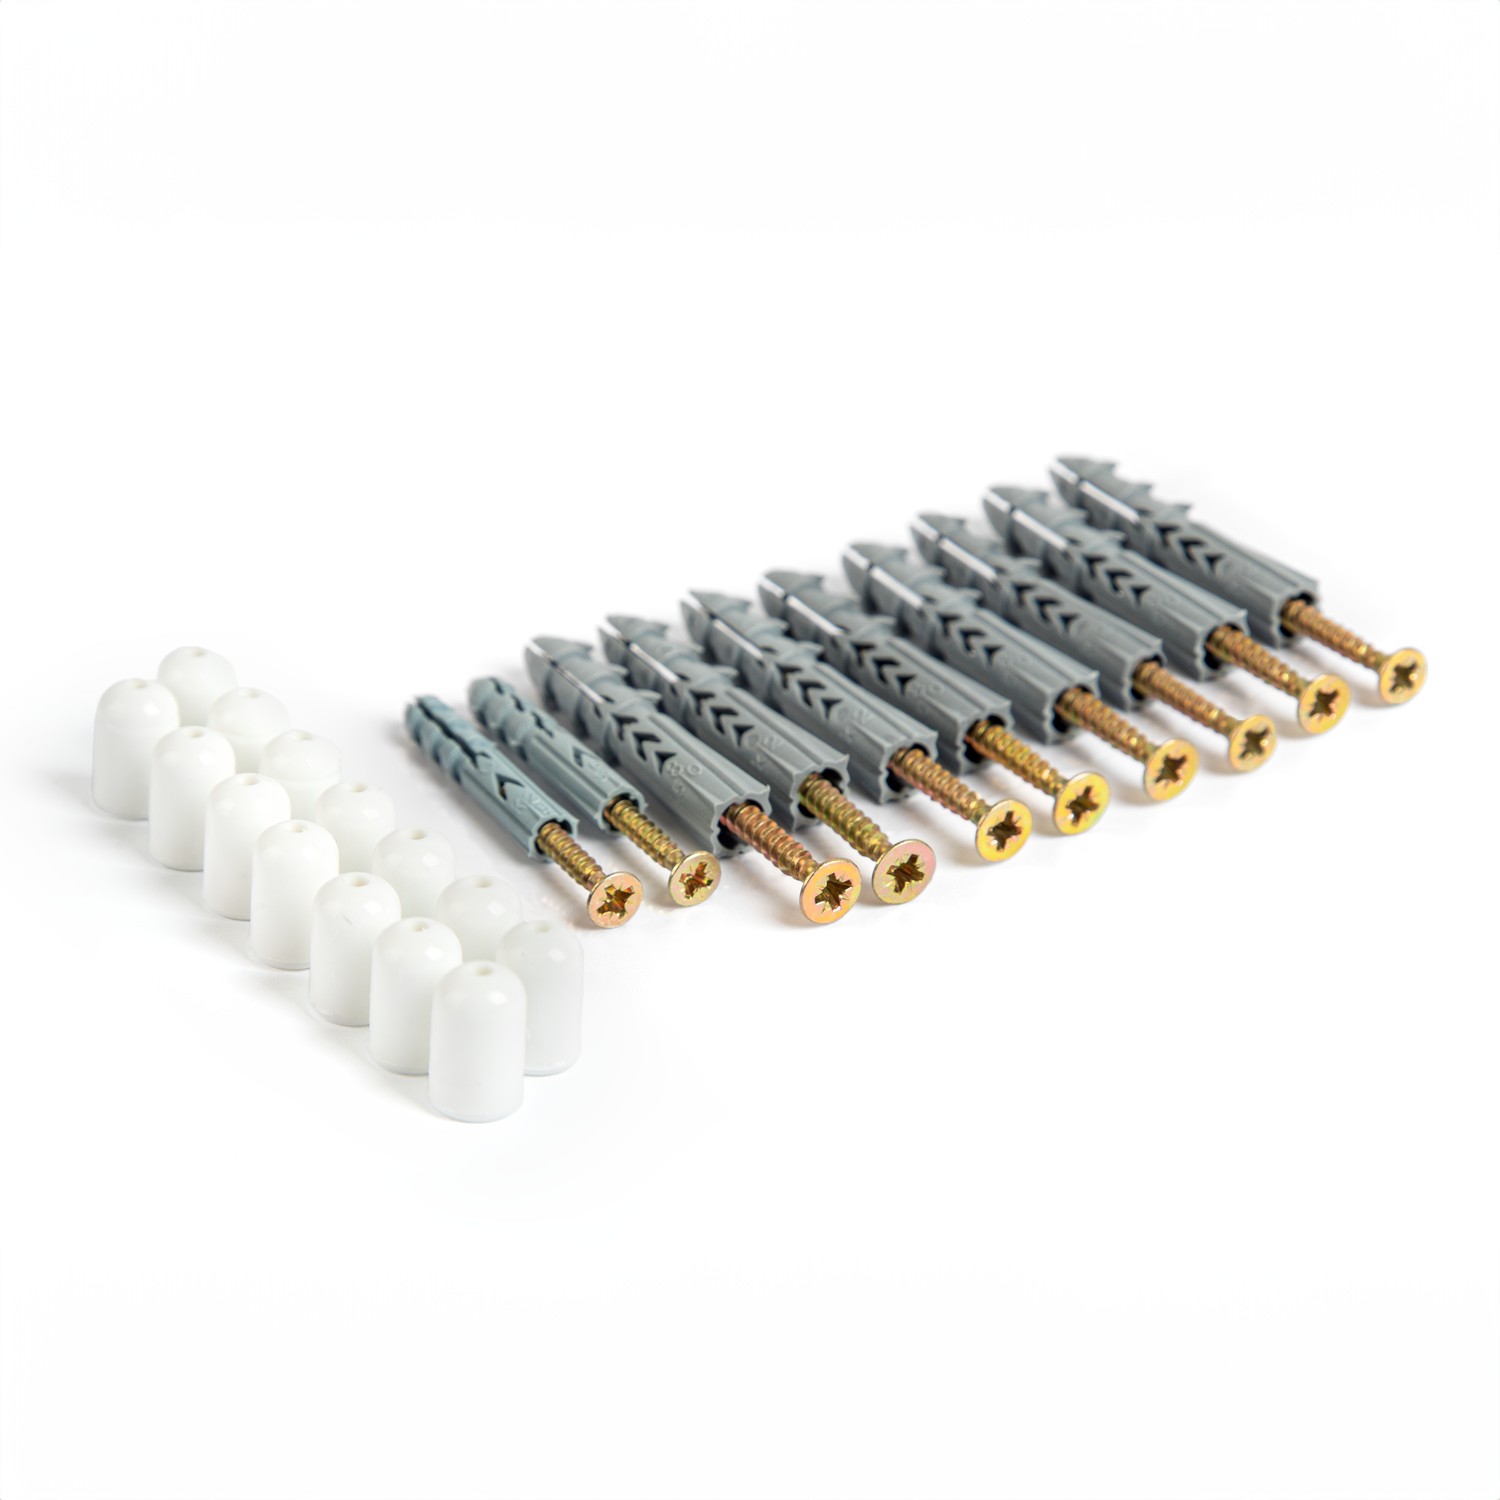
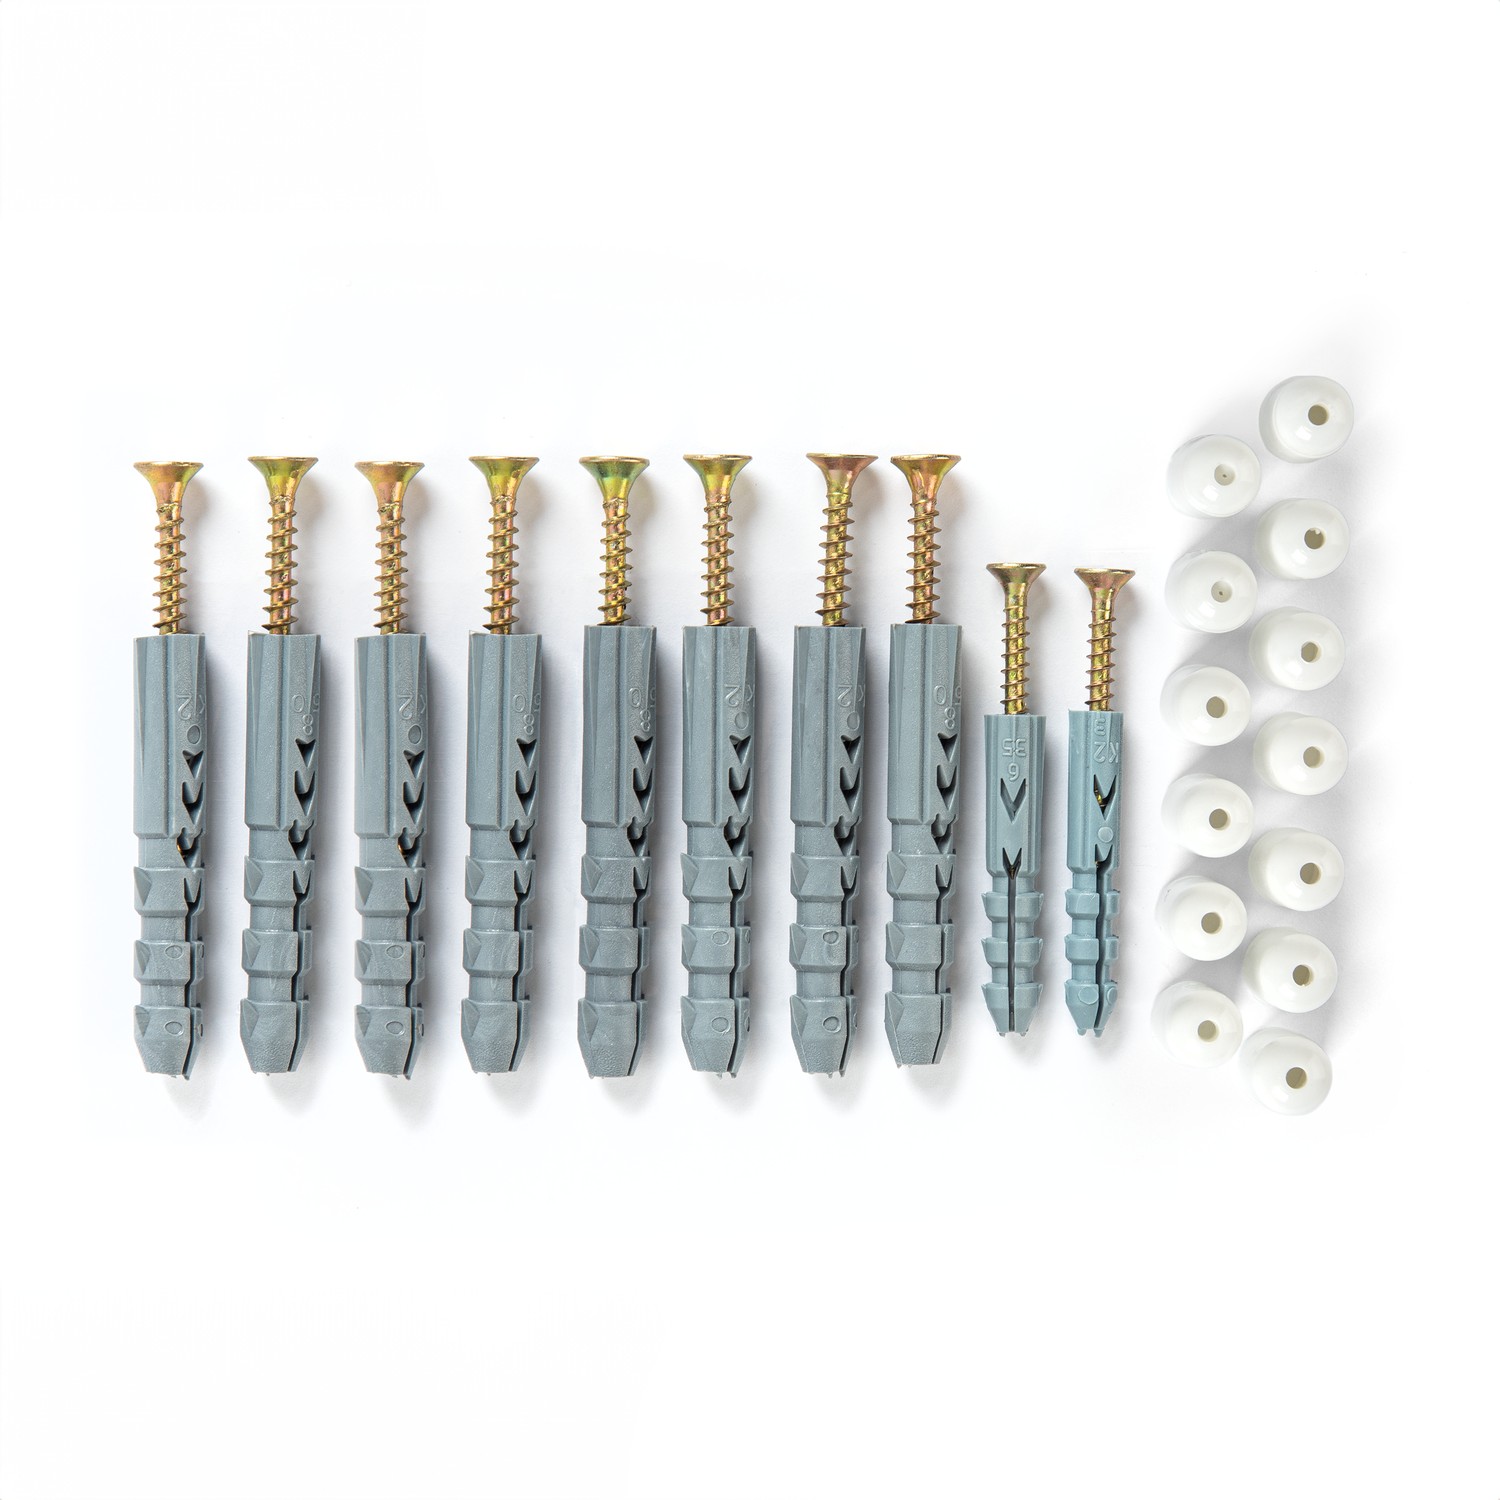
Drill holes and secure the brackets using the bracket mounting kit.
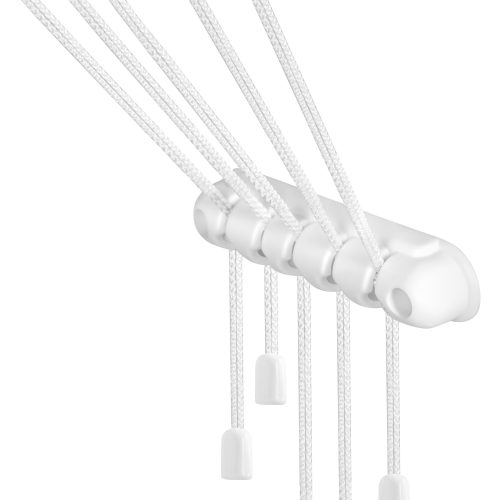
Determining and Installing the Height Adjustment Comb
Steps:
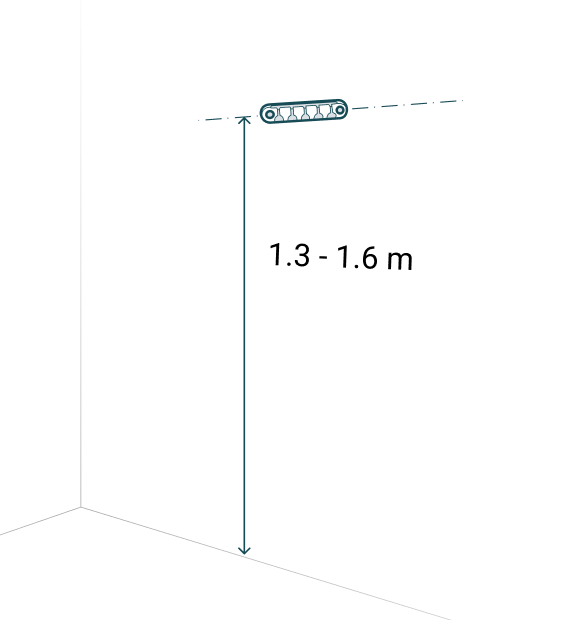
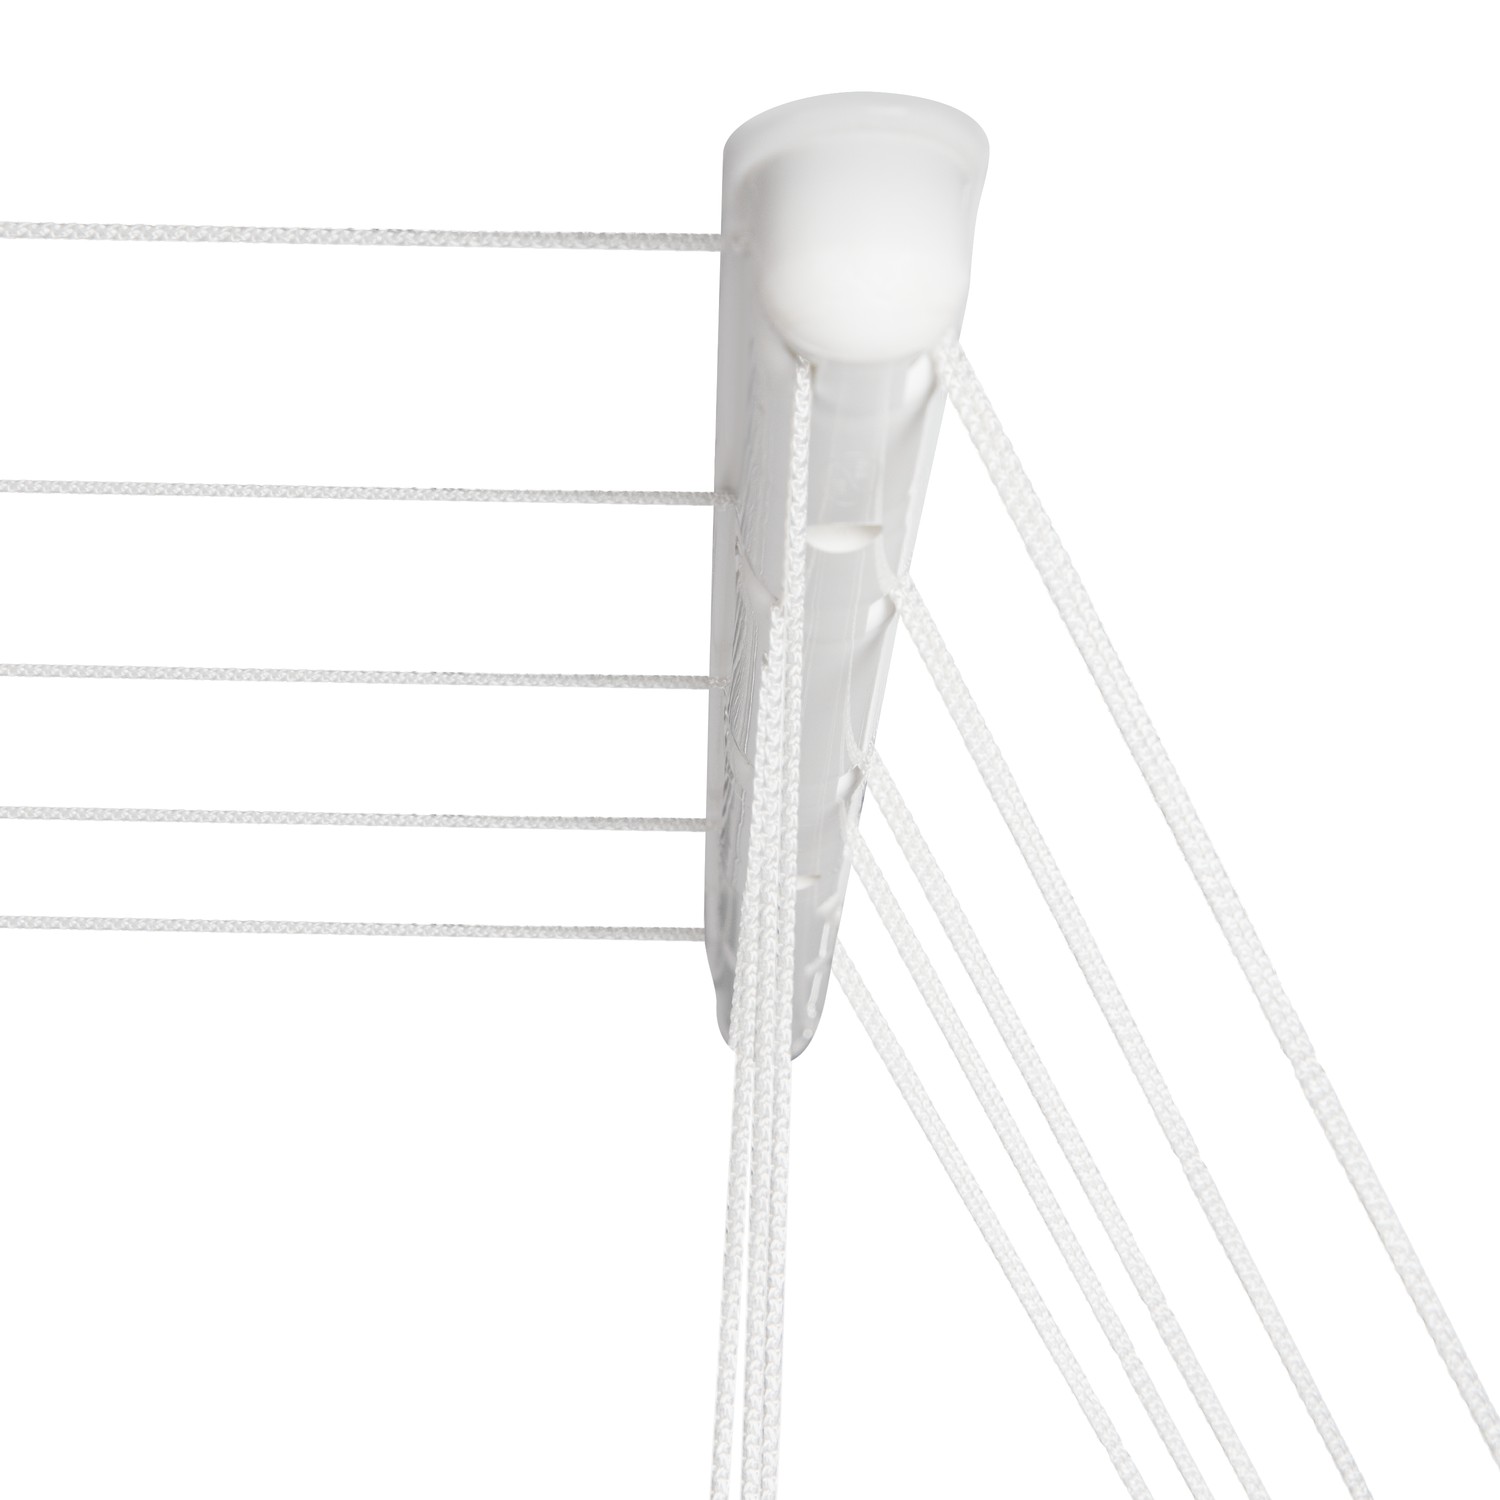
- Choose an optimal height for installing the height adjustment comb (recommended: 1.3–1.6 meters from the floor).
- Use a measuring rod to determine the most convenient height for usage.
- Drill holes at the selected height.
- Secure the height adjustment comb using the provided mounting kit.
Preparing the Cords
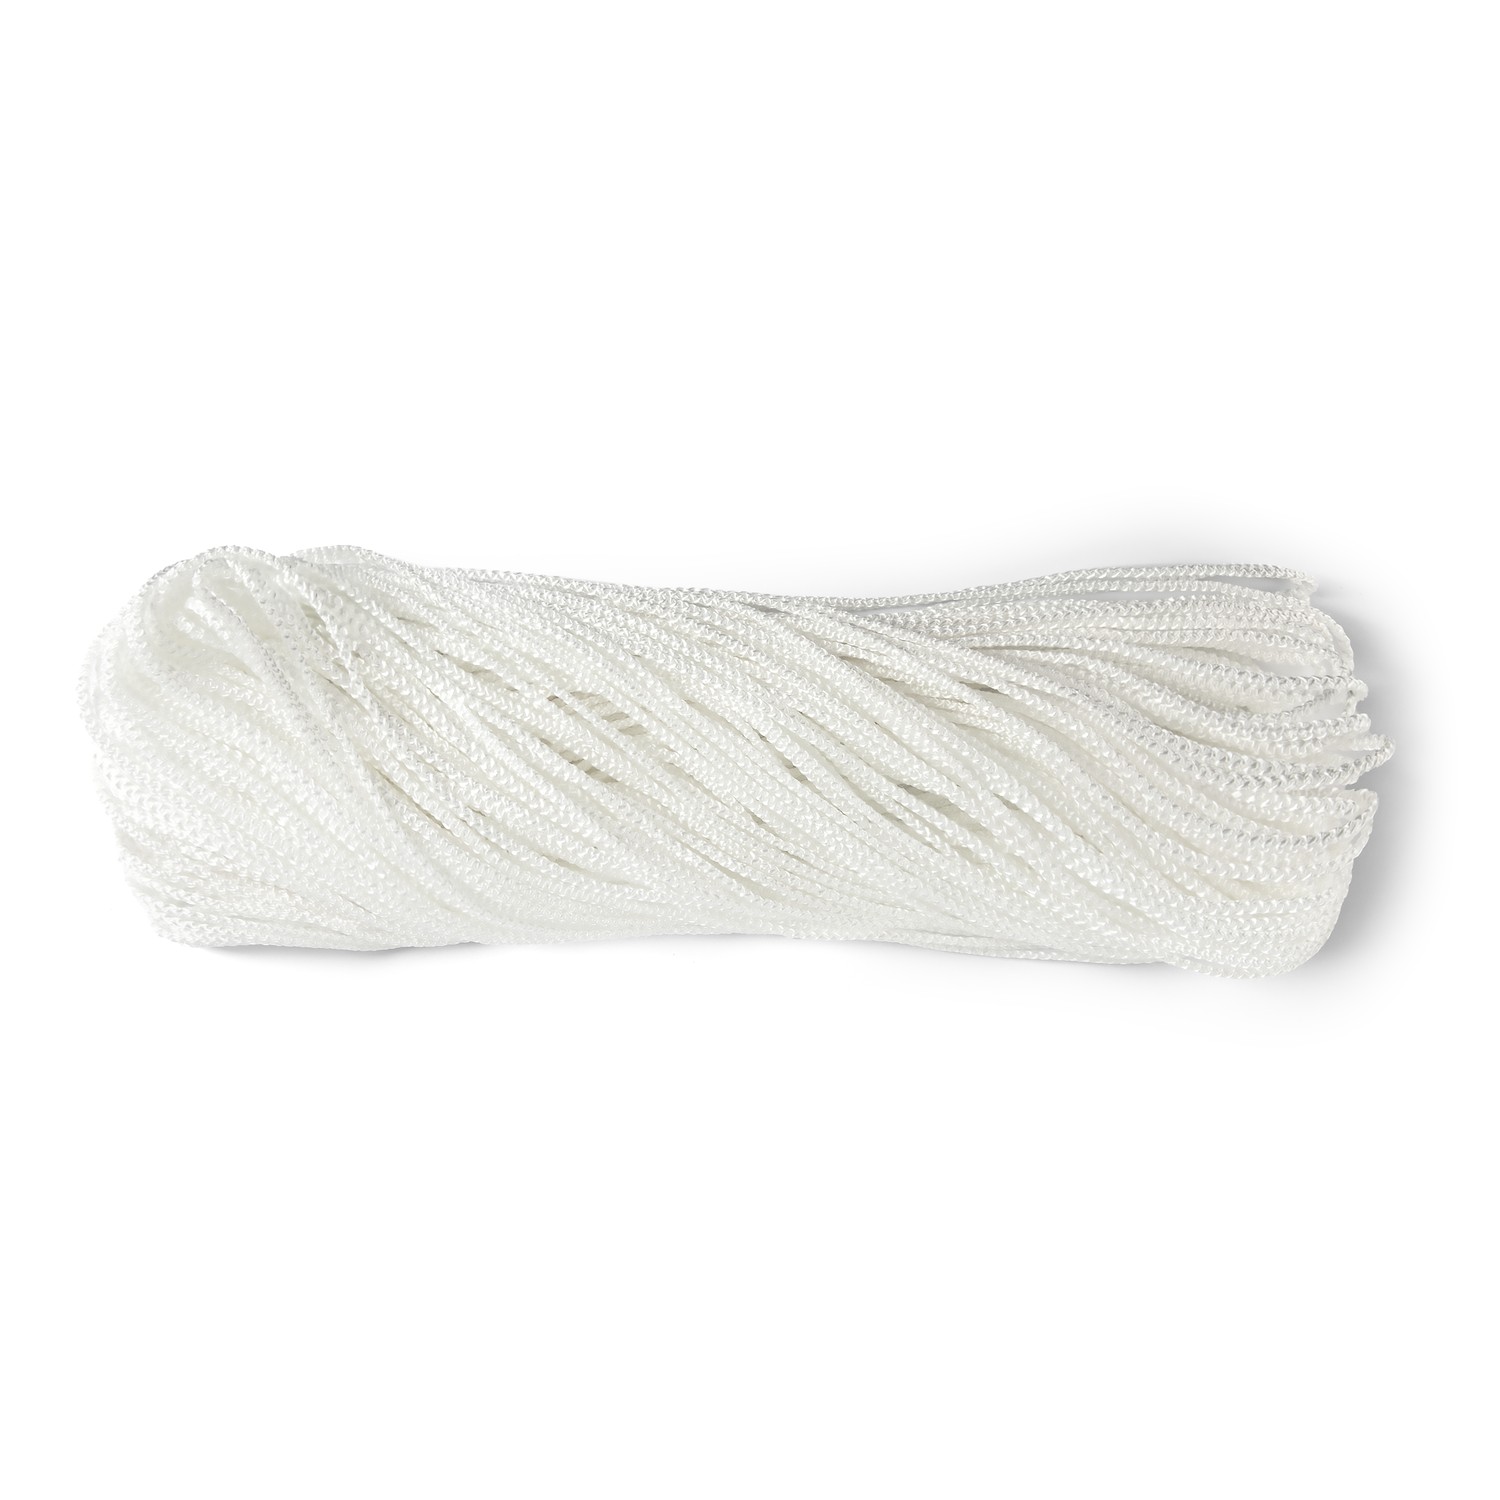
Separate the cords from the roll according to the number of measuring rods.
Insert one end of a pre-cut cord through the smaller hole of the fixation cap on one side of the measuring rod and tie a large knot so that it stops in the larger hole.
Thread the other end of the cord through the roller bracket, lower it to the opposite end of the measuring rod, and secure it in the same way.
Fold the cord in half between the fixation points and thread it through the second roller bracket.
Thread the folded cord through the fixation caps, lift the measuring rod to the ceiling, and secure the first height level. Adjust the second height level to a comfortable user height.
Final Checks
Before use, wipe the measuring rods with a damp cloth.
Ensure all components are securely fixed and functioning properly.
Download printable version:
4 rod system
- R140-P4St EX
- R140-P4St EX black
- R160-P4St EX
- R160-P4St EX black
- R160-P4St EX
- R180-P4St EX black
- R180-P4St EX
- R200-P4St EX
- R200-P4St EX black
5 rod system
- R140-P5St EX
- R140-P5St EX black
- R160-P5St EX
- R160-P5St EX black
- R180-P5St EX
- R180-P5St EX black
- R200-P5St EX
- R200-P5St EX black
- SAS-140-P5 EX
- SAS-140-P5 EX black
- SAS-160-P5 EX
- SAS-160-P5 EX
- black SAS-180-P5 EX
6 rod system
- R140-P6St EX
- R140-P6St EX black
- R160-P6St EX
- R160-P6St EX black
- R180-P6St EX
- R180-P6St EX black
- R200-P6St EX
- R200-P6St EX black
- SAS-140-P6 EX
- SAS-140-P6 EX black
- SAS-160-P6 EX
- SAS-160-P6 EX black
- SAS-180-P6 EX
7 rod system
- R140-P7St EX
- R140-P7St EX black
- R160-P7St EX
- R160-P7St EX black
- R180-P7St EX
- R180-P7St EX black
- R200-P7St EX
- R200-P7St EX black