
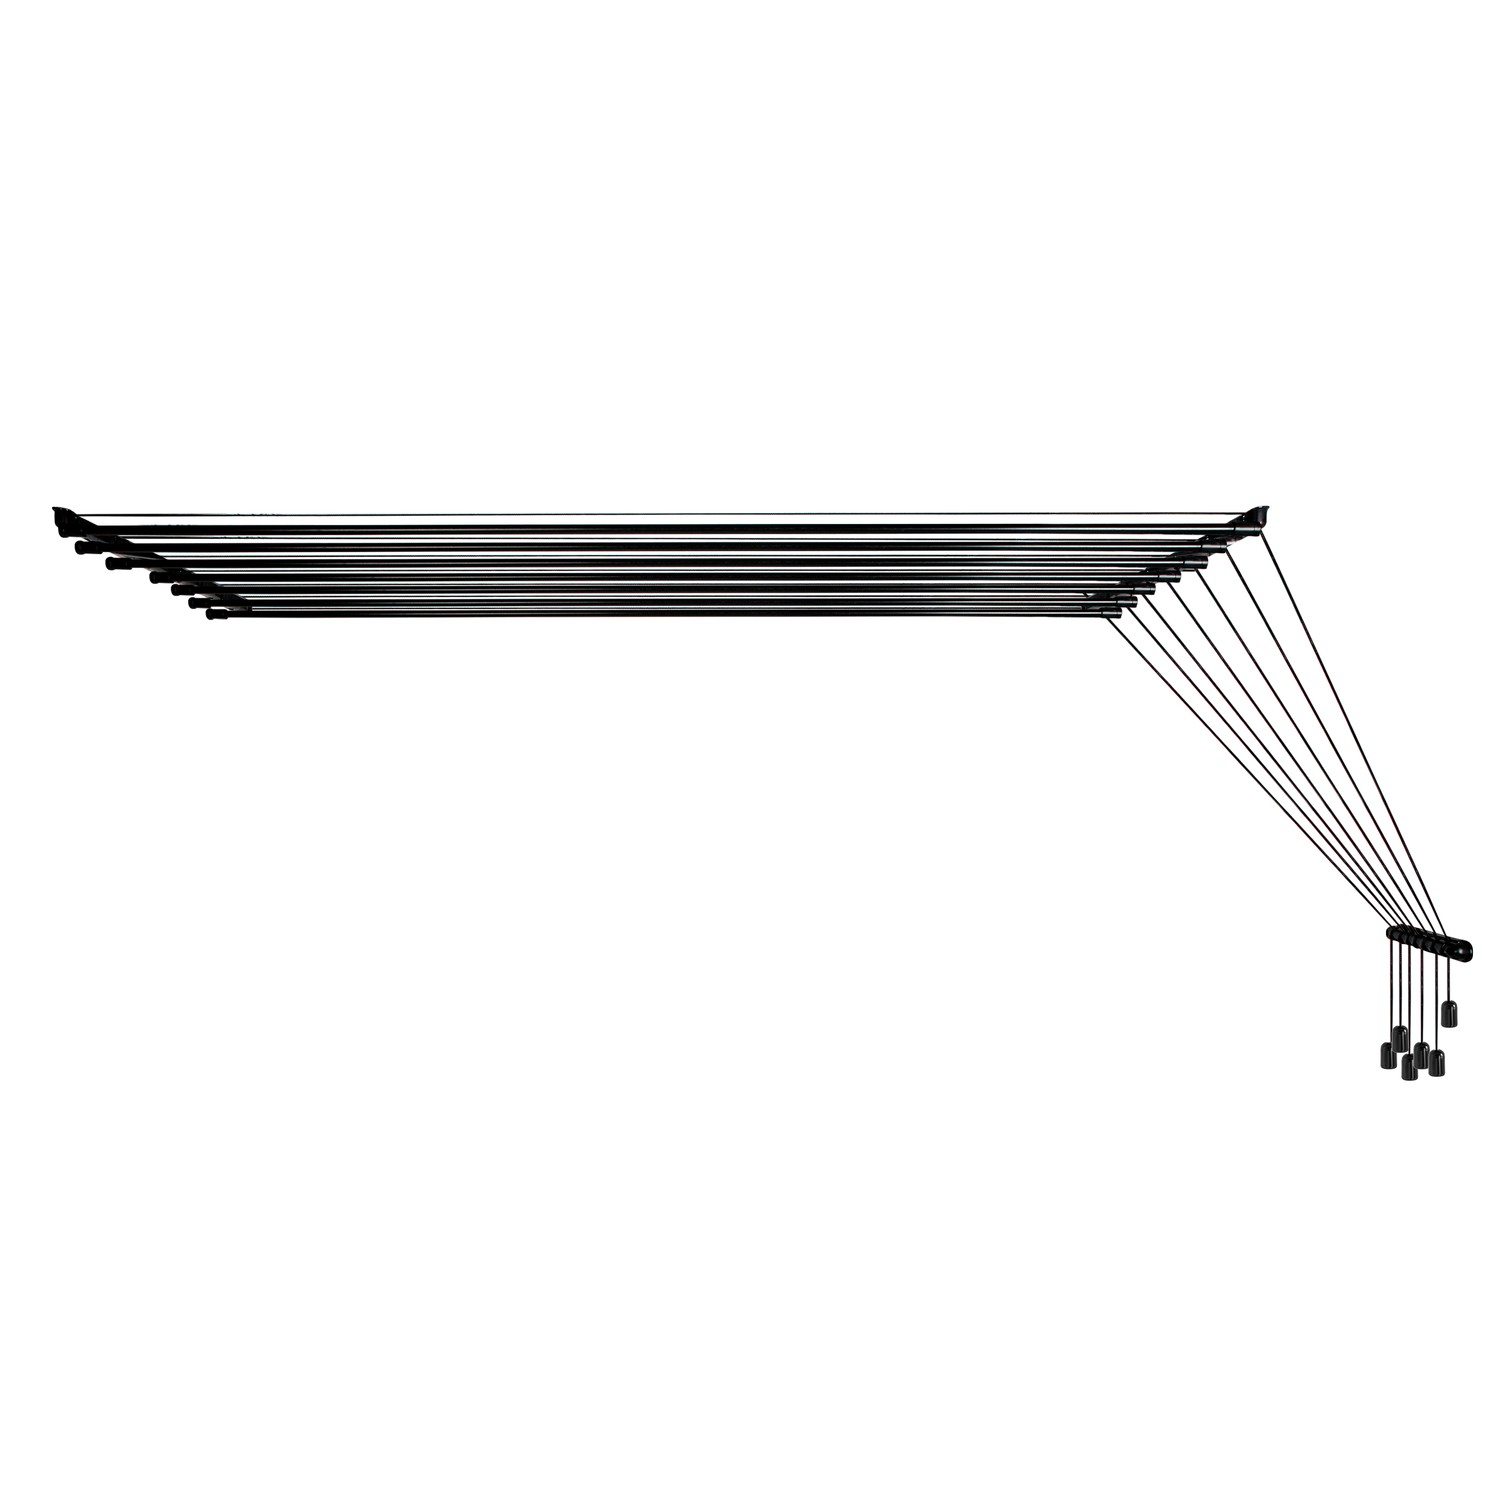
Sufitowa suszarka na pranie 7×1,8 m, stal (AV180B-7ST)

10,0 

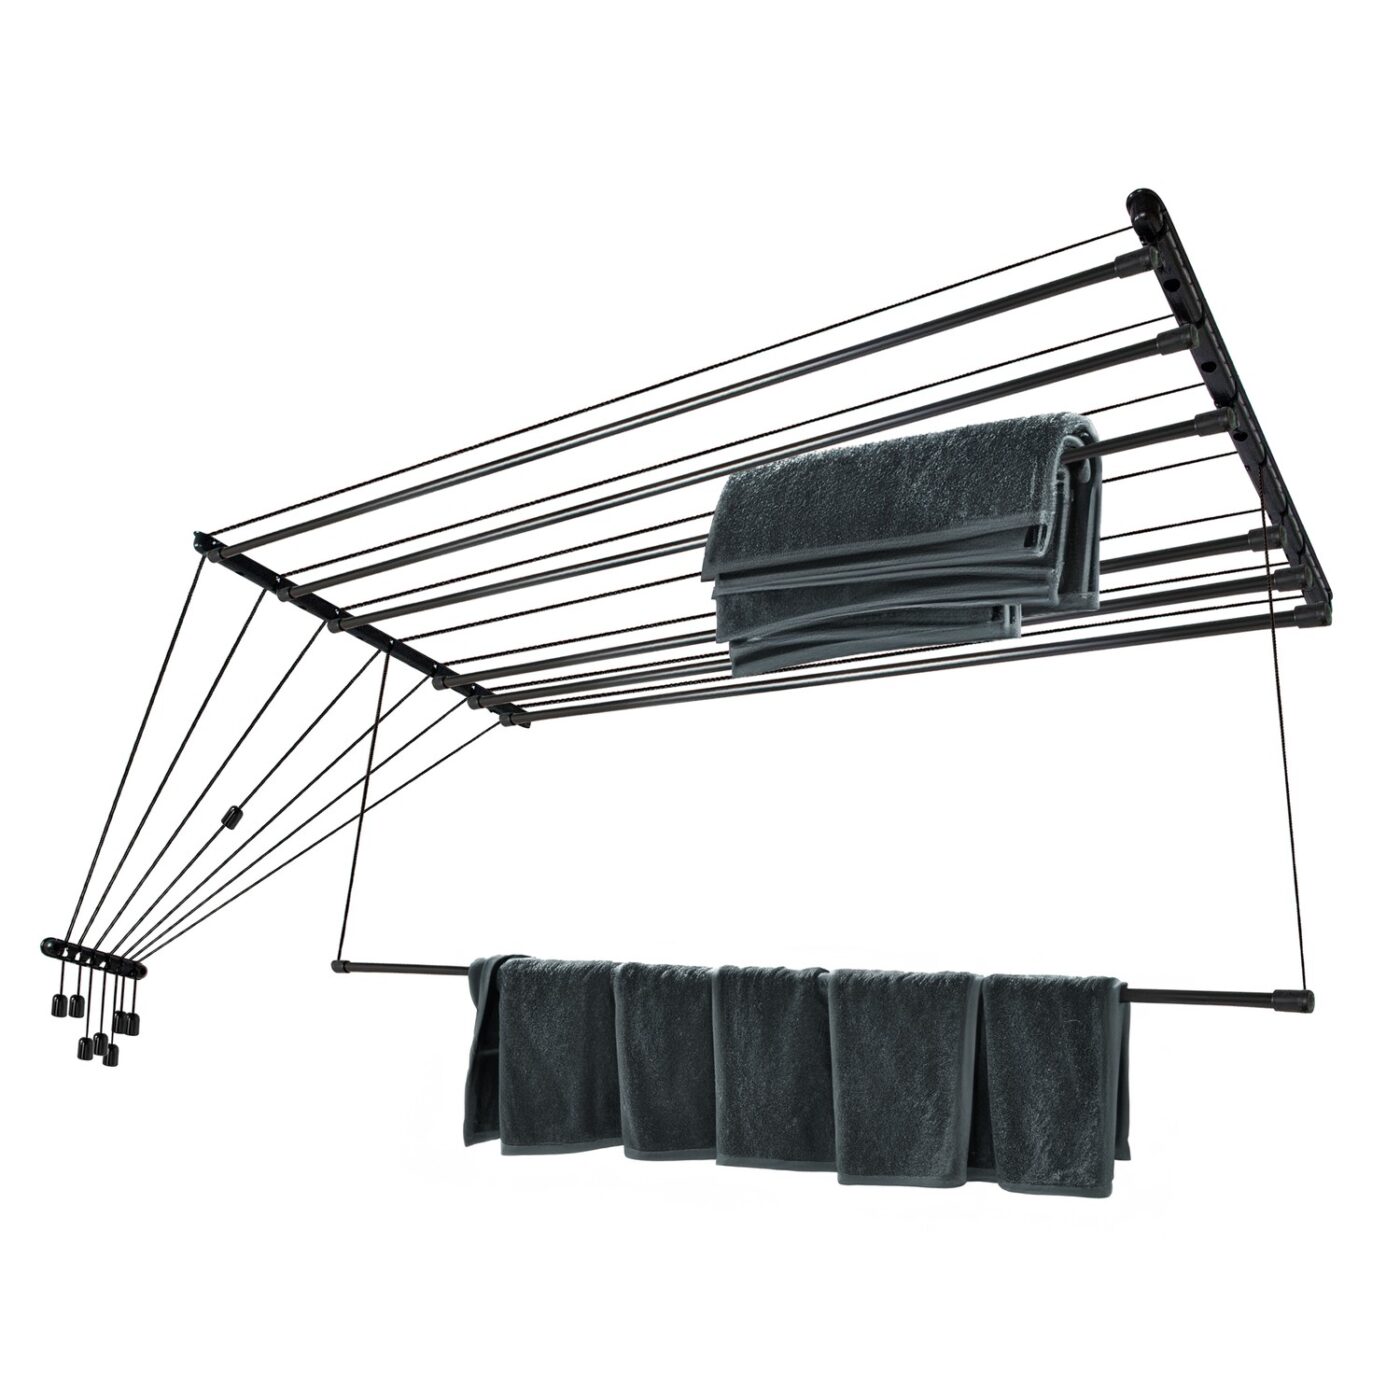
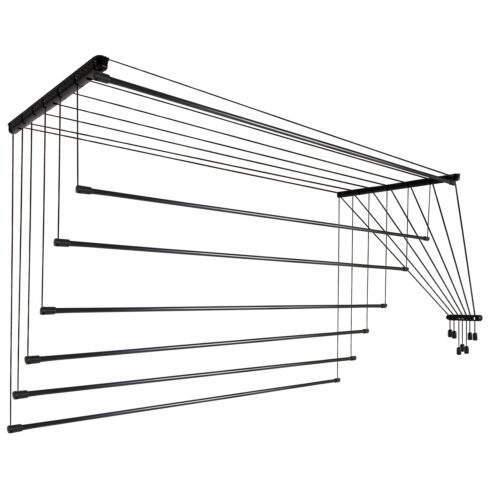
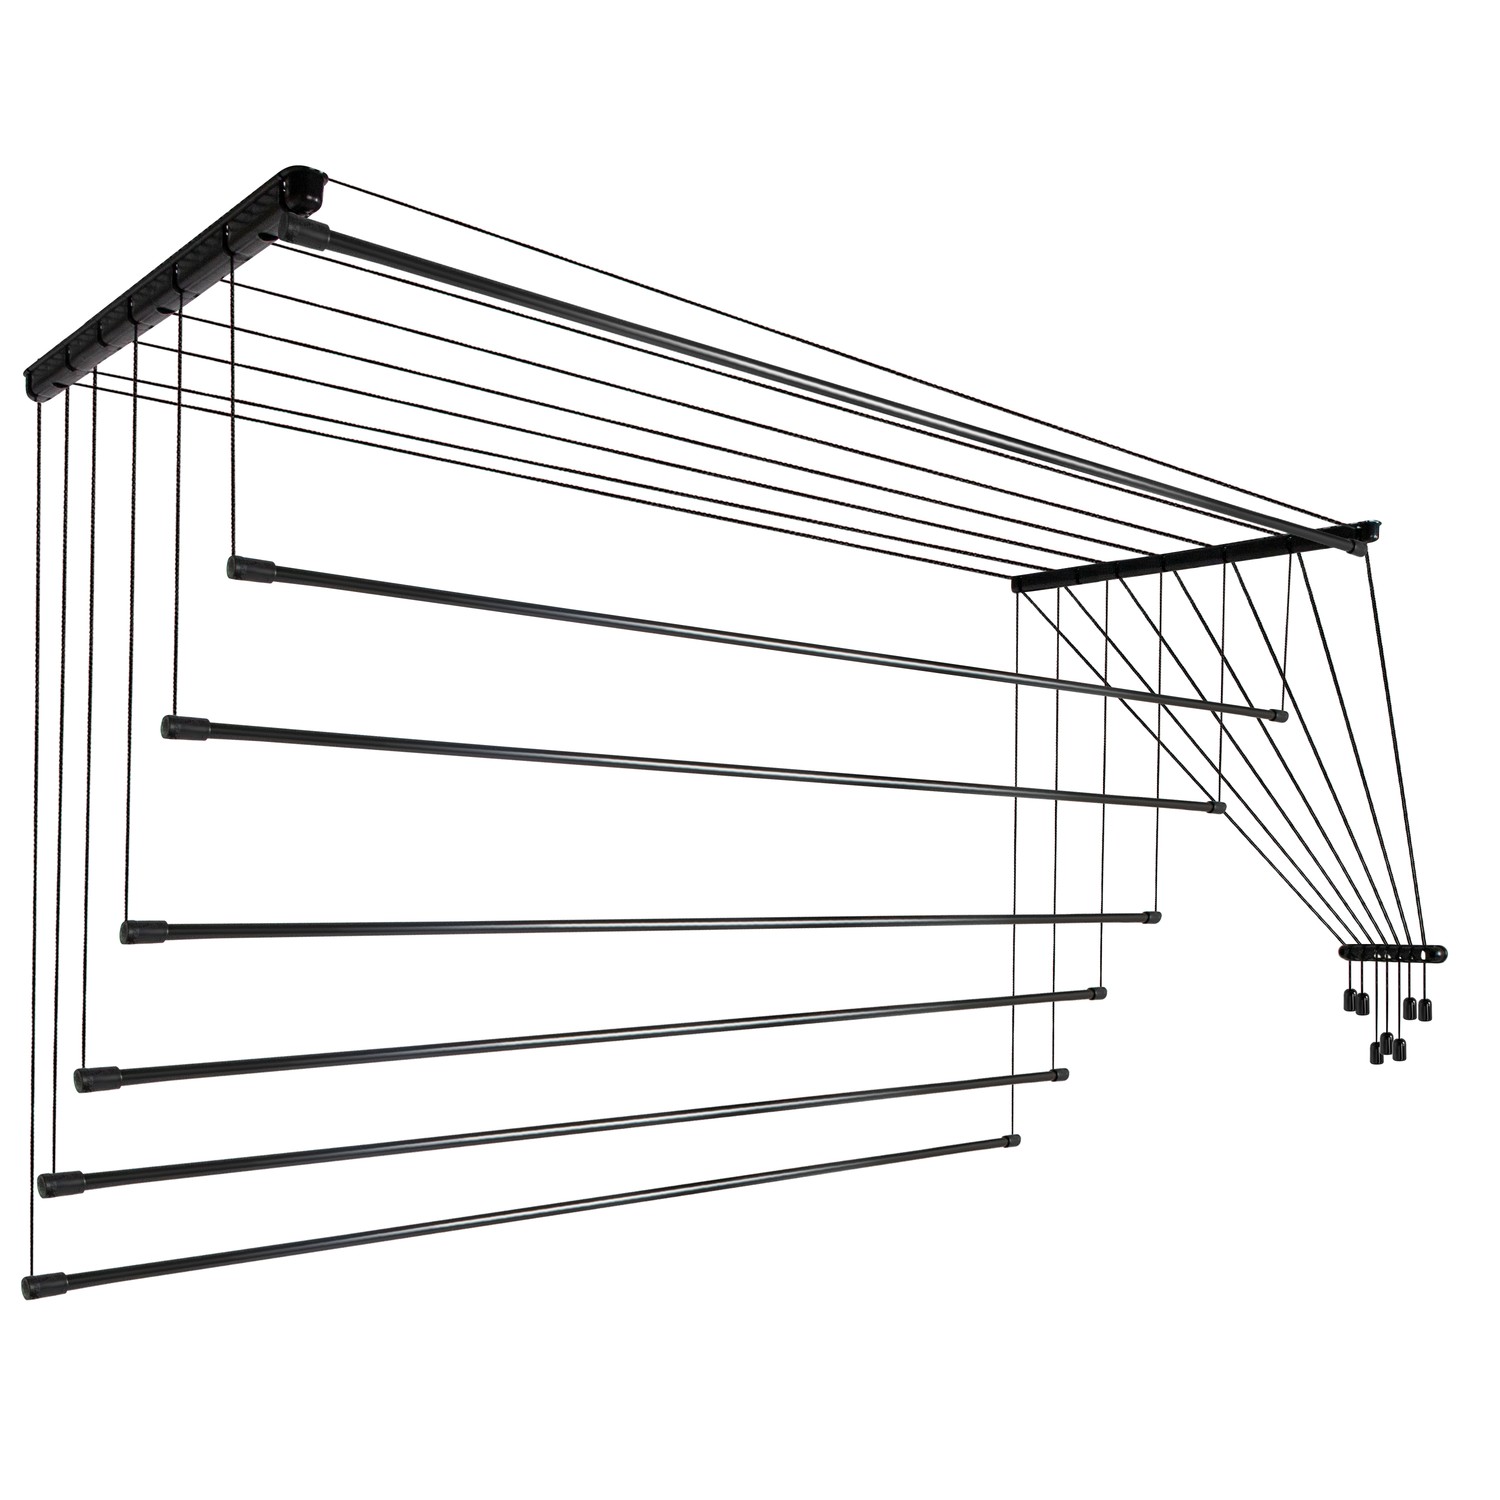
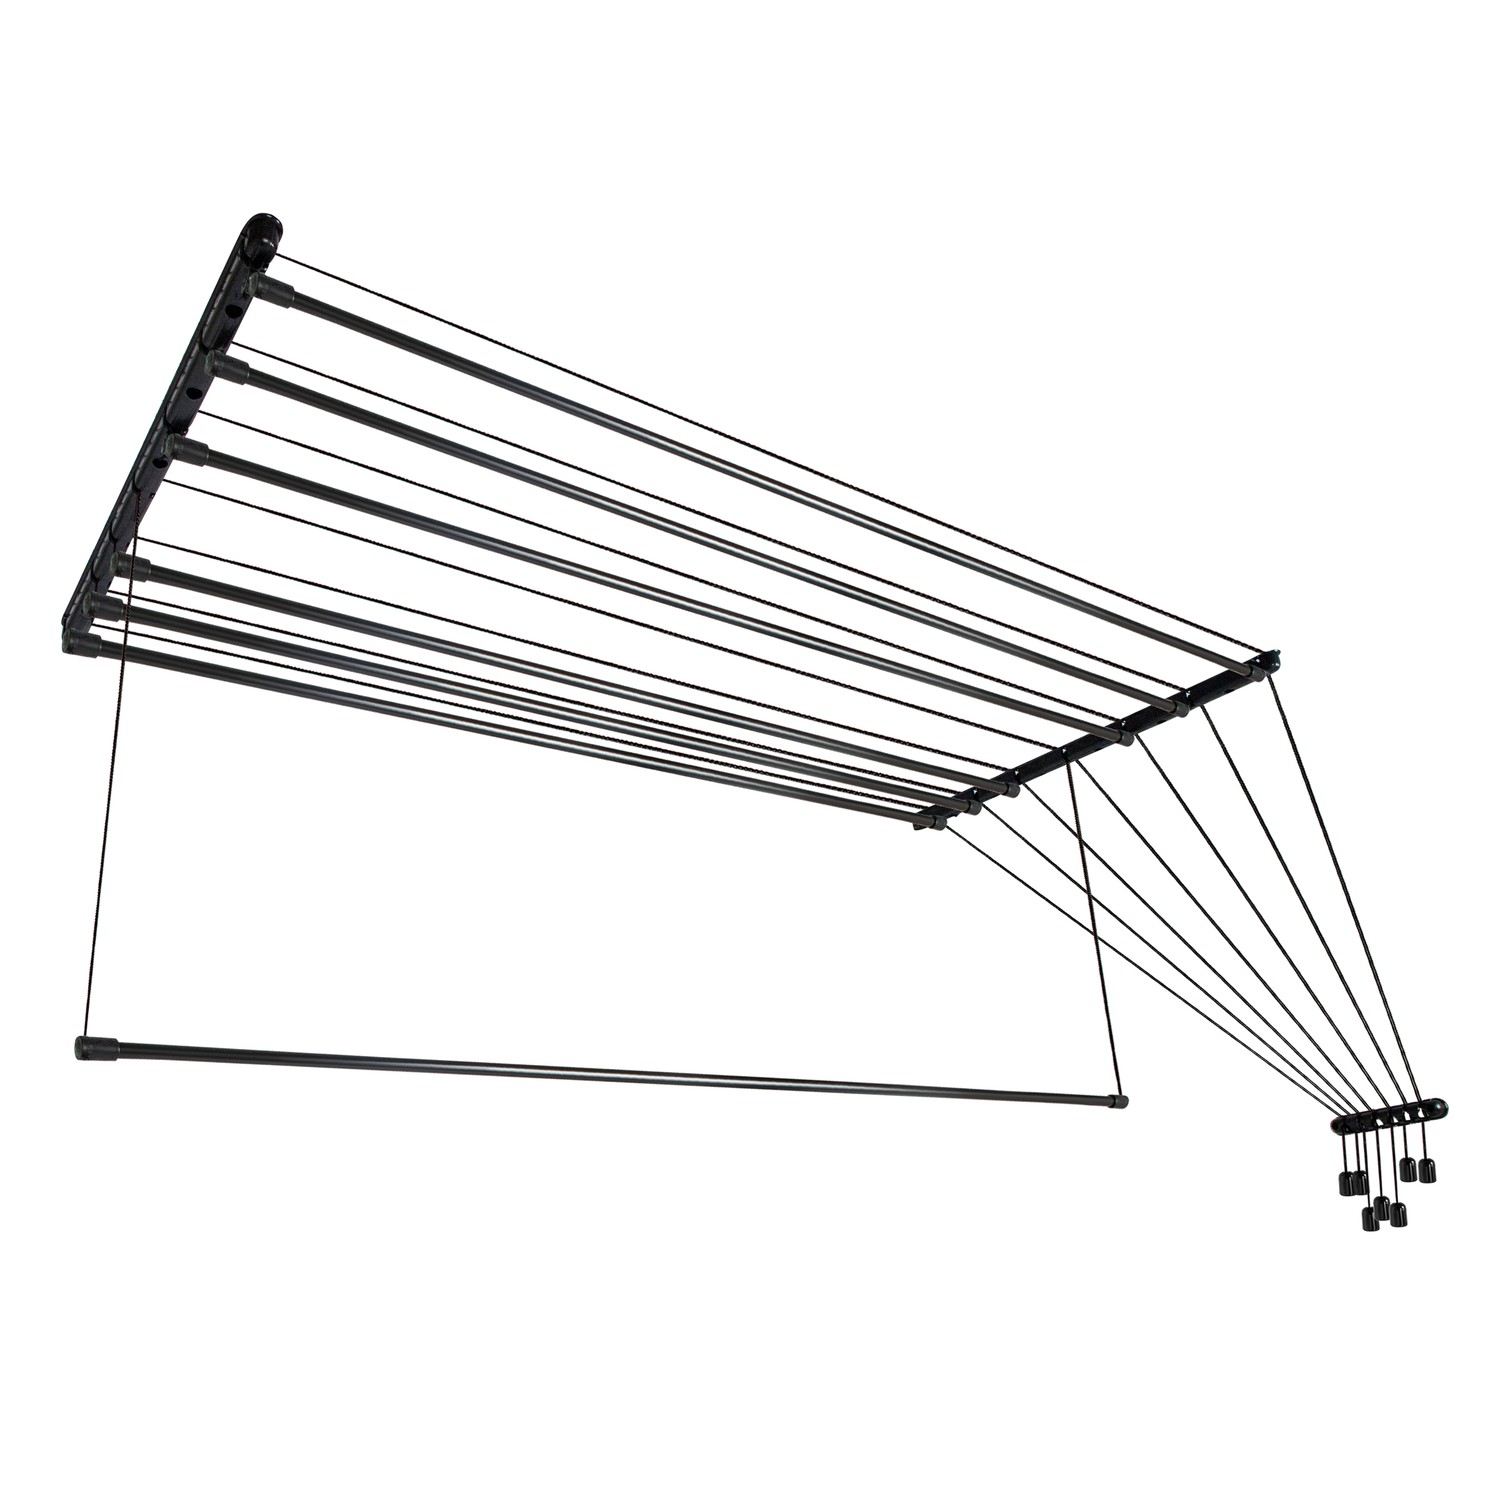
Usprawnij swoje pranie dzięki wygodnej sufitowej suszarce. Wykonana z trwałej stali, zapewnia odporną na korozję przestrzeń do szybkiego suszenia ubrań. Jej elegancki czarny design pasuje do każdego wnętrza, idealnie nadając się do łazienki, balkonu lub loggi.

  • Kompaktowy, oszczędzający miejsce design
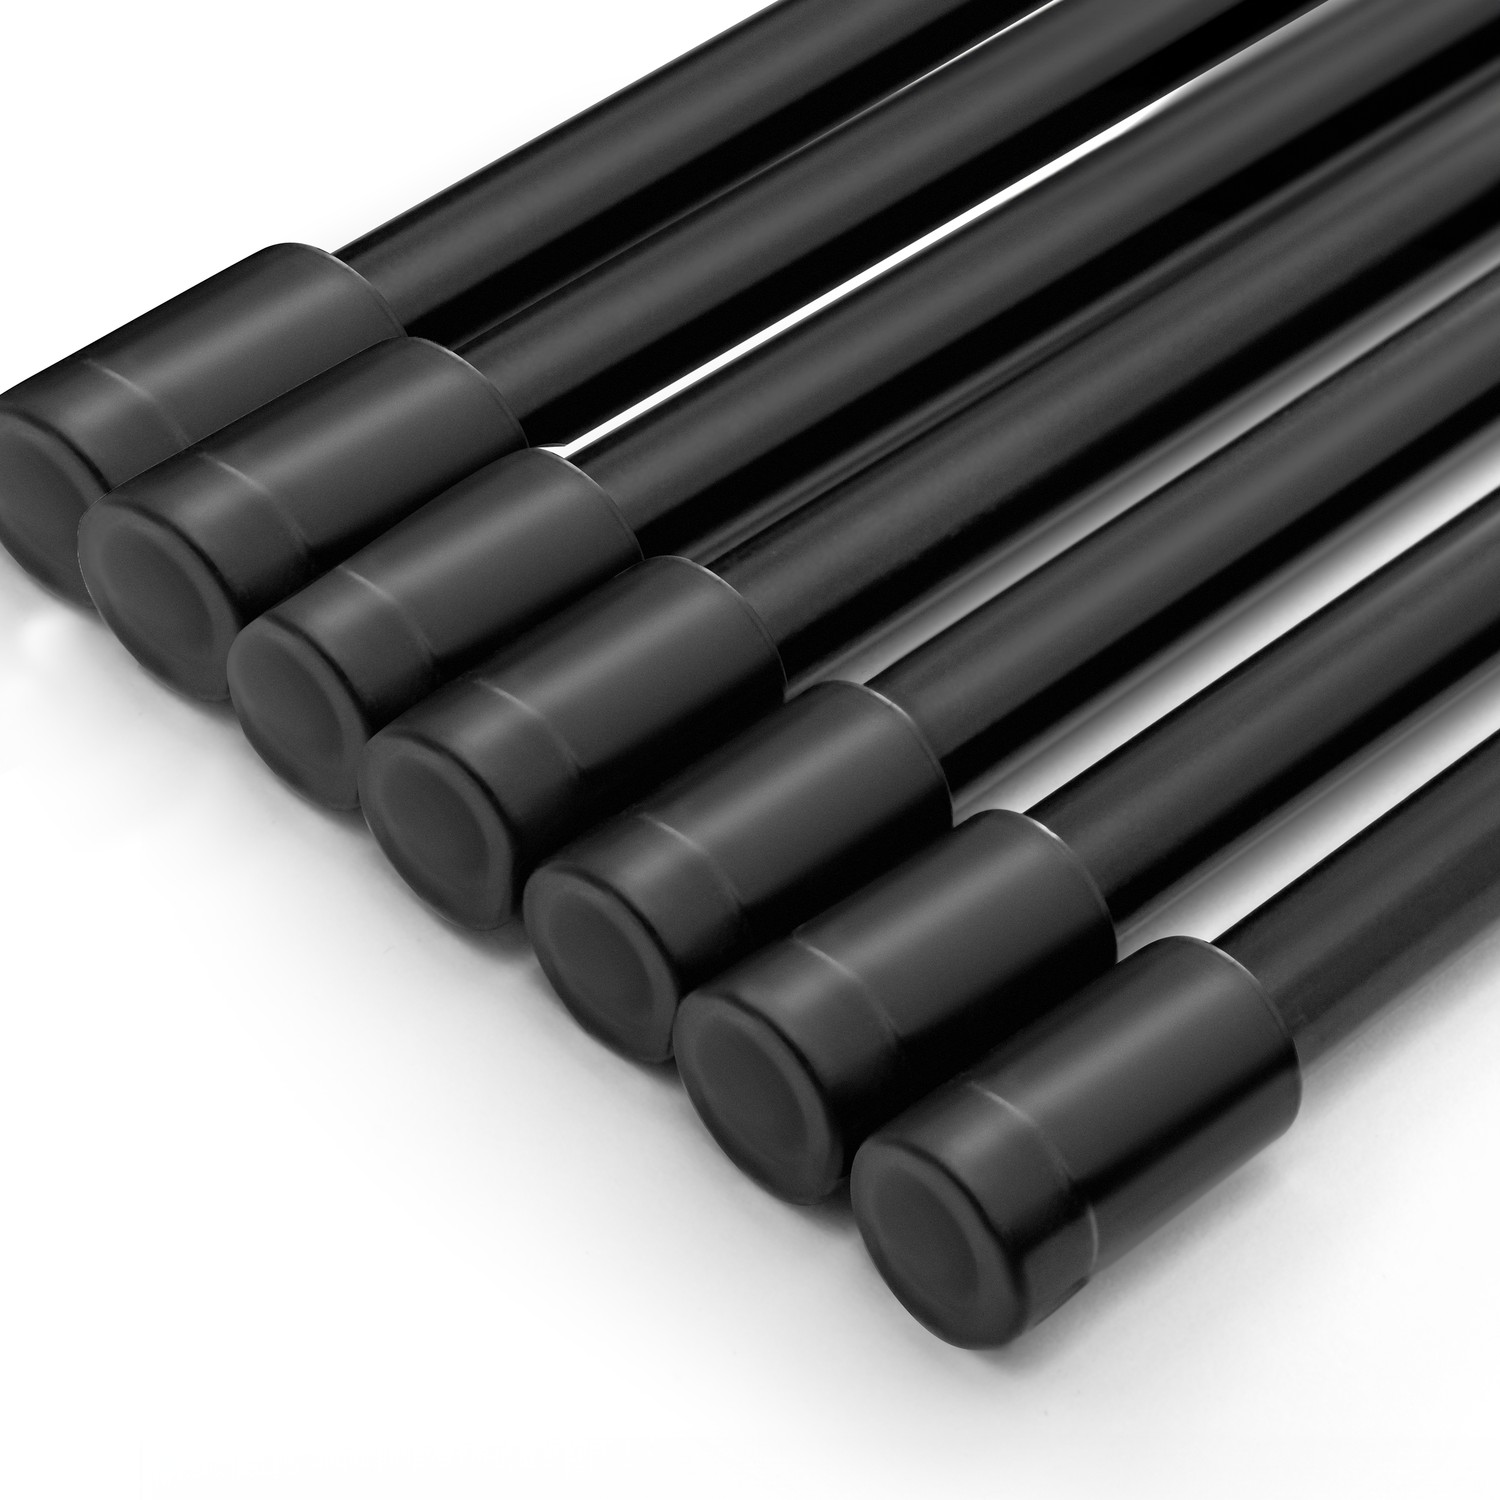
  • Trwałe stalowe pręty z powłoką proszkową
  • Przeznaczona do obciążenia do 2 kg na pręt
  • Łatwa w użyciu i montażu
  • Zapewnia do 12,6 m powierzchni suszenia

Na stanie

SKU: AV180B-7ST Kategorie: ,

Opis

Product Description

Laundry ceiling dryer 7x1.8 m, steel (AVDC180B-7AL)

DURABILITY AND PRACTICALITY

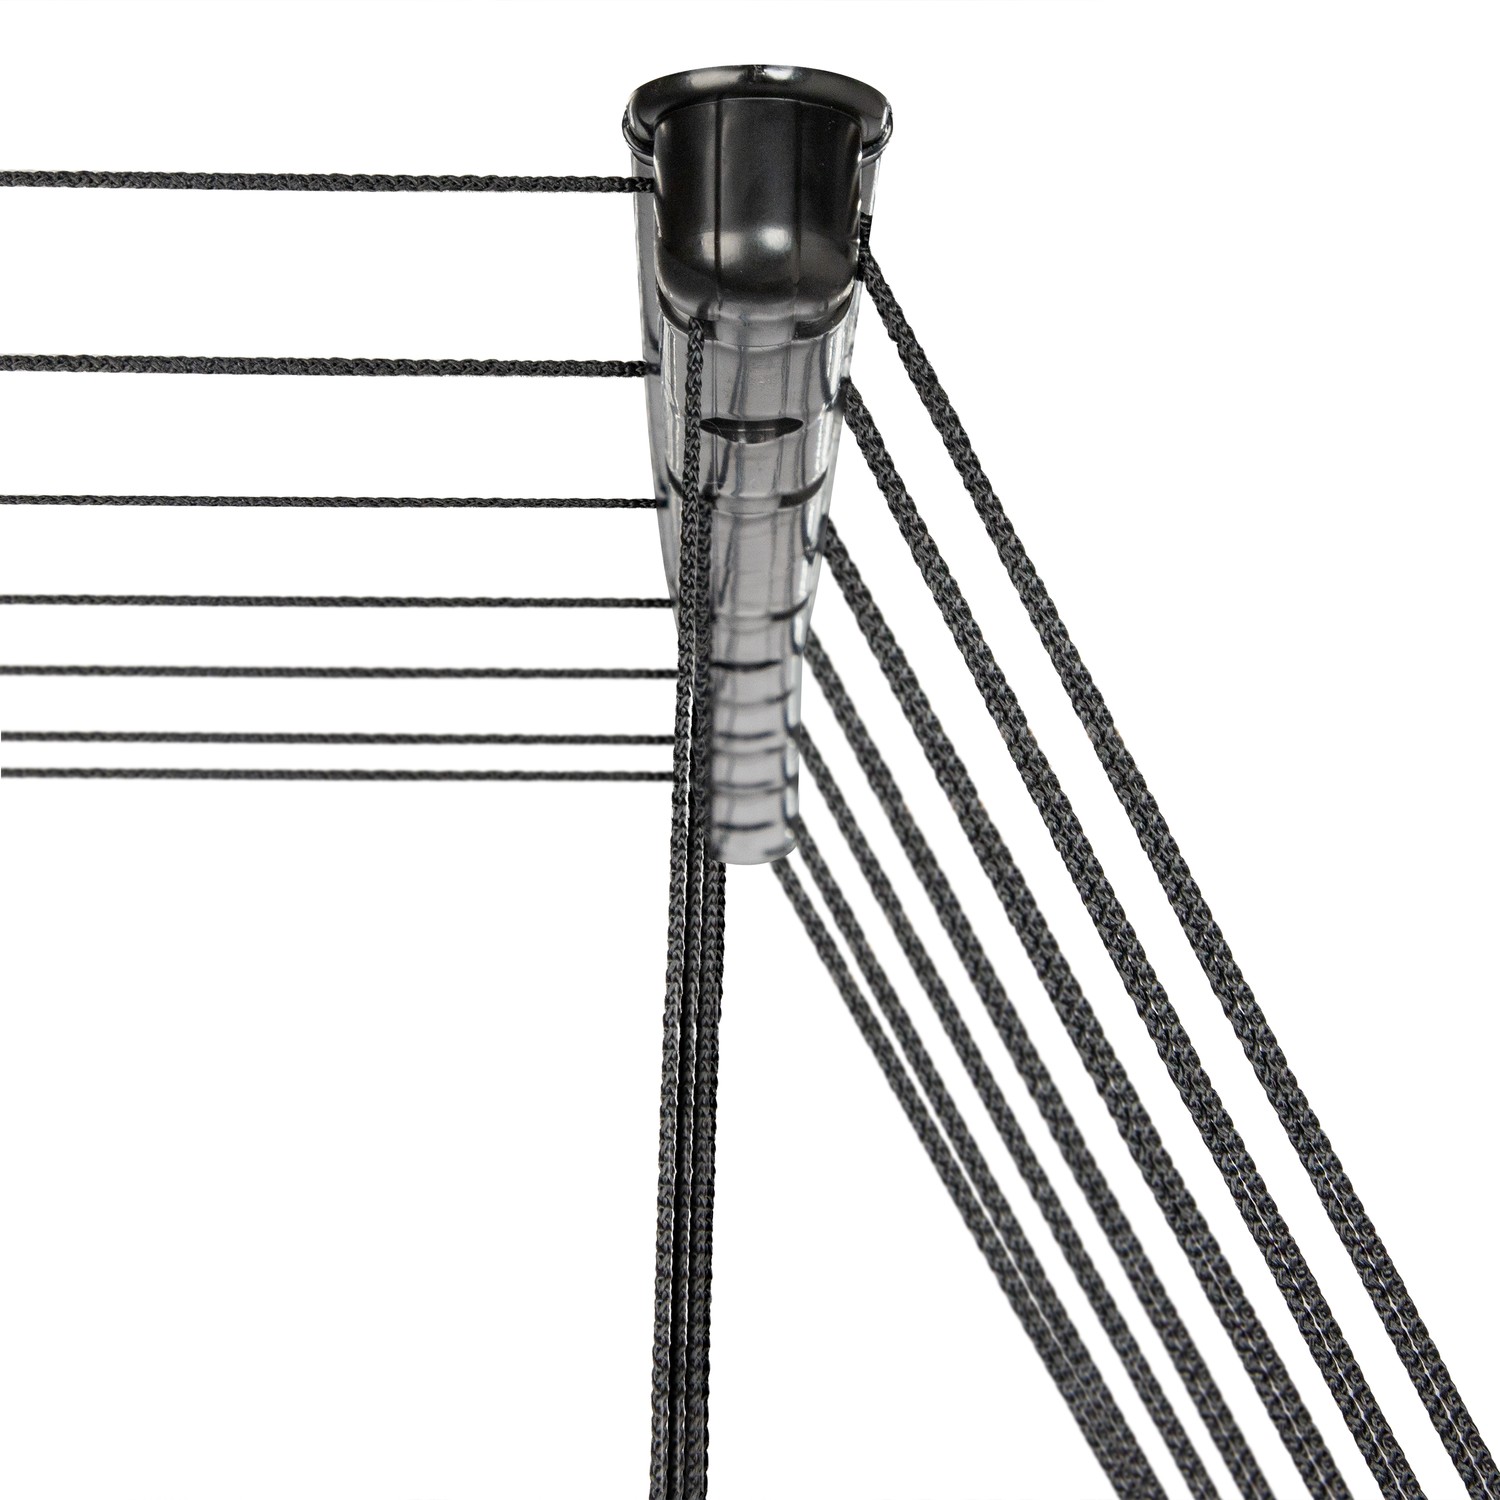
Suszarka sufitowa – kompaktowy i wygodny stojak na pranie. Umożliwia szybkie i efektywne suszenie ubrań. Czarny kolor produktu pasuje do każdego wnętrza. Konstrukcja może być używana w łazience, na balkonie lub loggii.

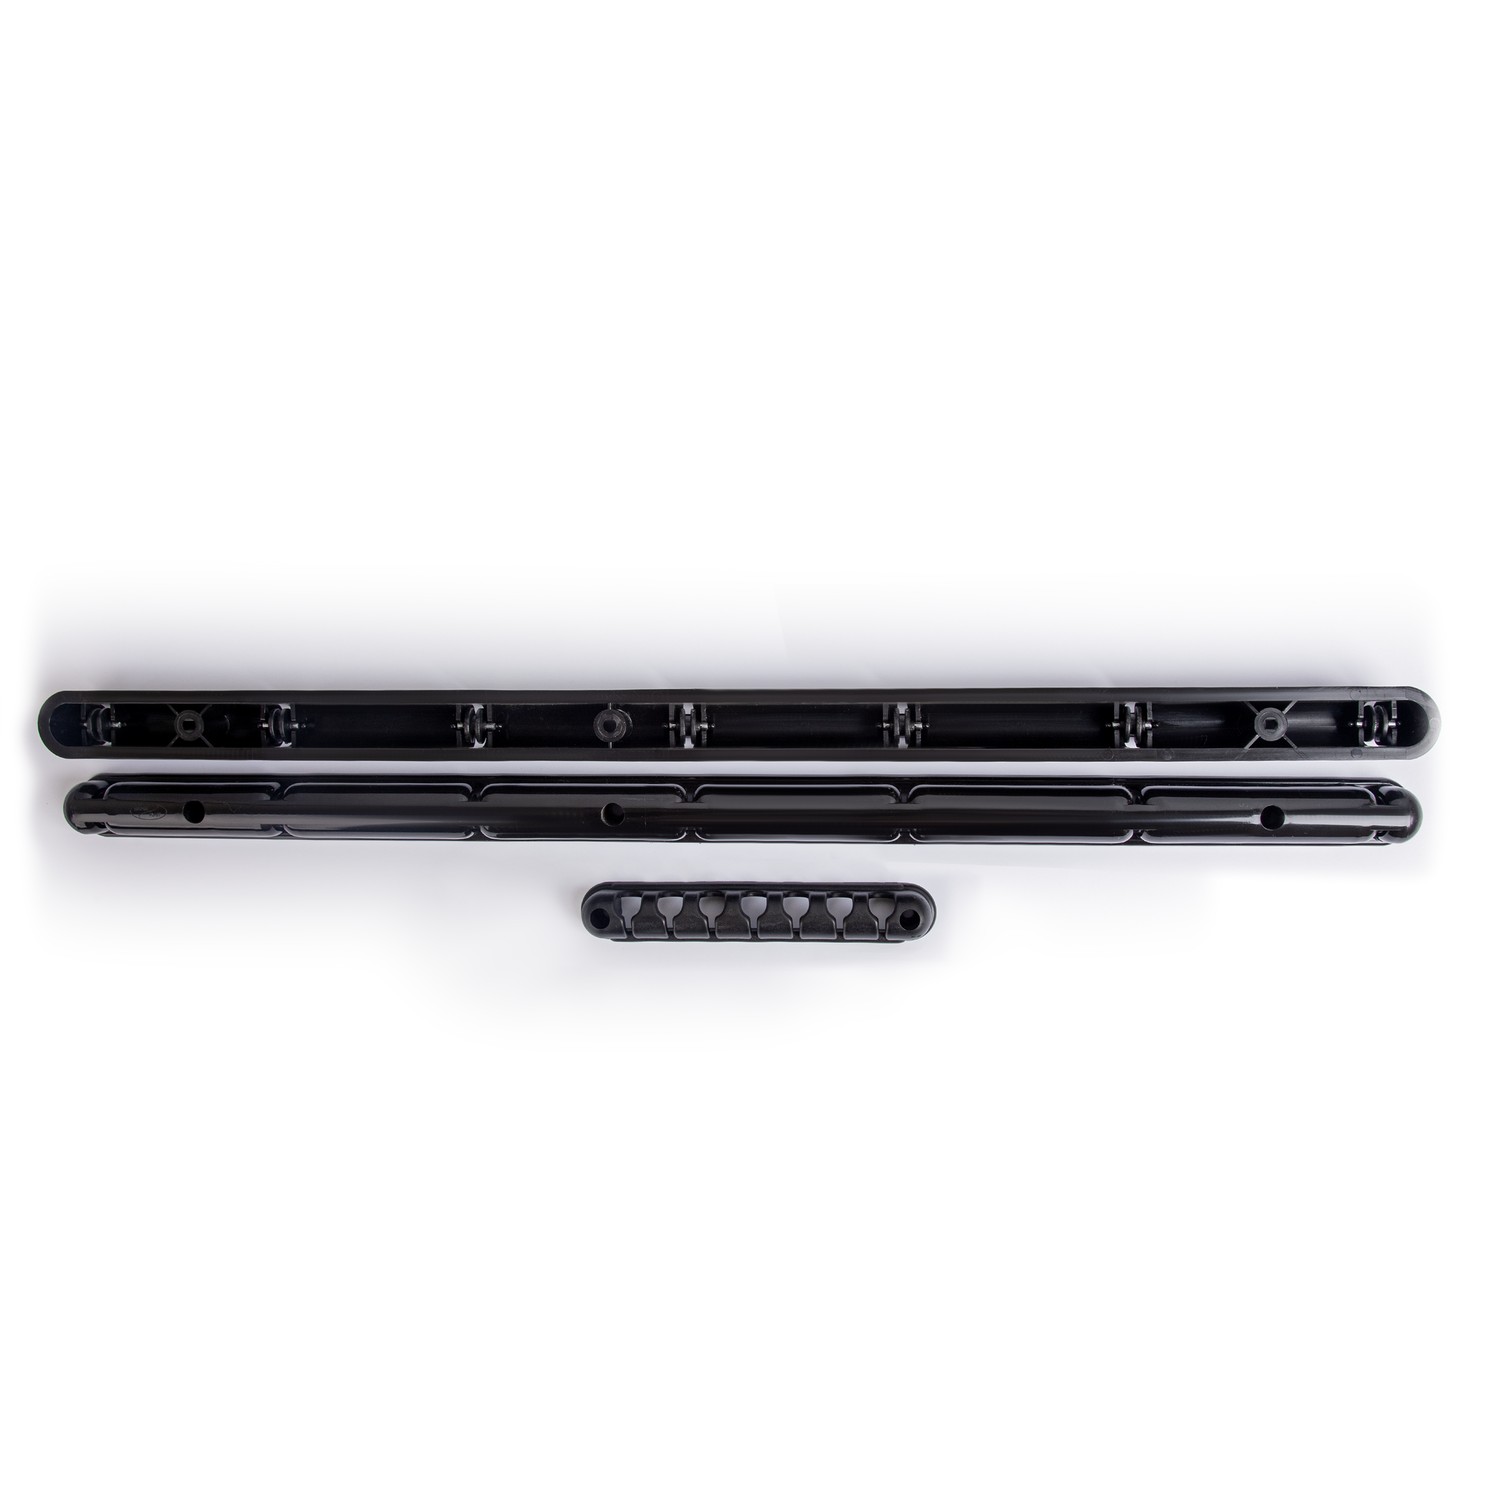
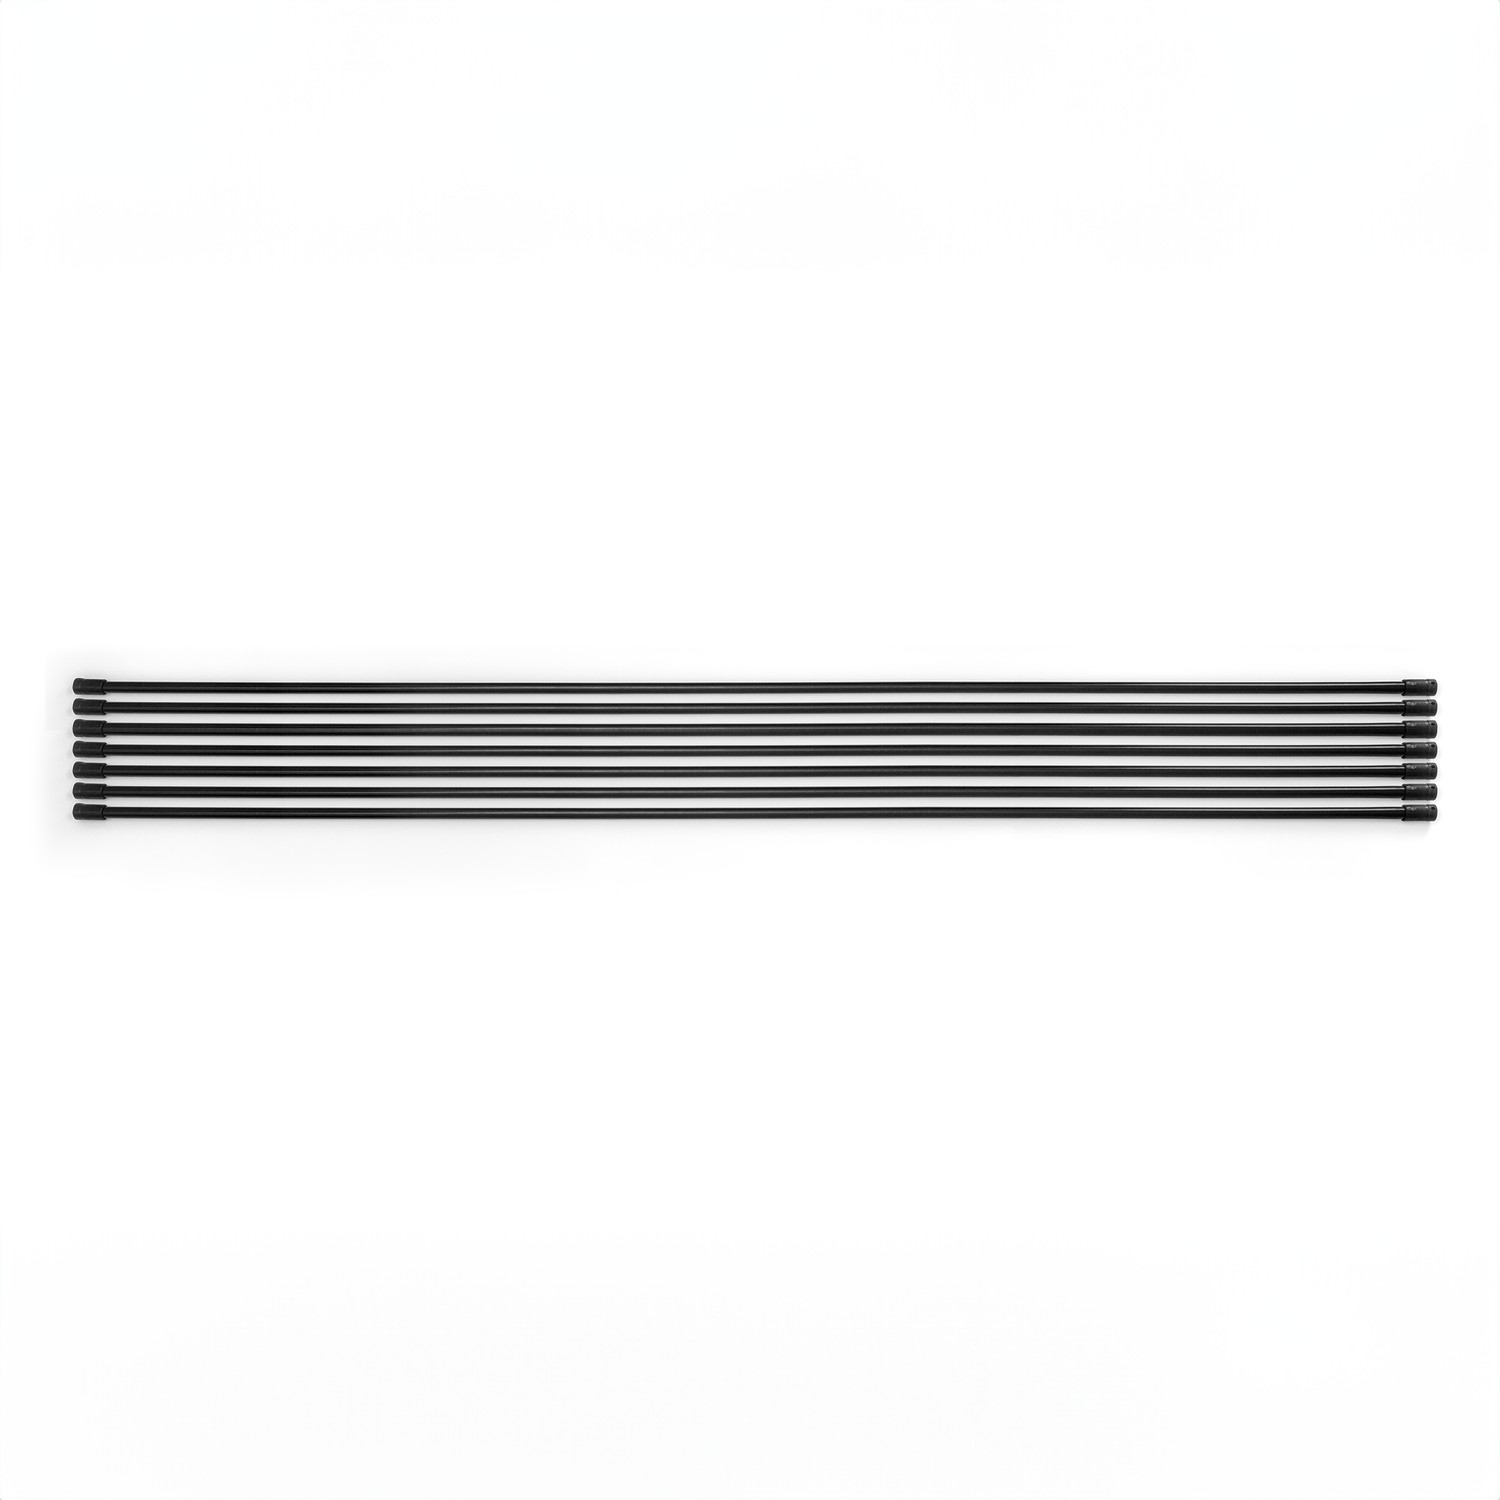
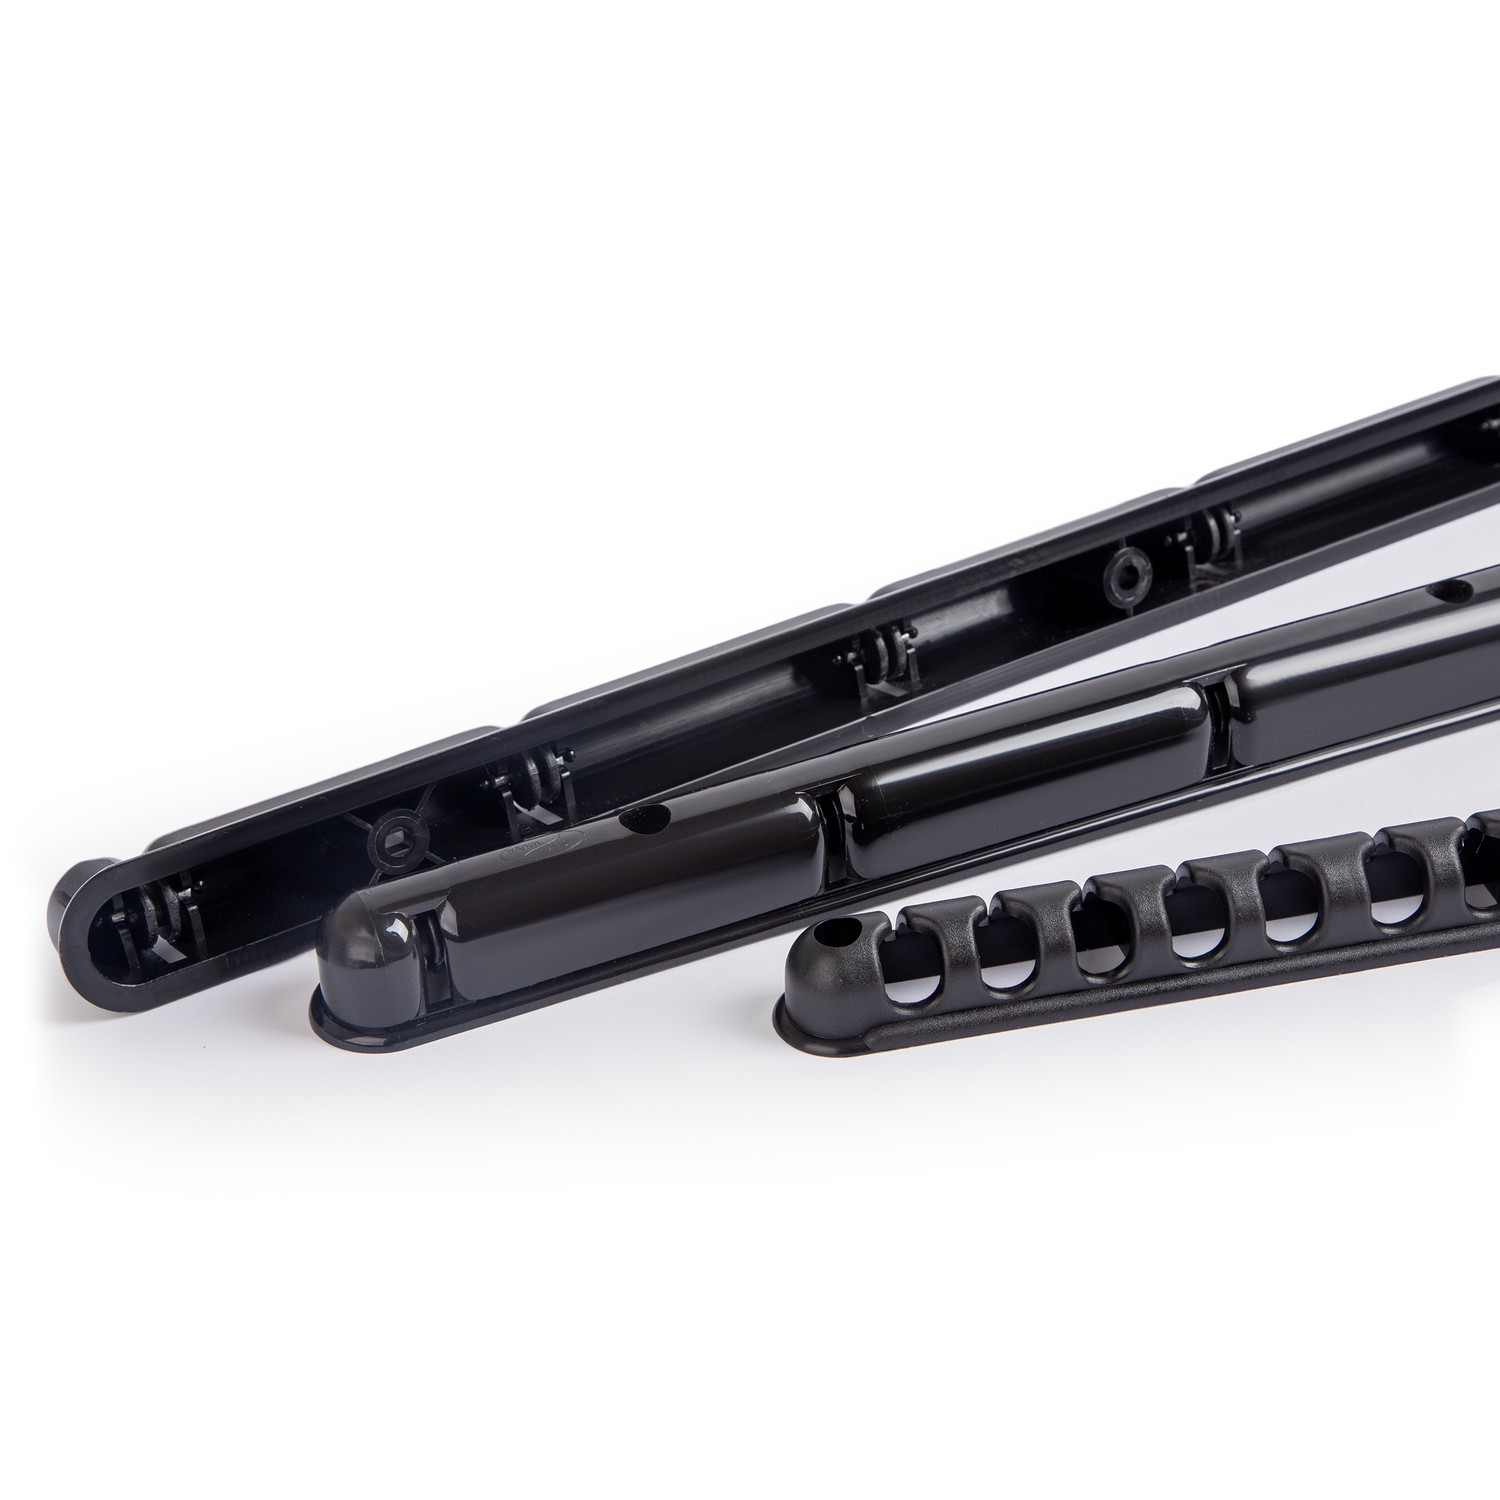
Pręty konstrukcji wykonane są ze stali i pokryte farbą proszkową w celu ochrony przed korozją. Elementy mocujące wykonane są z trwałego plastiku, który nie deformuje się z czasem. Suszarka została zaprojektowana z myślą o długotrwałym użytkowaniu i nadaje się do codziennego użytku domowego.

RELIABILITY

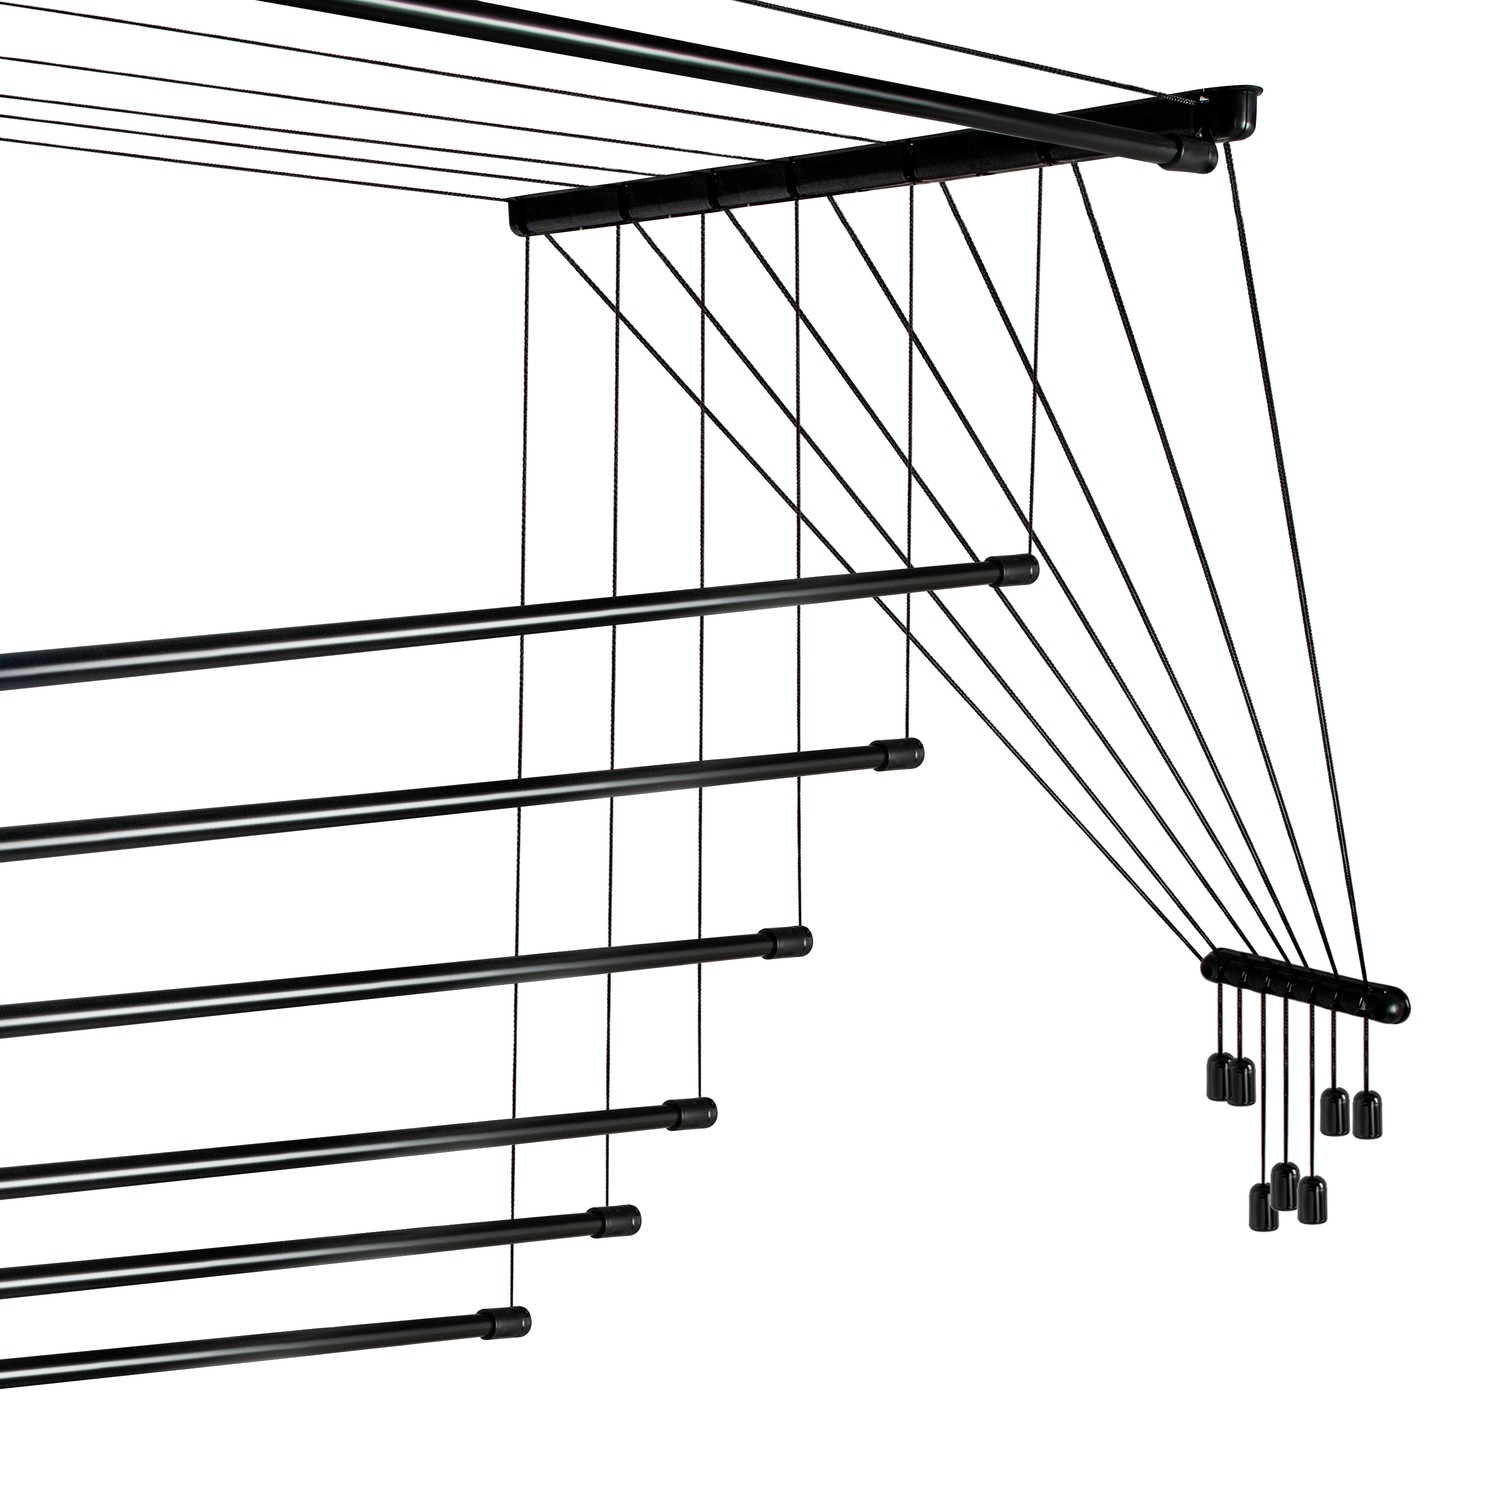
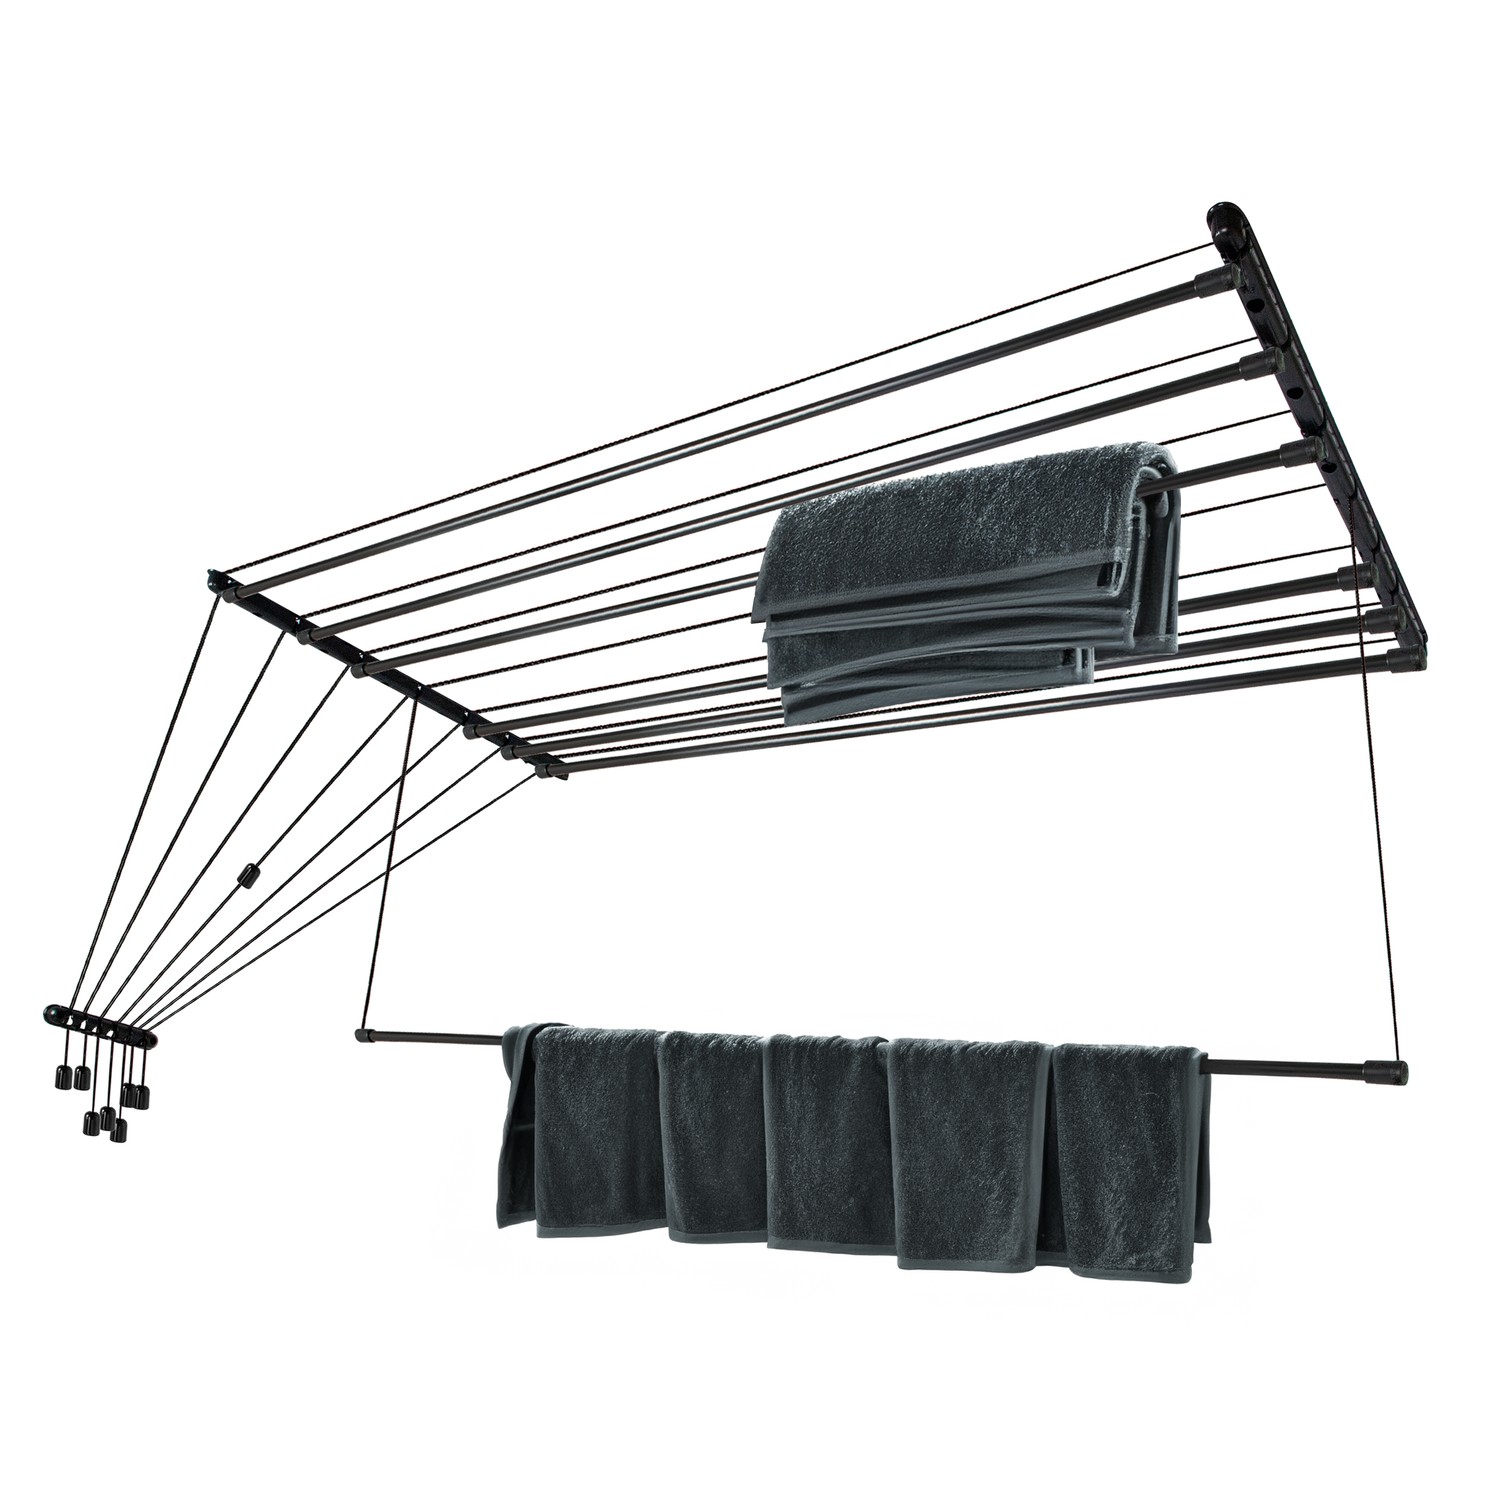
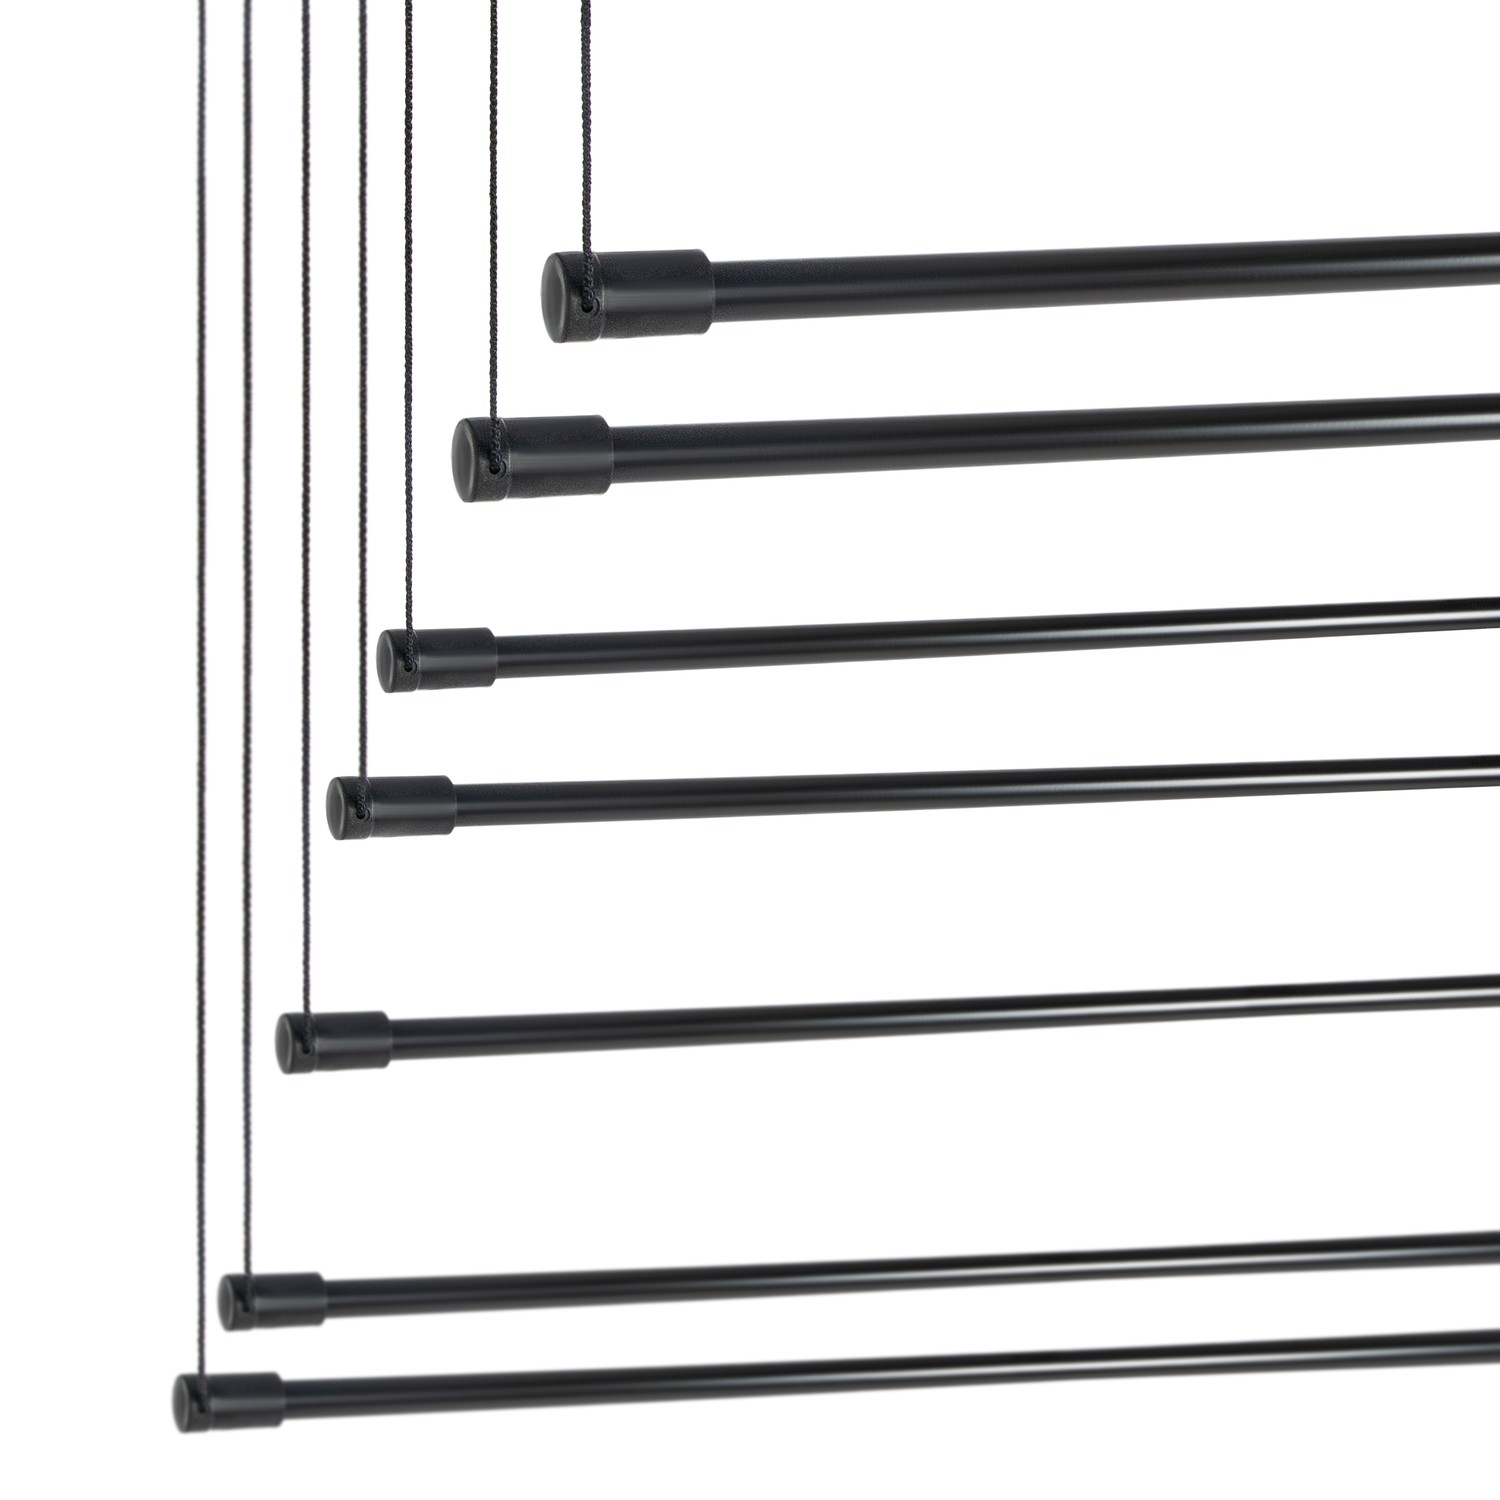
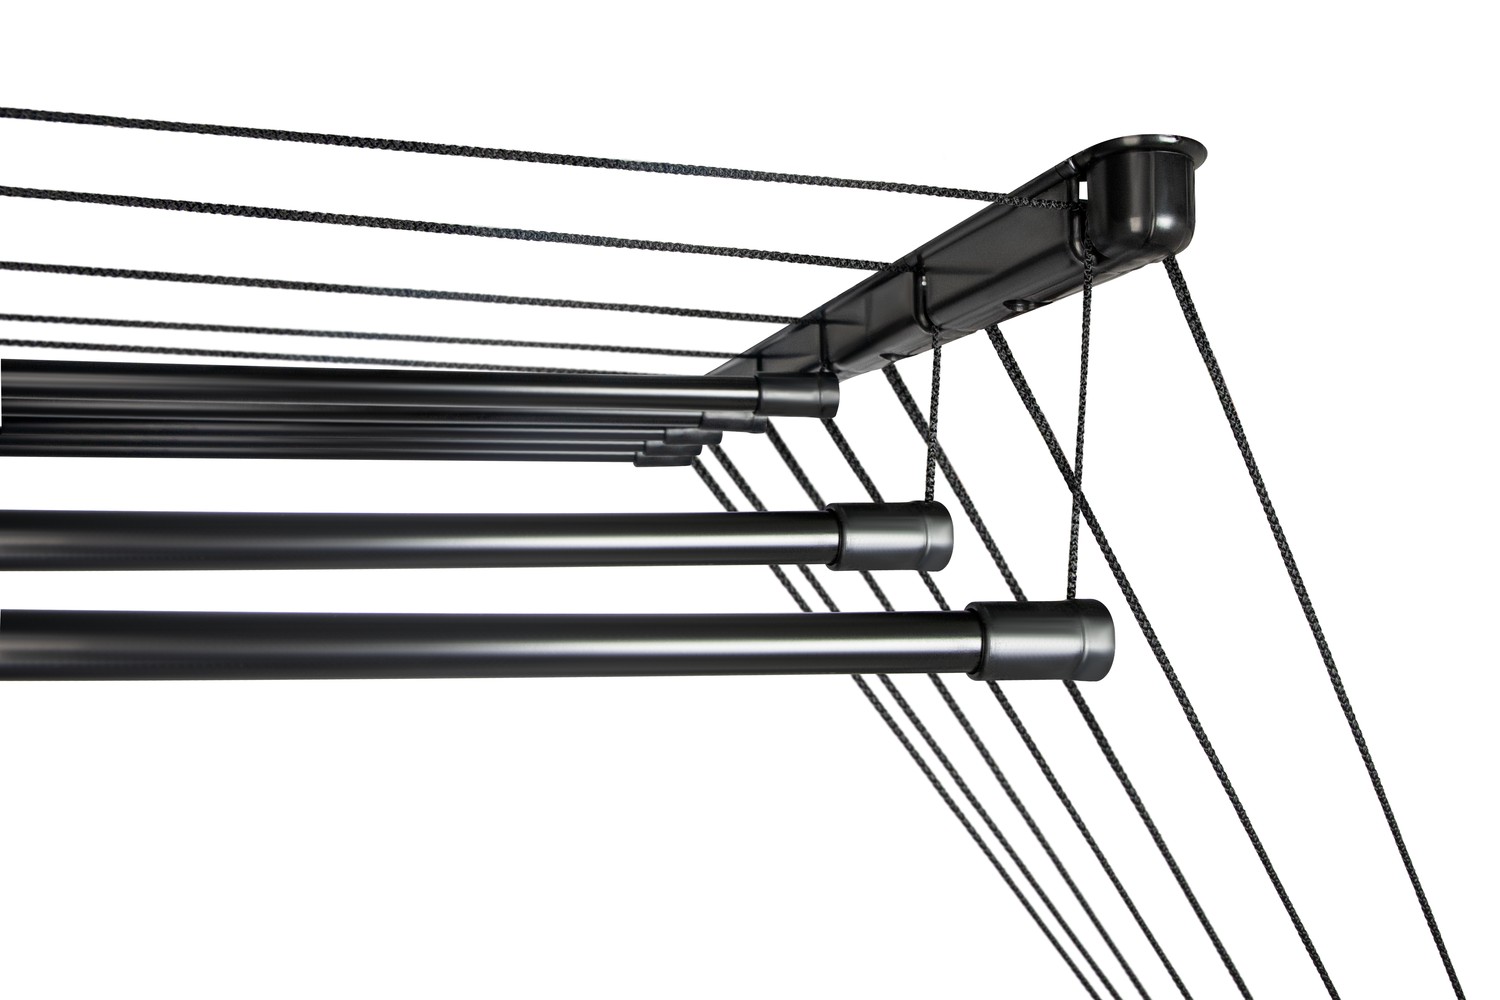
Aby powiesić pranie, pręty suszarki opuszczane są na żądaną wysokość, a następnie ponownie podnoszone. Wyprane ubrania schną pod sufitem, oszczędzając miejsce. Gdy suszarka nie jest używana, zajmuje minimalną przestrzeń, nie utrudnia poruszania się ani otwierania drzwi balkonowych i okien.

COMPACTNESS AND SIMPLICITY

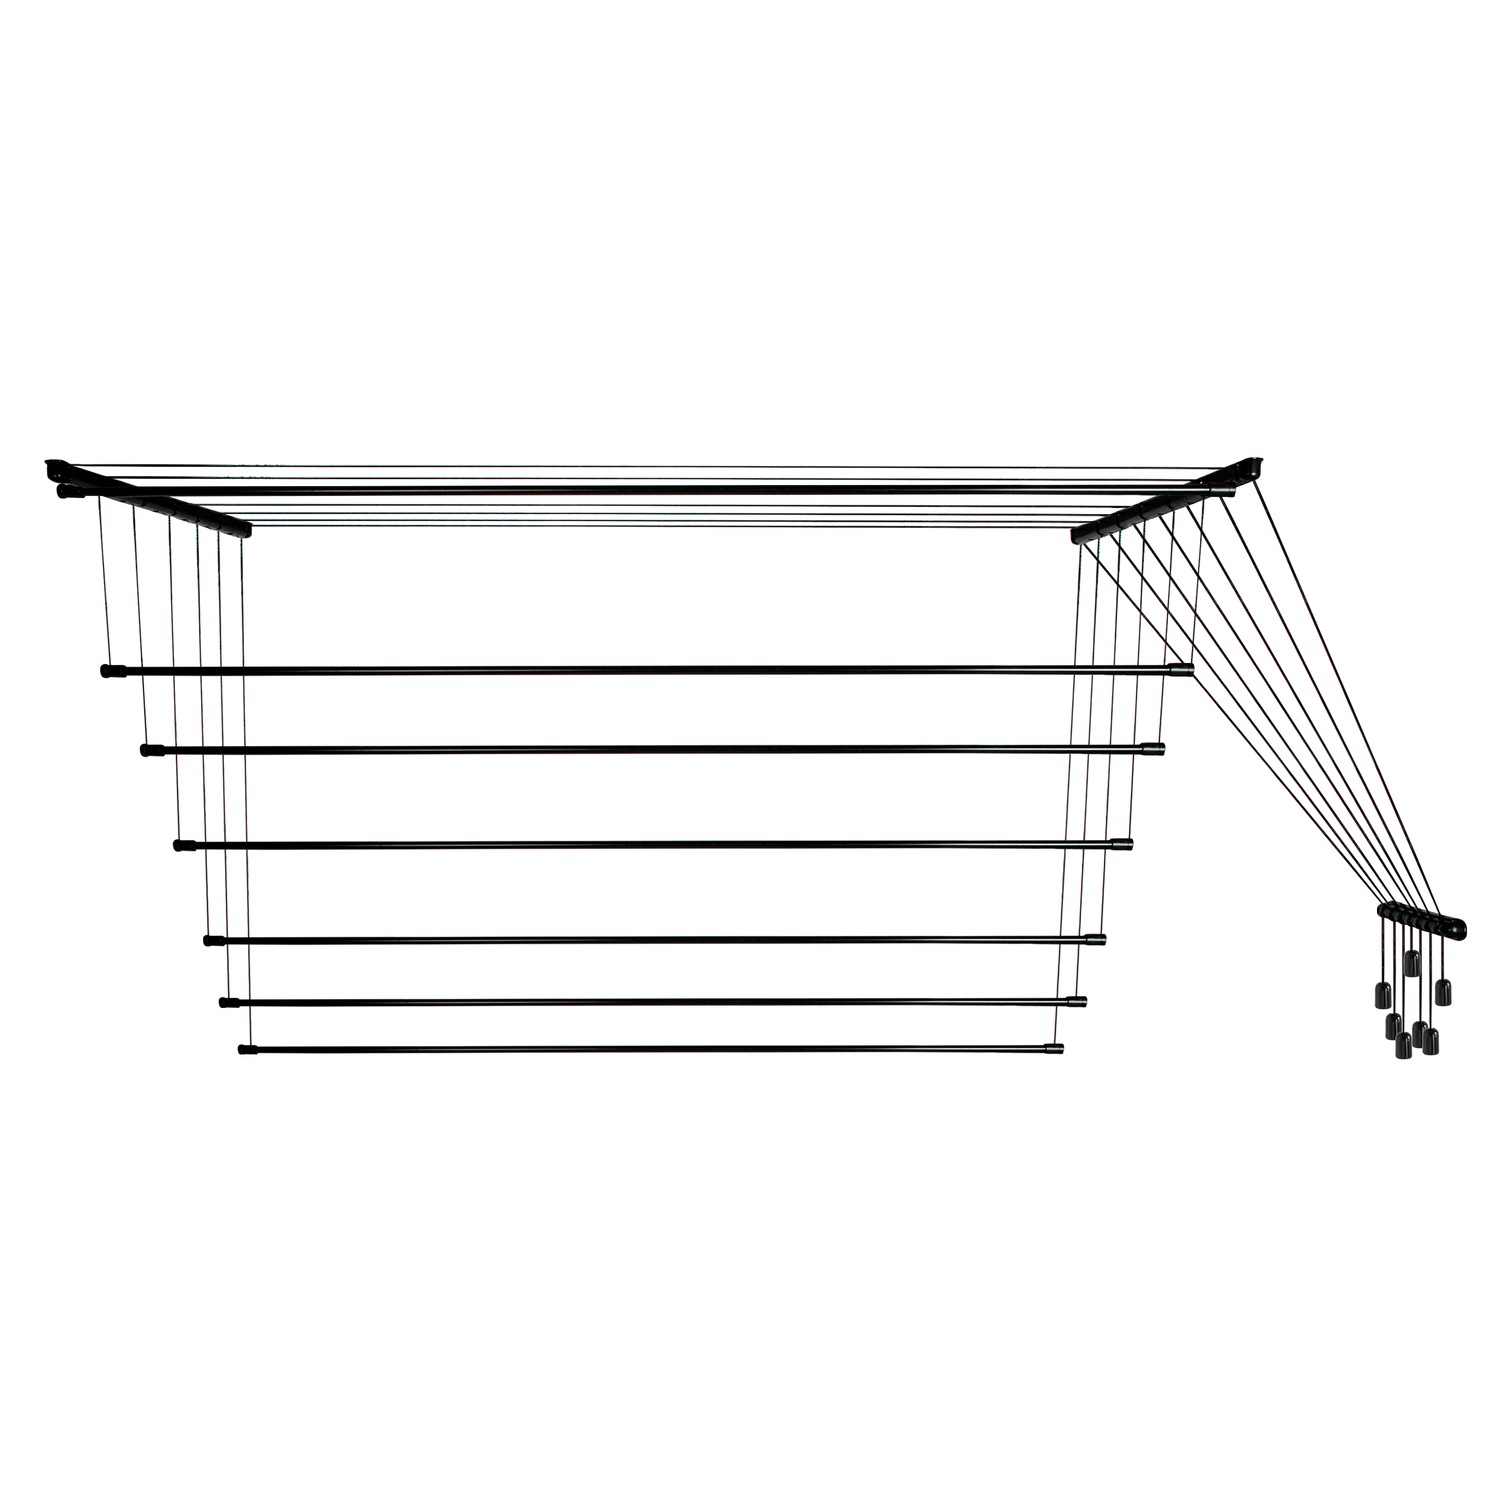
Powierzchnia suszenia wynosi 12,6 m, a wymiary konstrukcji to 180 × 45 cm. Suszarka składa się z pięciu prętów, z których każdy ma długość 180 cm. Dzięki dużej średnicy prętów ubrania nie pozostawiają śladów ani zagnieceń po wyschnięciu. Zalecane obciążenie wynosi do 2 kg na pręt. Waga konstrukcji to 2,78 kg.

Advantages


Aby powiesić pranie, pręty suszarki opuszczane są na żądaną wysokość, a następnie ponownie podnoszone. Wyprane ubrania schną pod sufitem, zajmując niewiele miejsca. Gdy suszarka nie jest używana, zajmuje minimalną przestrzeń, nie utrudnia poruszania się ani otwierania drzwi balkonowych i okien.

9 R180-P7Bl EXweb

Informacje dodatkowe

Working Surface Length

12.6 m

Material

Steel with powder coating

Rod Count

5

Color

Black

Product Weight

2.78 kg

Dimensions

180 × 45 cm

Installation guide

Ceiling Dryer installation guide

Please read the manual before use.

Universal Installation Guide

Unpacking and Preparation

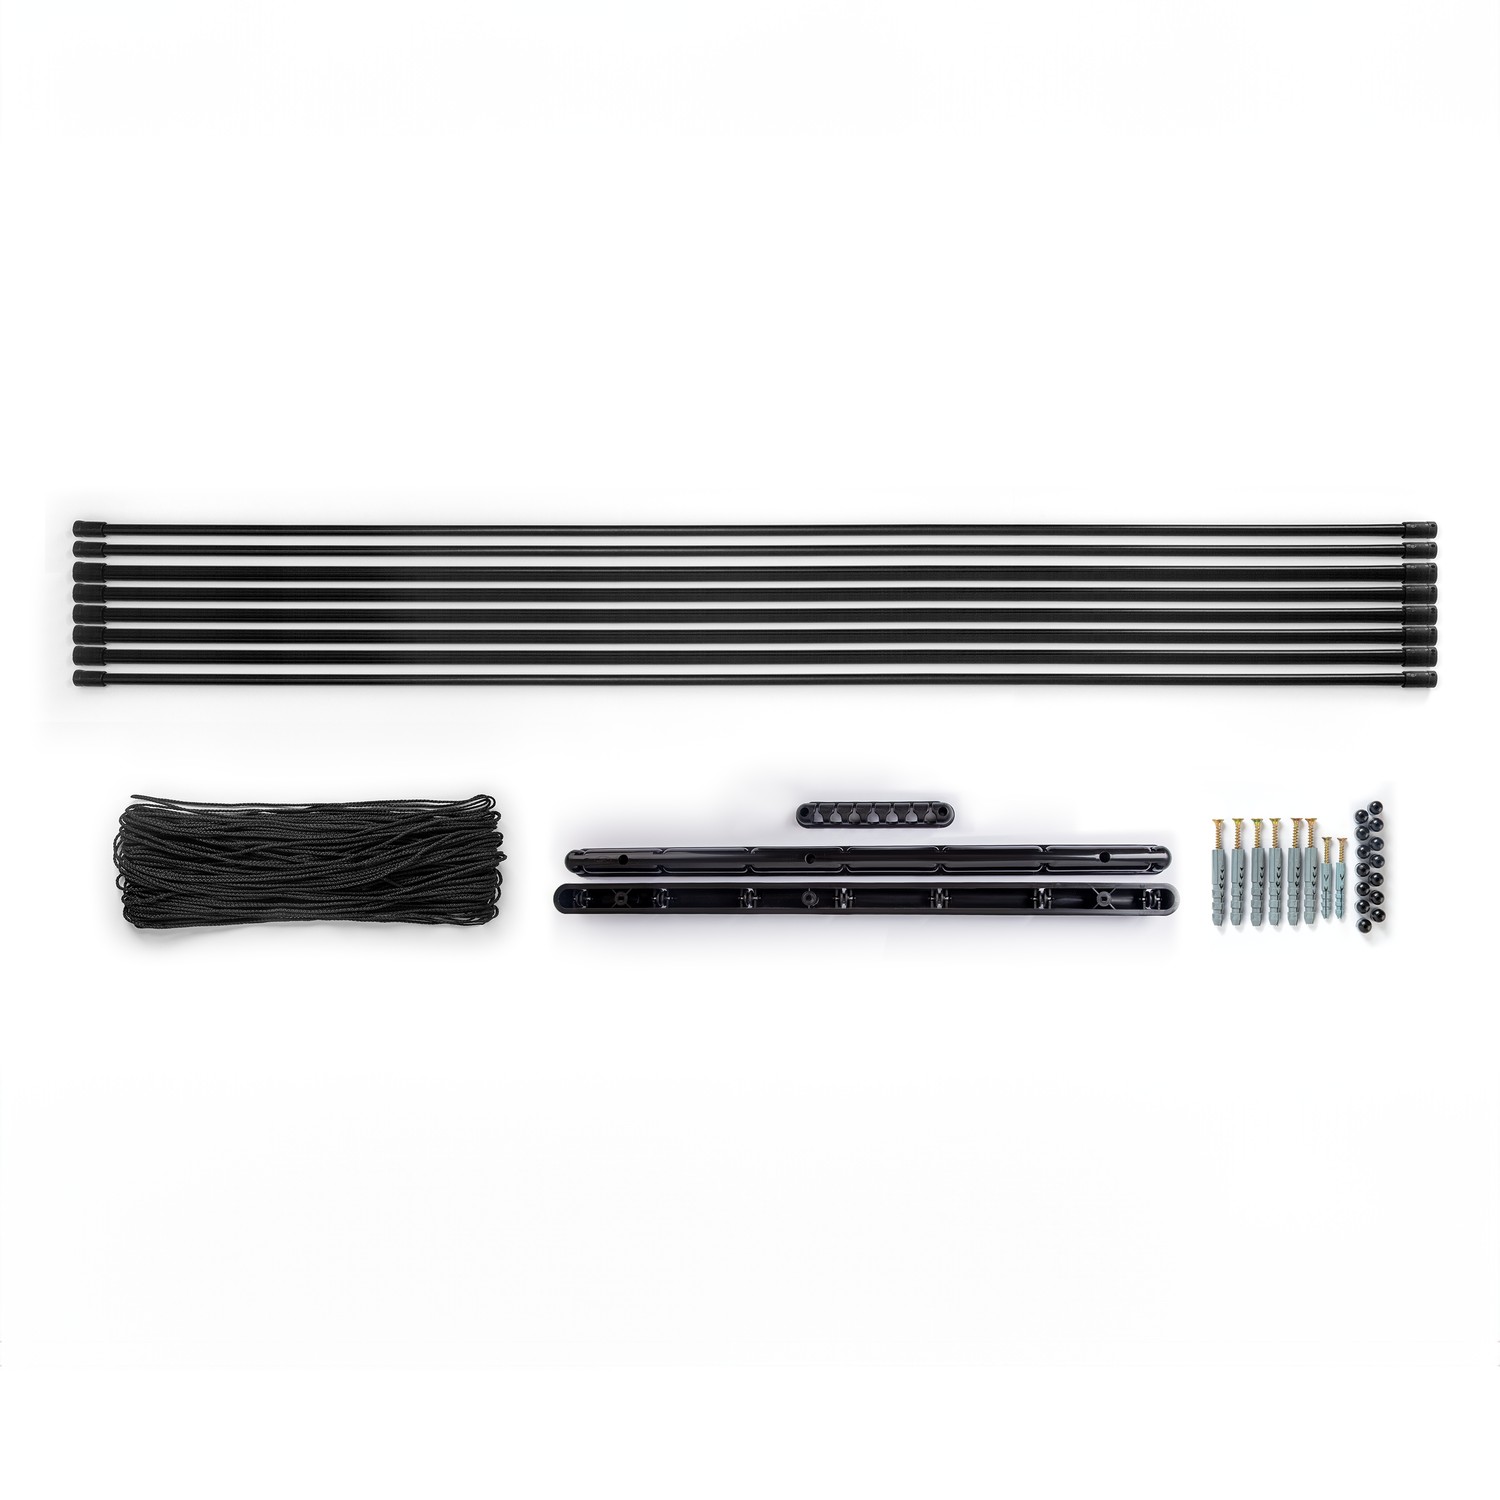
  • Unpack the product and ensure all components are present.

  • Identify the number of measuring rods and corresponding accessories based on the model.

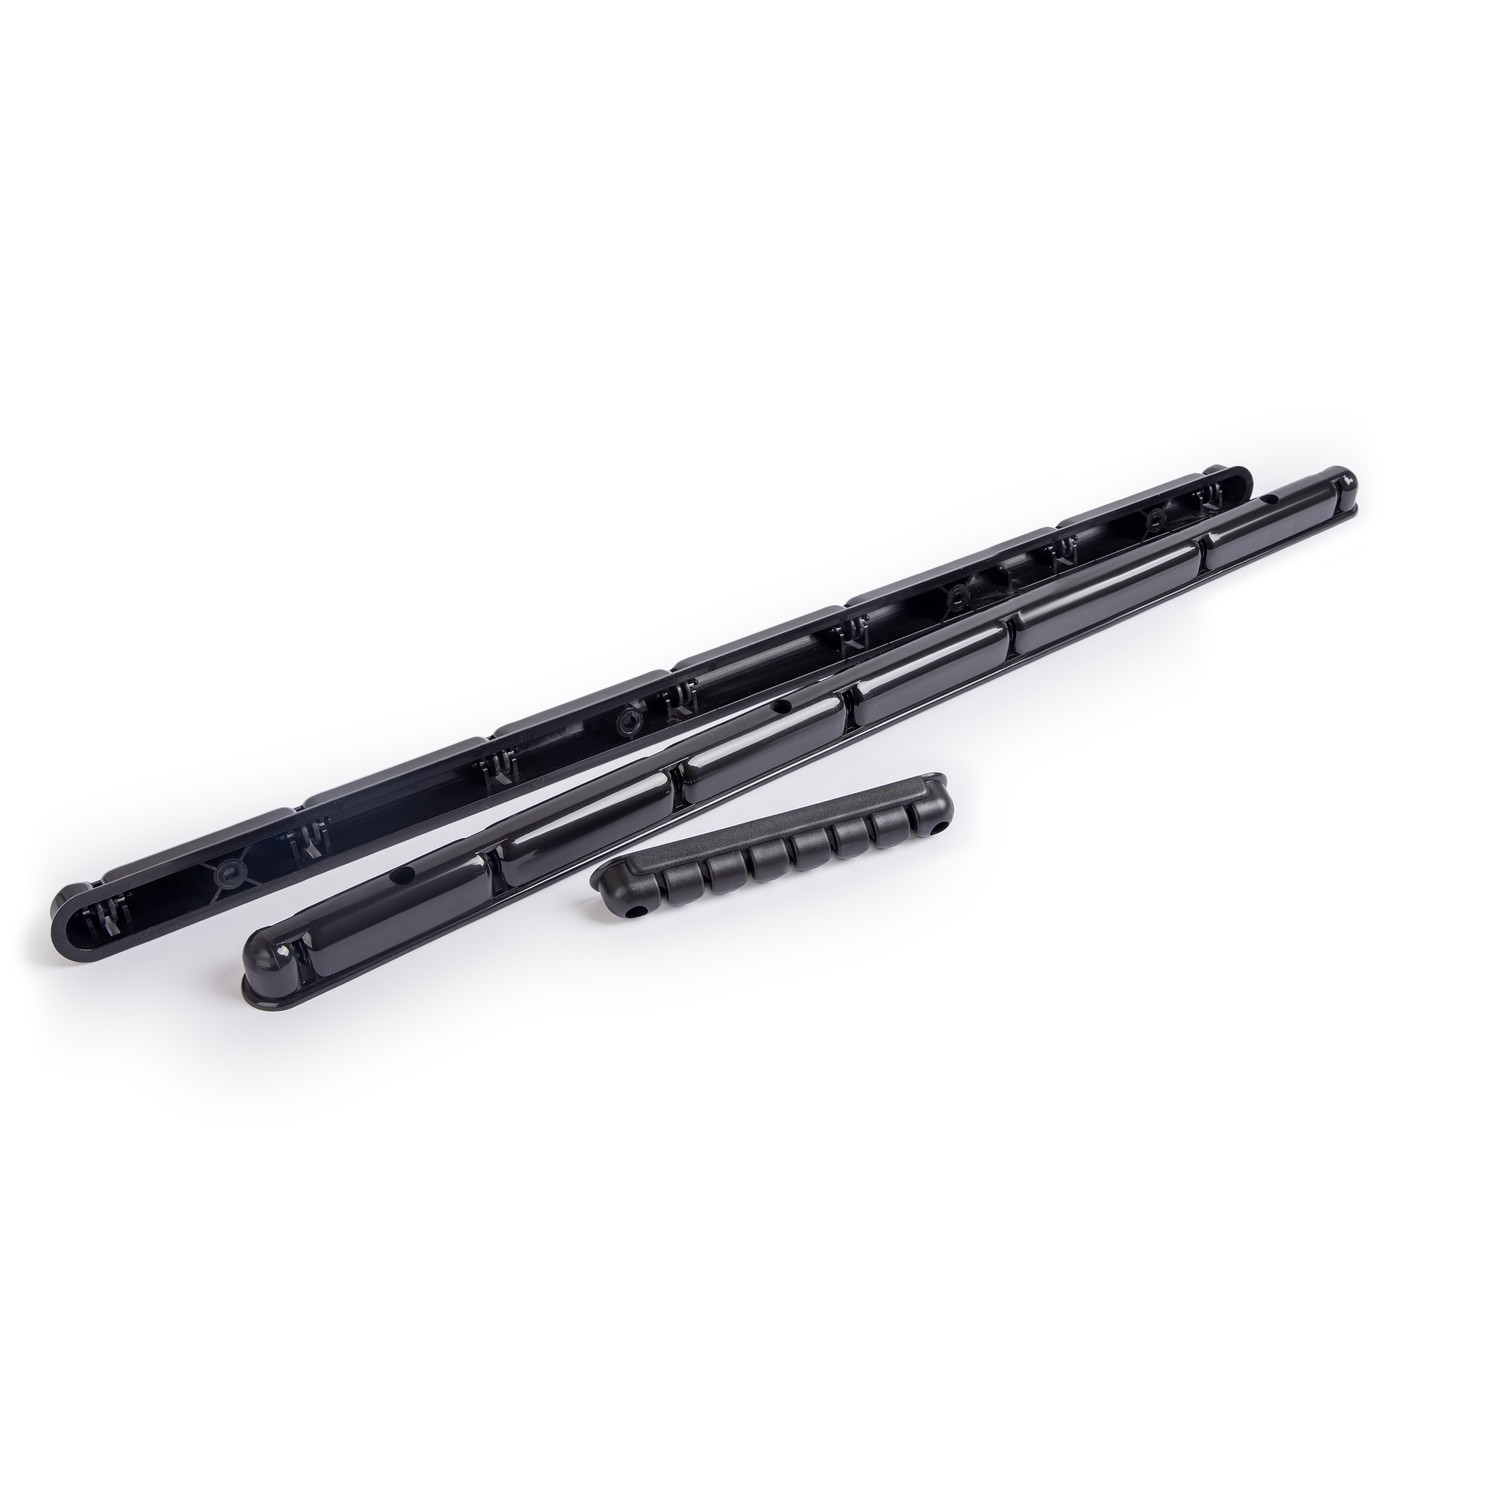
Installing the Brackets with Rollers


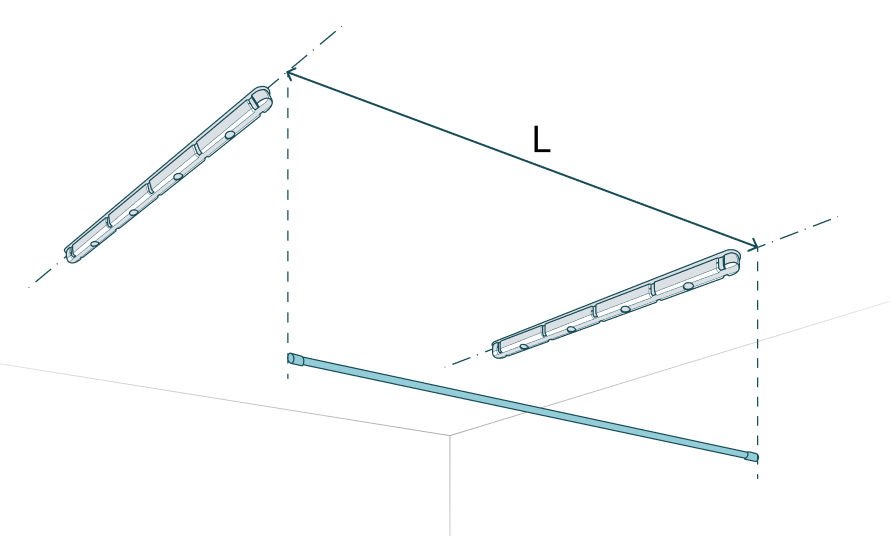
  • The brackets with rollers must be fixed to the ceiling using screws.

  • The distance between the brackets should correspond to the length (L) of the measuring rods, minus 18–20 mm for the central hole of the mounting structure.

Steps:

  1. Measure and mark two parallel lines on the ceiling (the distance between them depends on the size of the drying rack).

  2. Position the brackets with rollers along these lines and mark the drilling points.

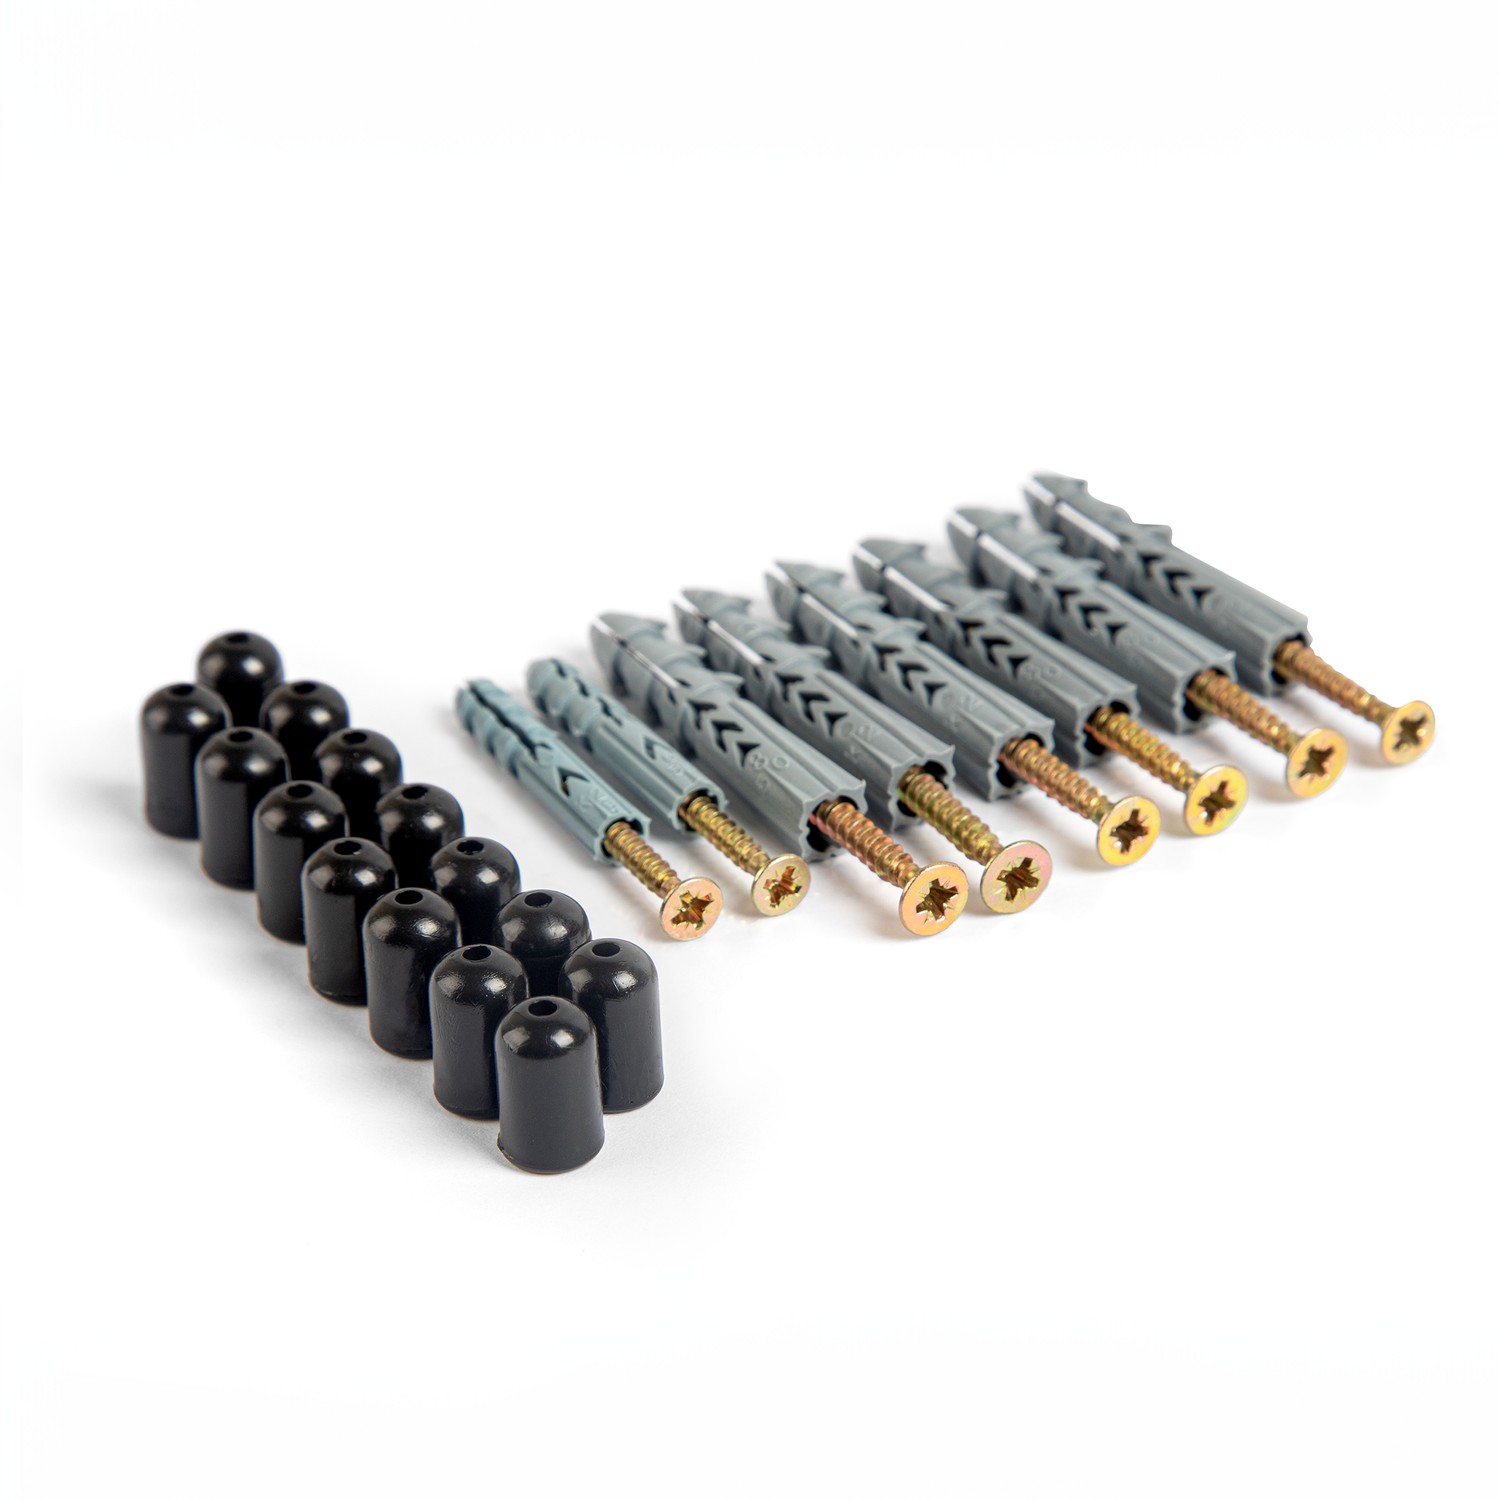
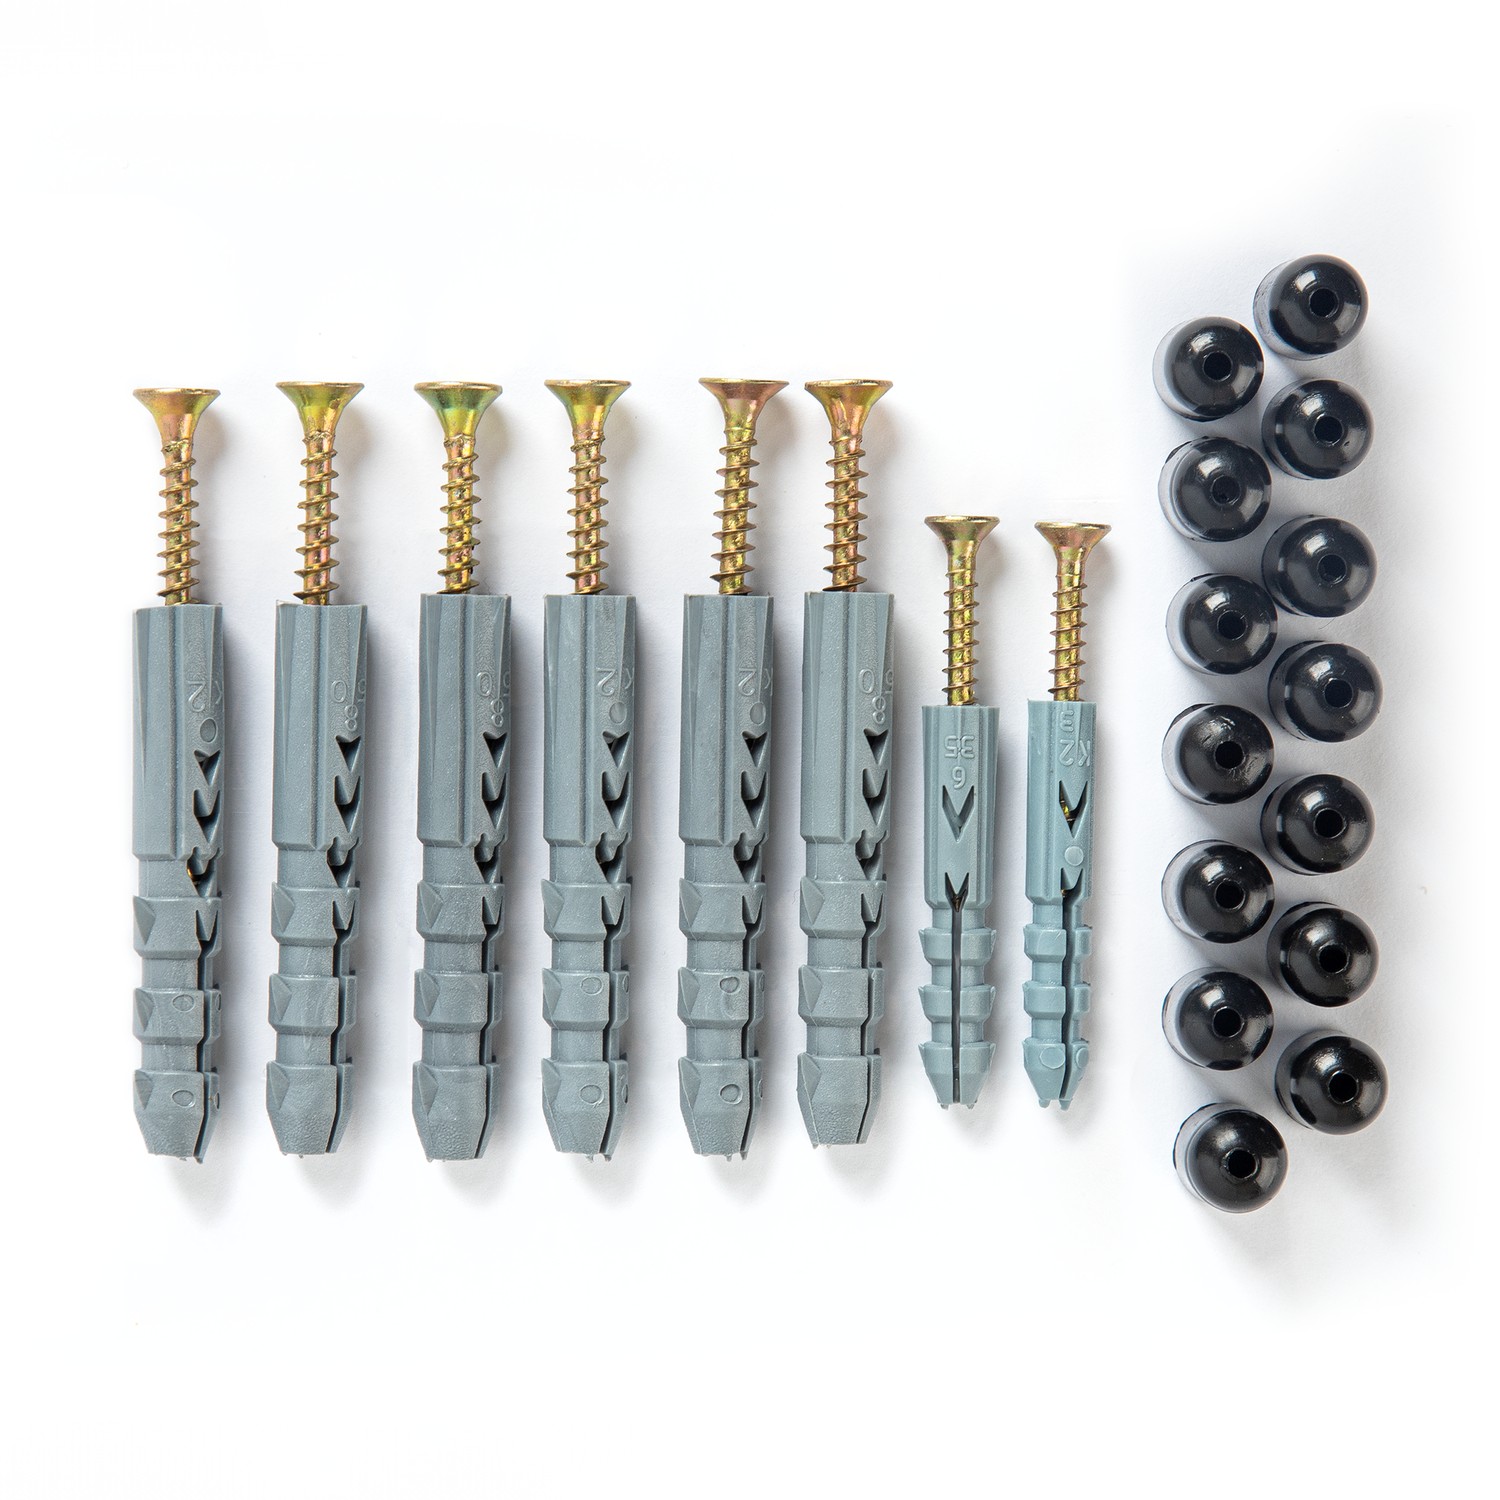
  3. Drill holes and secure the brackets using the bracket mounting kit.

Determining and Installing the Height Adjustment Comb


Steps:

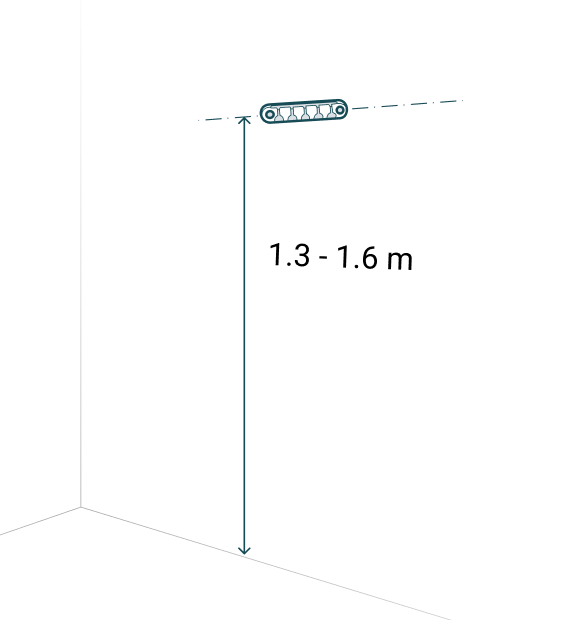
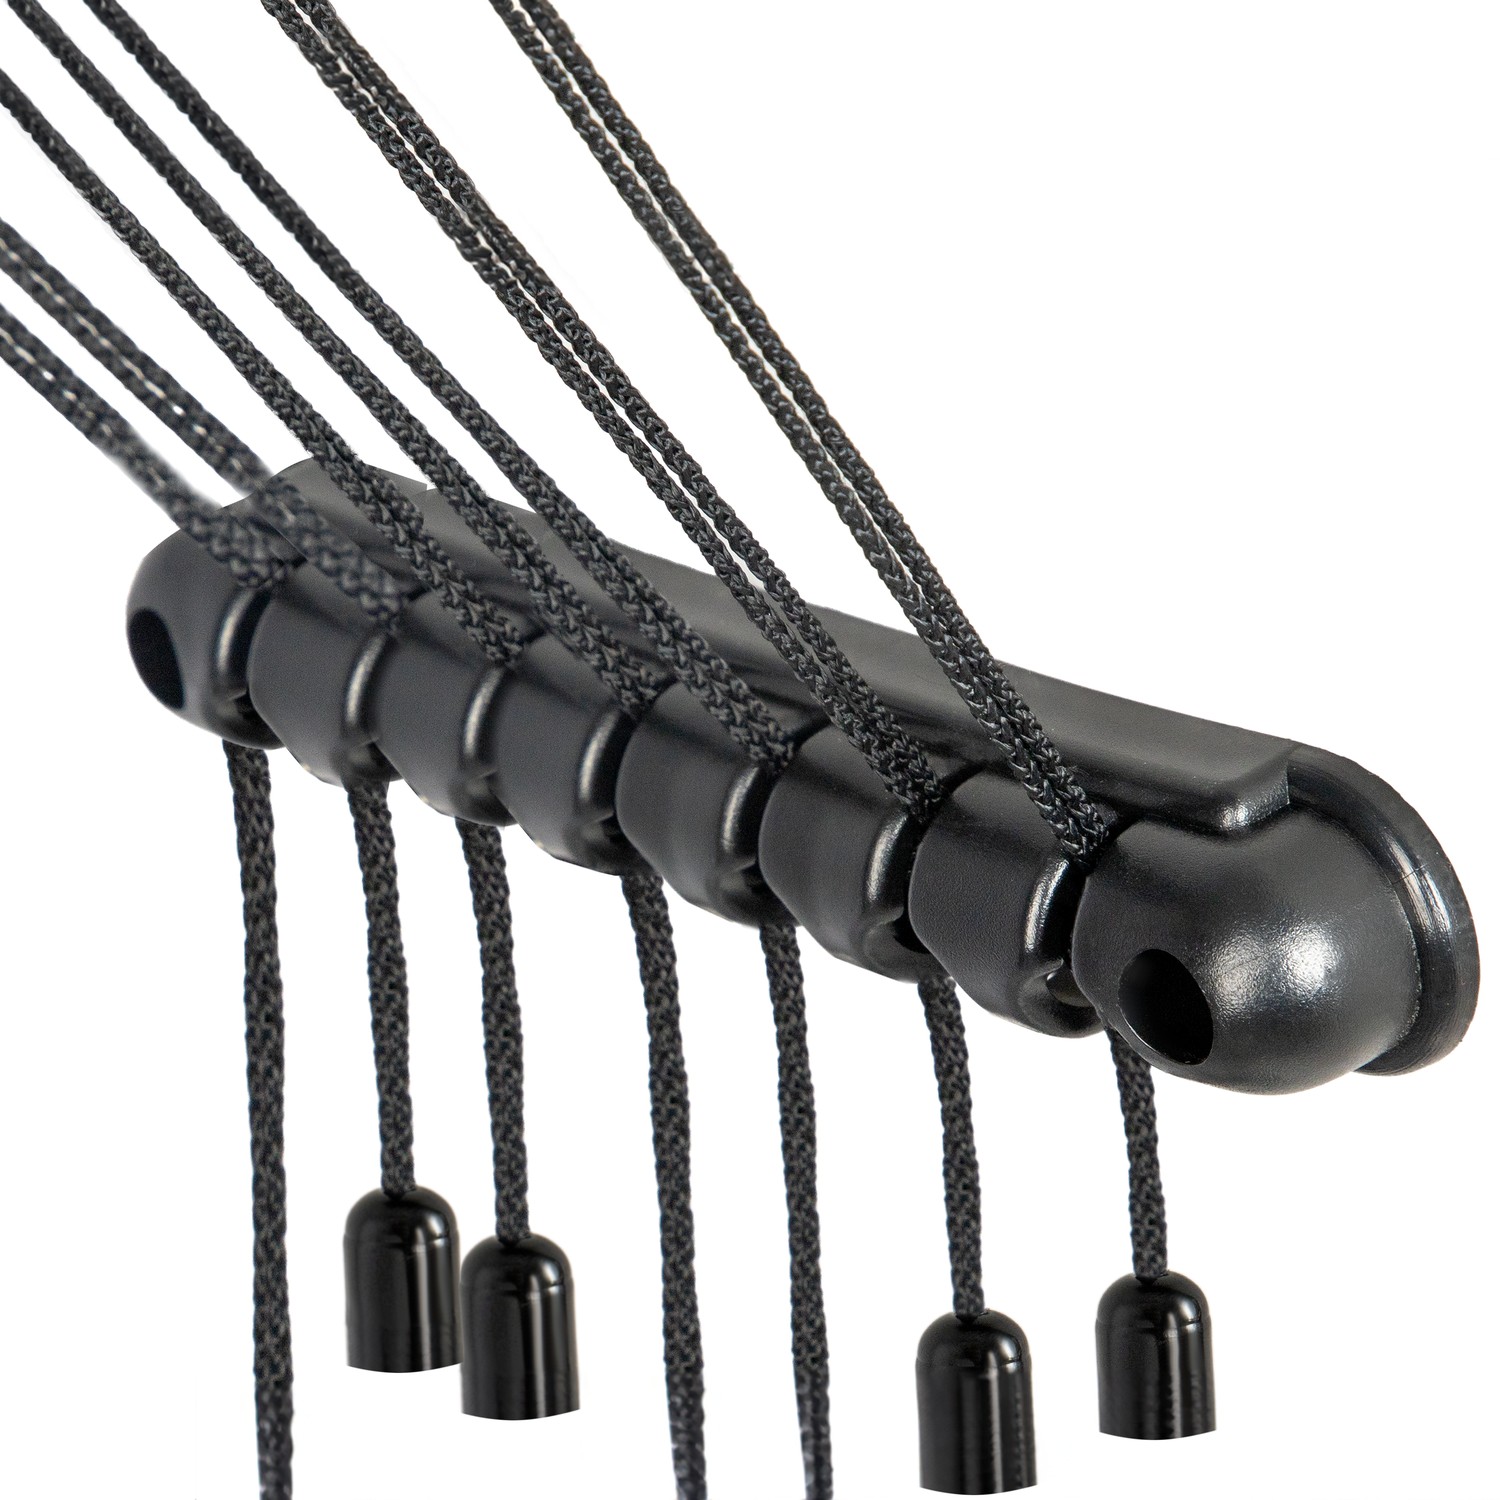
  1. Choose an optimal height for installing the height adjustment comb (recommended: 1.3–1.6 meters from the floor).
  2. Use a measuring rod to determine the most convenient height for usage.
  3. Drill holes at the selected height.
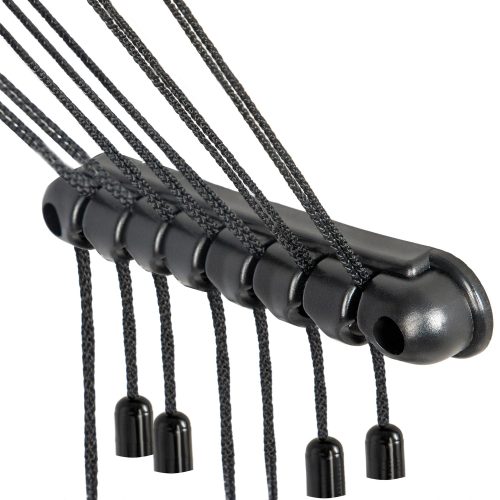
  4. Secure the height adjustment comb using the provided mounting kit.

Preparing the Cords


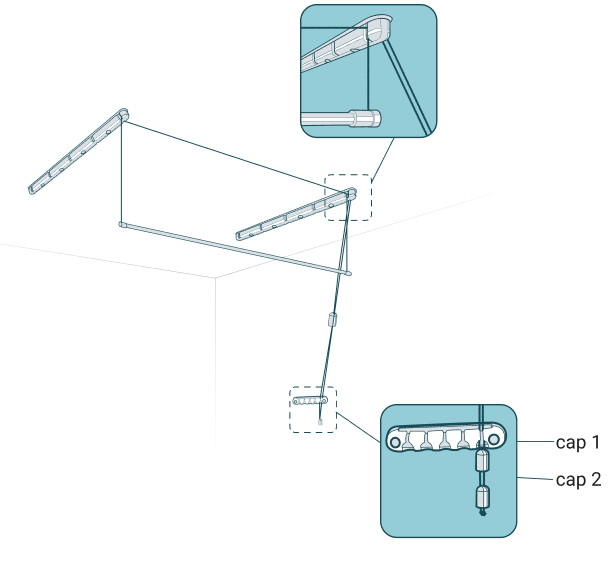
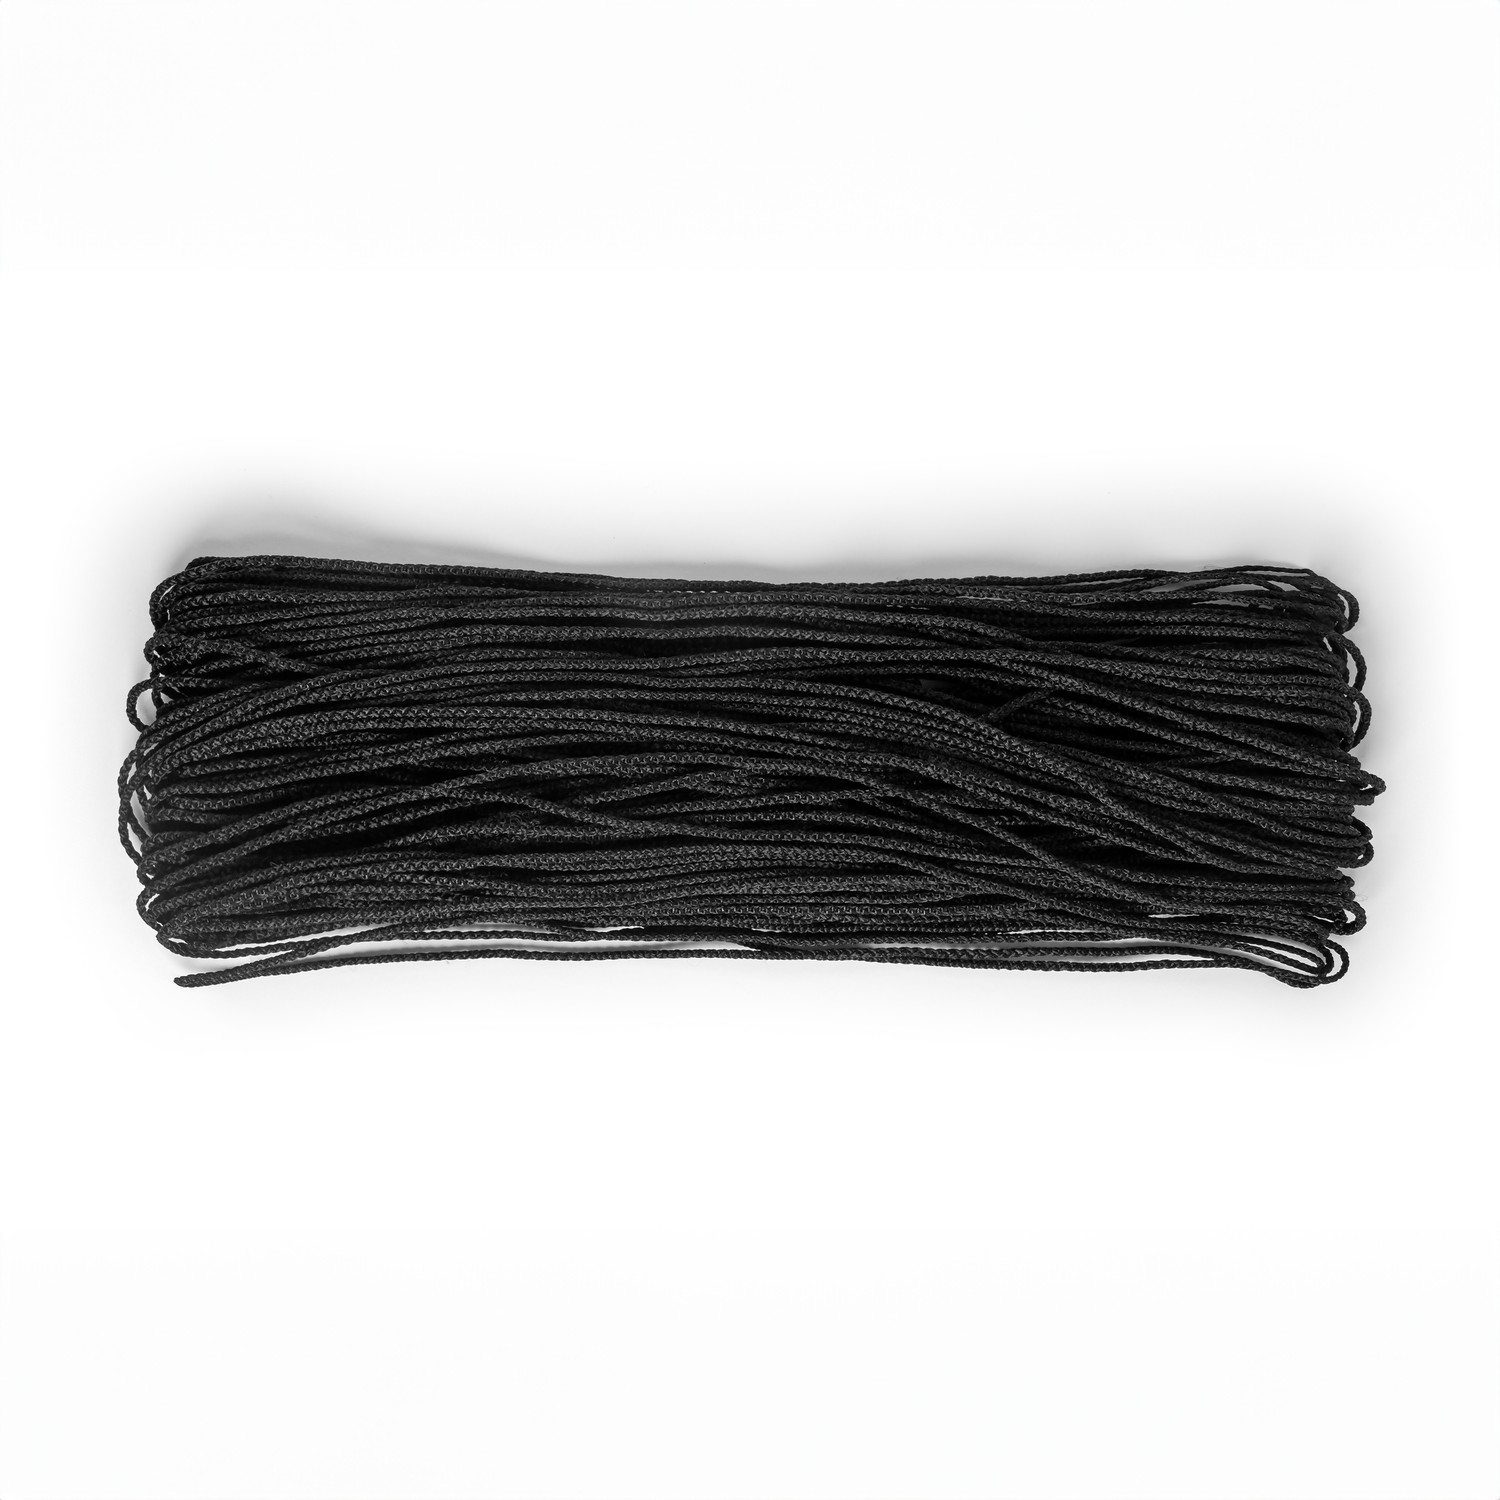
  • Separate the cords from the roll according to the number of measuring rods.

  • Insert one end of a pre-cut cord through the smaller hole of the fixation cap on one side of the measuring rod and tie a large knot so that it stops in the larger hole.

  • Thread the other end of the cord through the roller bracket, lower it to the opposite end of the measuring rod, and secure it in the same way.

  • Fold the cord in half between the fixation points and thread it through the second roller bracket.

  • Thread the folded cord through the fixation caps, lift the measuring rod to the ceiling, and secure the first height level. Adjust the second height level to a comfortable user height.

Final Checks

  • Before use, wipe the measuring rods with a damp cloth.

  • Ensure all components are securely fixed and functioning properly.

Download printable version:


4 rod system

  • R140-P4St EX
  • R140-P4St EX black
  • R160-P4St EX
  • R160-P4St EX black
  • R160-P4St EX
  • R180-P4St EX black
  • R180-P4St EX
  • R200-P4St EX
  • R200-P4St EX black

Install guide 4 rod

5 rod system

  • R140-P5St EX
  • R140-P5St EX black
  • R160-P5St EX
  • R160-P5St EX black
  • R180-P5St EX
  • R180-P5St EX black
  • R200-P5St EX
  • R200-P5St EX black
  • SAS-140-P5 EX
  • SAS-140-P5 EX black
  • SAS-160-P5 EX
  • SAS-160-P5 EX
  • black SAS-180-P5 EX

Install guide 5 rod

6 rod system

  • R140-P6St EX
  • R140-P6St EX black
  • R160-P6St EX
  • R160-P6St EX black
  • R180-P6St EX
  • R180-P6St EX black
  • R200-P6St EX
  • R200-P6St EX black
  • SAS-140-P6 EX
  • SAS-140-P6 EX black
  • SAS-160-P6 EX
  • SAS-160-P6 EX black
  • SAS-180-P6 EX

Install guide 6 rod

  •  


7 rod system

  • R140-P7St EX
  • R140-P7St EX black
  • R160-P7St EX
  • R160-P7St EX black
  • R180-P7St EX
  • R180-P7St EX black
  • R200-P7St EX
  • R200-P7St EX black

Install guide 7 rod